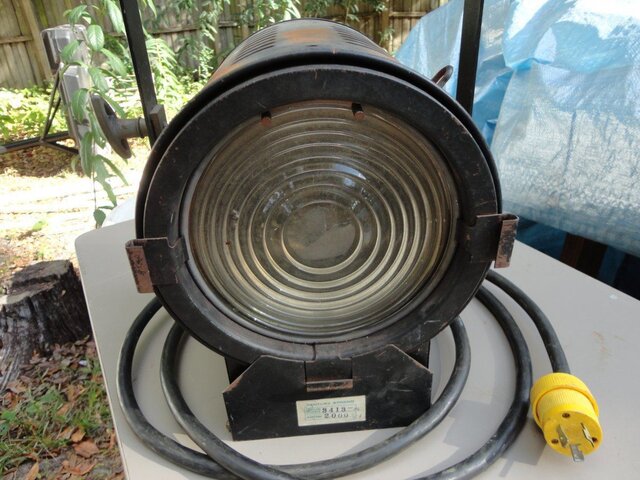
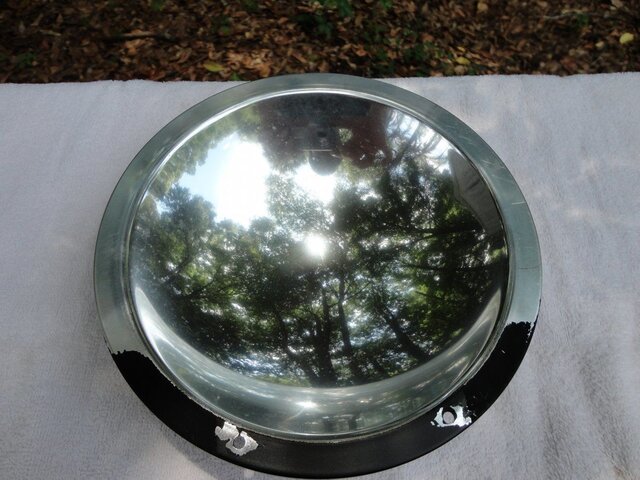
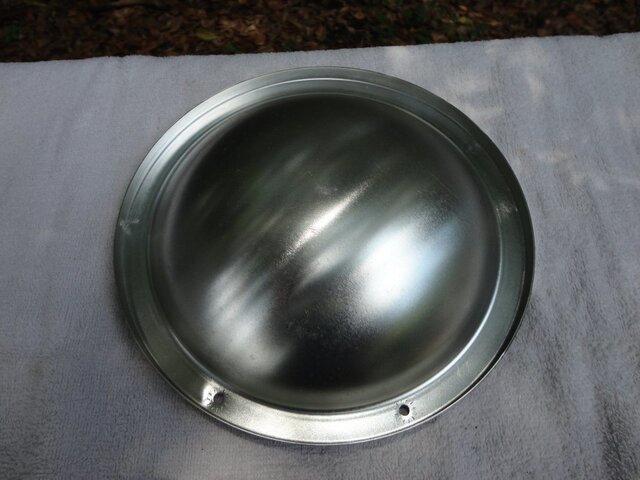
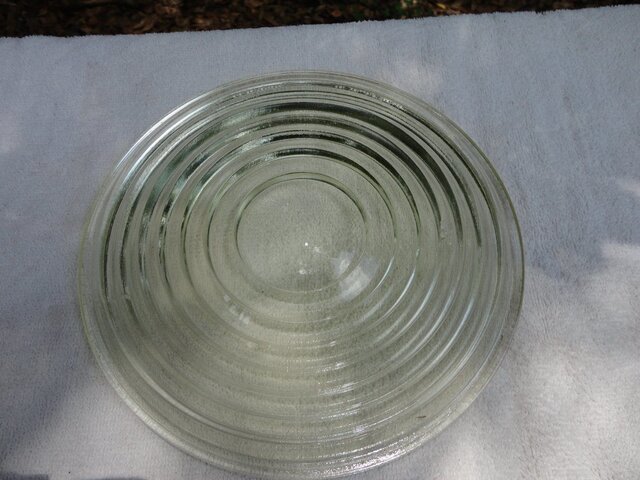
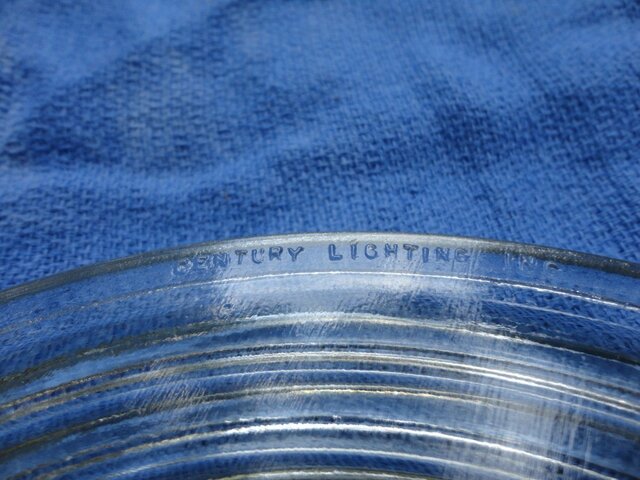
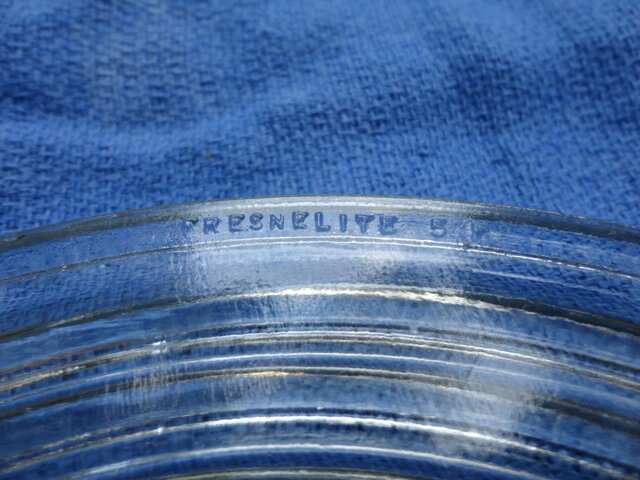
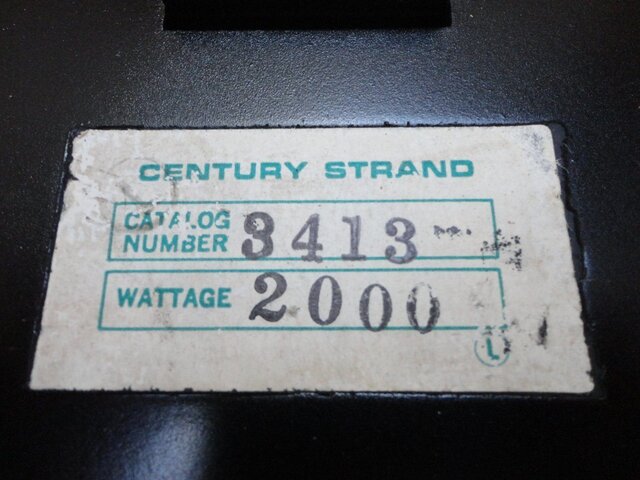
Vintage Lighting Century-Strand #3413 Fresnel

No apologies needed to me in not having any badges...

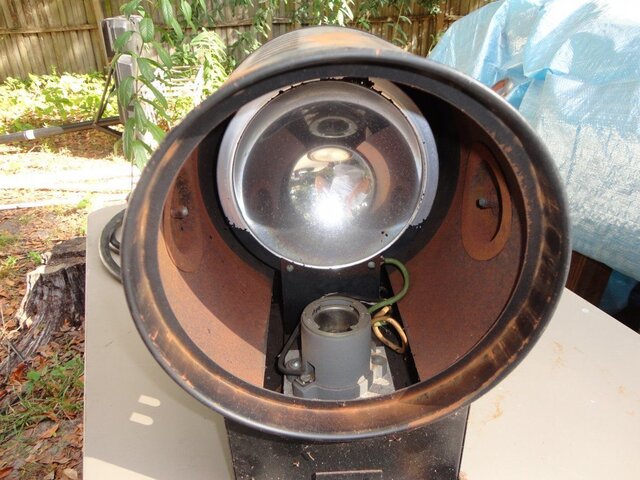
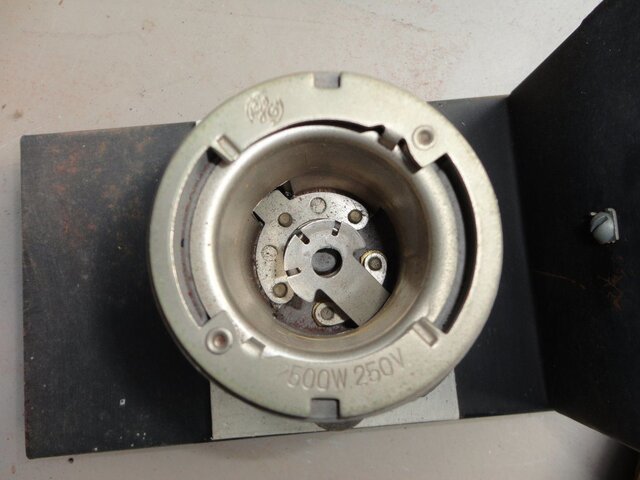
Socket in good shape - seen that and under that not so good. Recommended full stipping of the fixture and re-wiring of it but each of us is a TD onto ourselves and what you do I don't and what I do you don't. We all come together on a basic sense of safety though as well expressed in ready to do so.


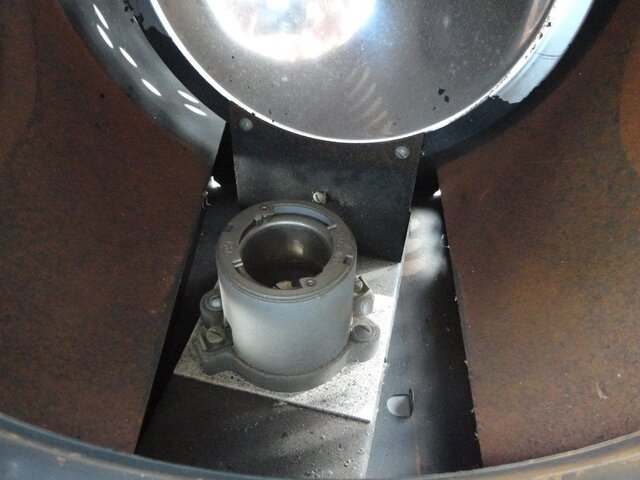
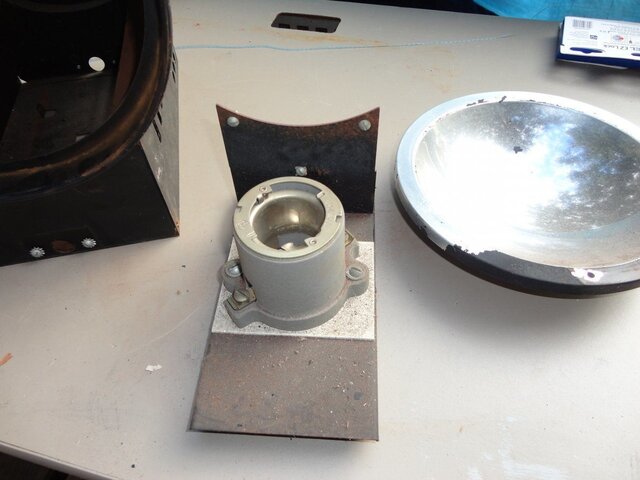
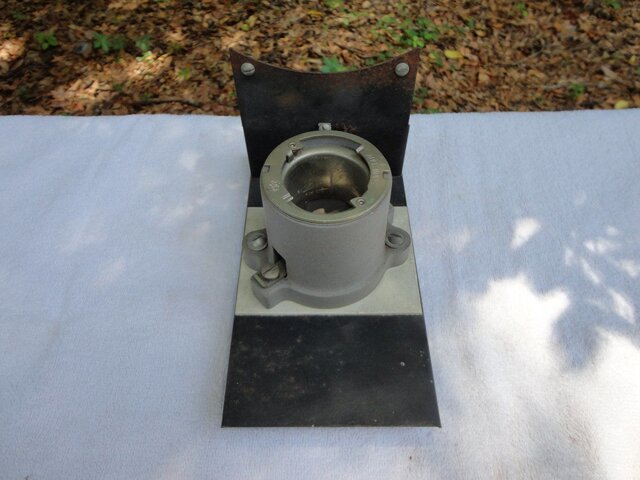
Whitish pad = asbestos pad under the lamp socket, this unless coming from me as ceramic fiber as similar but not asbestos in replacement pad. Lots of asbestos about an old light. Per percentage of what one might see on a water pipe or fire curtain - certaily not as much. On the other hand if even survived the like 20 year exposure - new exposure to it ain't making you super hero in resitant to asbestos - just means you like me been lucky over the years. Next chance exposure to it is your nexxt 20 years later conformation that that last exposer wasnt cancer related to you if you didn't get it.
Asbestos a bad thing in only like 15 to 20 years following exposure to it will you know if you were effected by it.

My Whitish pads are ceramic pads and I replace all asbestos I find.

Thanks AGAIN, ship! Tell me more about the ceramic pads you use, i.e. source, cost, etc. I'm guessing the purpose of this pad is heat insulation? Further visual examination shows that this pad seems to be the only asbestos left in this fixture. My plan is to begin the teardown of this 3413 this weekend. (SWMBO permitting, of course!)
 
Thanks AGAIN, ship! Tell me more about the ceramic pads you use, i.e. source, cost, etc. I'm guessing the purpose of this pad is heat insulation? Further visual examination shows that this pad seems to be the only asbestos left in this fixture. My plan is to begin the teardown of this 3413 this weekend. (SWMBO permitting, of course!)

Sorry if too late but stuff like the McMaster Carr #87575K83 is a direct and easy to use replacement as with other thicknesses.
 
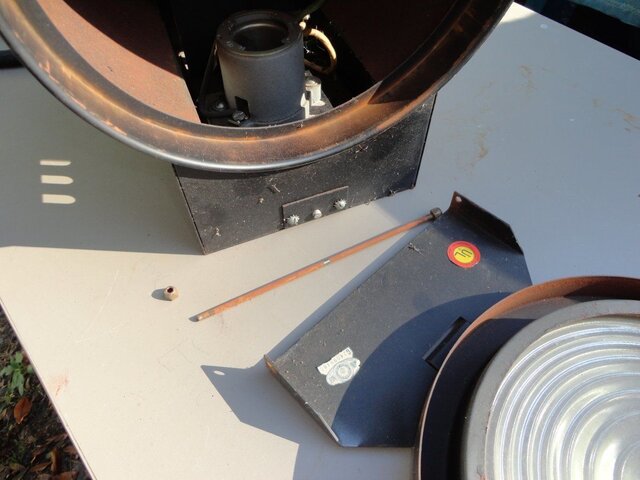
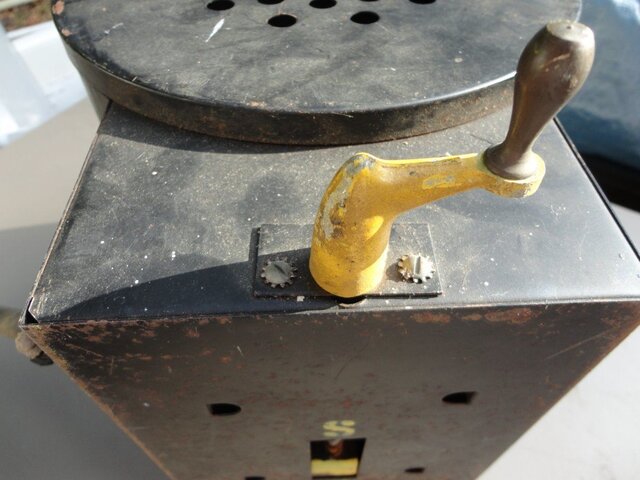
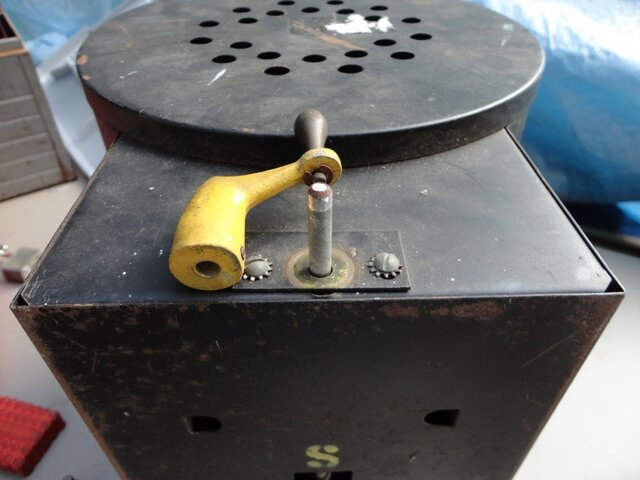
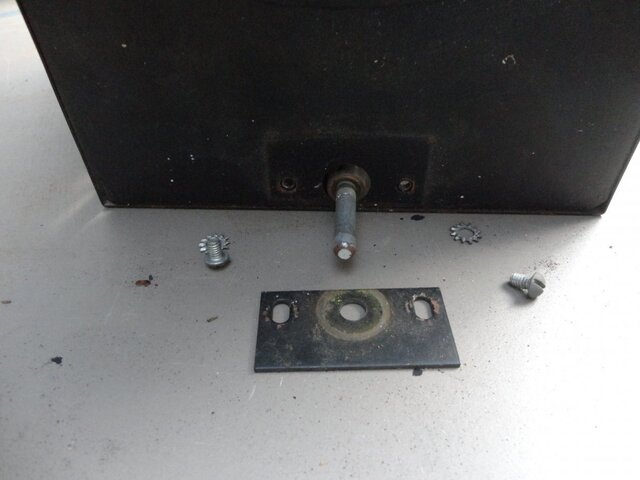
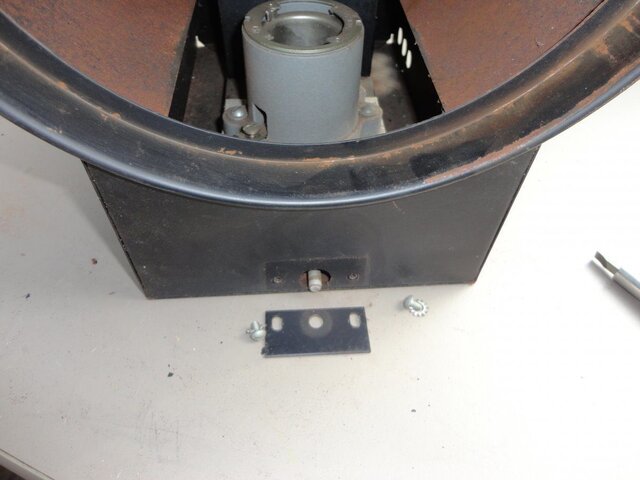
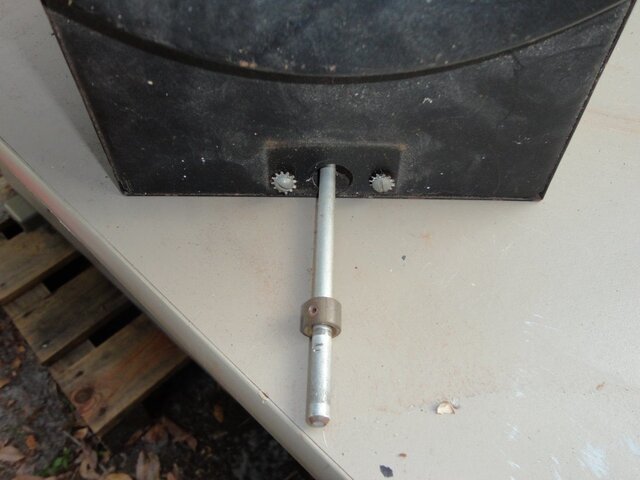
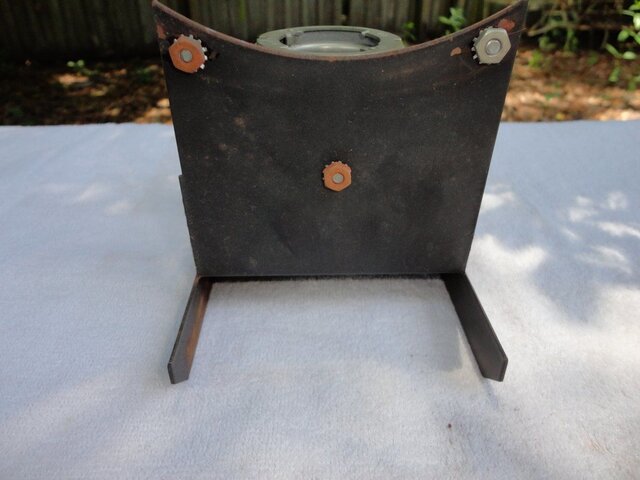
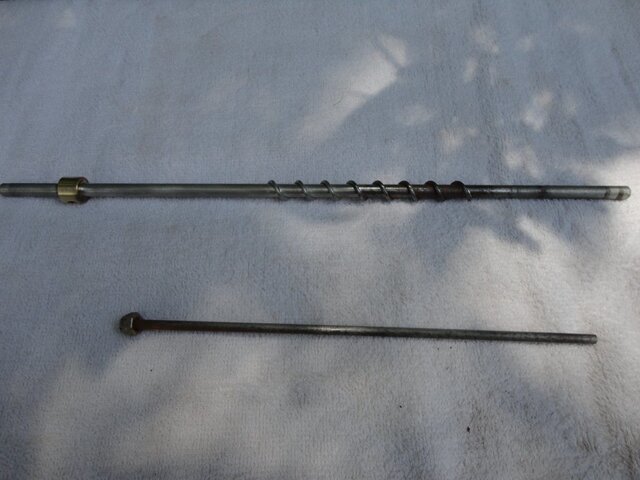
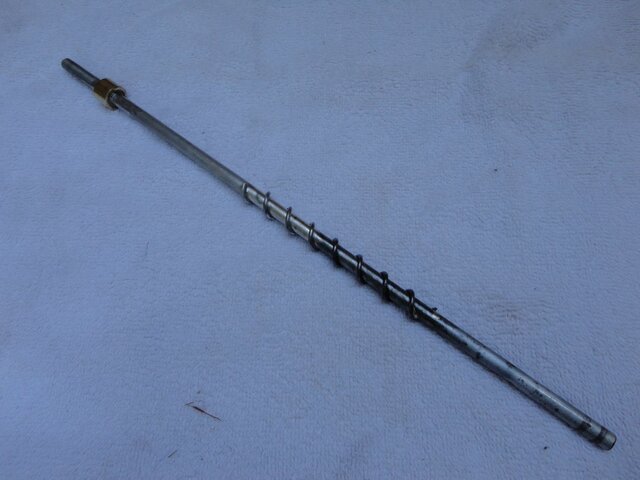
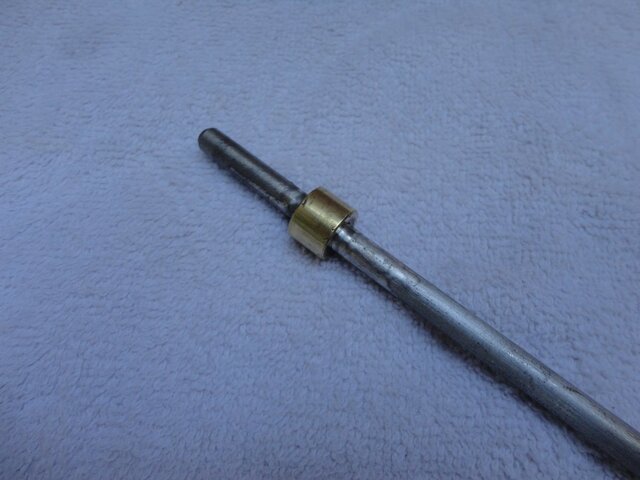
Ship - I started the dis-assembly yesterday; pictures to follow. As you probably know, this fixture uses a crank on the back connected to a wormdrive-type screw to move the lamp socket assembly from "spot" to "flood". Do you happen to know how this is held to the wormdrive screw? I don't have an exploded drawing for this, so I'm flying blind at the moment. I'd really hate for some spring-loaded thingy to go flying off someplace.... Thanks again for all your help so far!
(BTW - I'll start a new thread with the dis-assembly pix, as you suggested in an earlier reply.)
 
Last edited:
Nothing gonna explode on you as by now I am sure you have seen. :)

Very user friendly if you think first than do, than remember the puzzle in assembly. Old lights are fun to work on and figure out, kind of like a puzzle every night - only what pieces did others replace?
 
...Whitish pad = asbestos pad under the lamp socket, this unless coming from me as ceramic fiber as similar but not asbestos in replacement pad. ... My Whitish pads are ceramic pads and I replace all asbestos I find.

From a post to the SML by a Brit:
A fault such as you describe will not necessarily trip either a GFI or
the circuit breaker. I once had a Strand Patt.23 catch fire, over the
audience. Those of you who remember them will say: "What's to catch
fire?"

The post-mortem revealed that it was the paxolin (SRBP) disc under the
base of the P28 lampholder. There was a bad connection, which turned
into a maintained arc. With the bulb in series, it didn't draw enough
current to trip the breaker. It got hot enough to melt the brass
terminal where it occurred.
Paxolin disc? SRBP?
 

Yes, after insulting both wiring to the terminal by way of silicone insulated sleeving over the SF-2 wire, and wrapping the berrel of the terminal with at last three layers of 3M Scotch #69 fiberglass electrical tape, I than use something as my insulator under my lamp socket for it's padding an electricacal conductive materal that I'm insulating against while also shock padding for.

Fully admit that should everything else I so far used to insulate and further to ground - why bother, that I'm using a padding that is conductive for insulator and padding, I just shorted around it by way of padding/insulators. Gee, what didn't I see before and thanks - years of stuff wired old and new now in doing everything else but having a copper foil now to pad the bottom of the lamp socket... never saw that and thanks.

Or more realistically are we on the same subject?


Why bother to ground at that plate anyway in if you are going to make a short, it should be un-grounded. Someone's talk about bad circuit boards in clad with copper that I know nothing about? 87575K83 from McMaster.com is what in a broad sense of materials in use. Such materials is what I am using to replace the asbestos. No copper with it applied to the surface and no idea of the other materials.

Lost in concept of safety concern presented from someone UK in mis-understanding at best. Yea, a short would be bad. I got that like years ago. Sorry if I don't fully understand the caution posted.
 
Last edited:
After a few "life events" caused this project to be set aside, I'm finally able to get it back on track. I've gotten it all torn down, sanded, and am working on re-painting it. I tried the Rustoleum "High Temperature" (flat black) spray paint, but was NOT pleased with the results. Krylon, for whatever reason, isn't to be found in HD or Lowe's any longer. I'm going to try out some Dupli-Color Engine Paint (semi-gloss black), and see how that works out. :)
 
Better off checking out paints used for a wood stove. Found out they work great if you don't mind the flat black finish. Most stores that sell fireplace inserts have it.
 
I never enjoyed the Rustoleum stuff. Always seemed too chalky and gray. Duplicolor on the other hand, I always had good luck with. Easy to apply and seemed to hold up in the field. At one time I had a few cans that were the perfect sheen - similar to a satin sheen but I don't think they called it that. A few years later, I went to buy more paint and could only get either flat or semigloss, 500° or 2000°, and depending on the rating, seemed to have different finishes (IIRC). I could never figure out which I had first used and liked so much (and didn't have the money to buy multiple samples). Never was the kind of person to buy a bunch of stuff and then return it.

Oh well - I've moved away from having tons of fresnels and ellipsoidals to work on and now only maintain a handful of VL550's and color scrollers. Have fun with the project!
 
Better off checking out paints used for a wood stove. Found out they work great if you don't mind the flat black finish. Most stores that sell fireplace inserts have it.
There aren't too many places that sell wood stoves in Florida, especially in June, but I'll see what I can find. Thanks for the suggestion! :)
 
I love RO high temp. flat black. Depend on it even in winter months in only thing that will dry. Results very in trying again and following directions. Hate universal spray tips from RO on the other hand, always clog up.
 
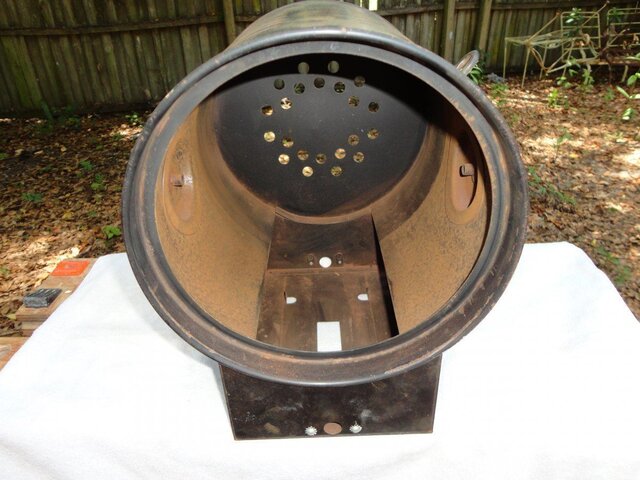
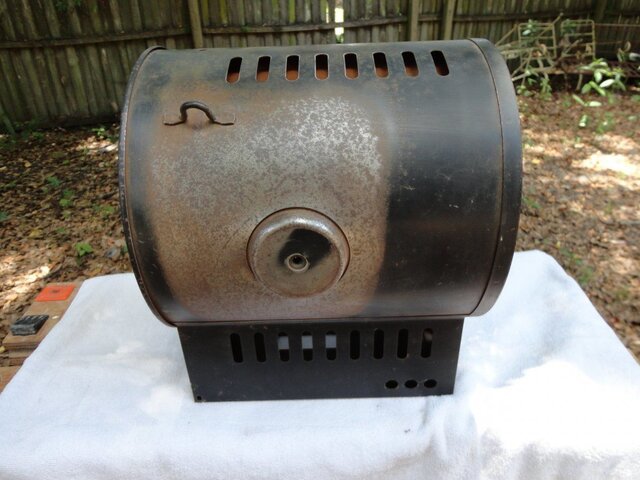
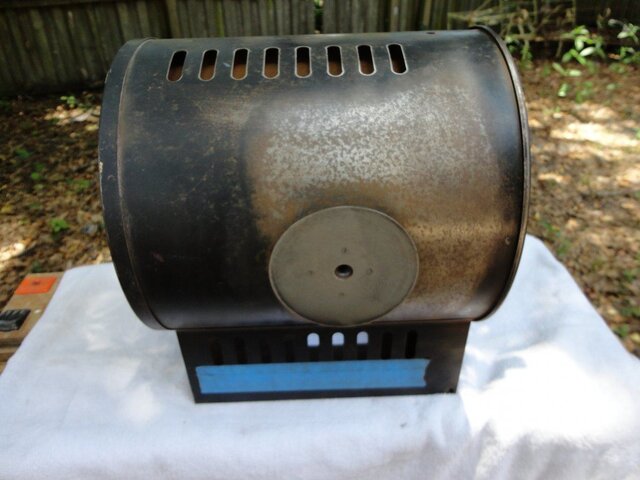
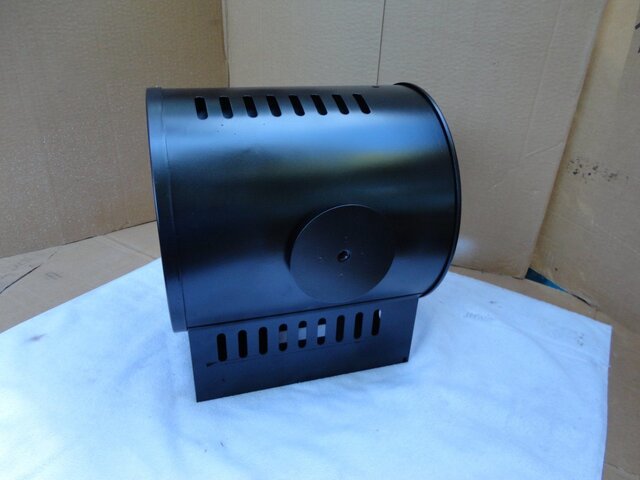
I finally got everything on this 3413 cleaned up, sanded, and re-painted. Got the wire purchased today. I hope I remember how everything goes back together! :)
 
DSC01259.JPG DSC01263.JPG DSC01269.JPG DSC01270.JPG DSC01281.JPG DSC01310.JPG DSC01311.JPG DSC01312.JPG DSC01313.JPG DSC01315.JPG
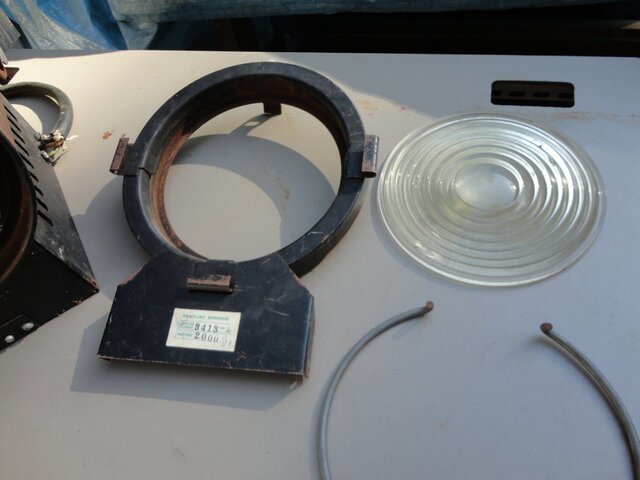
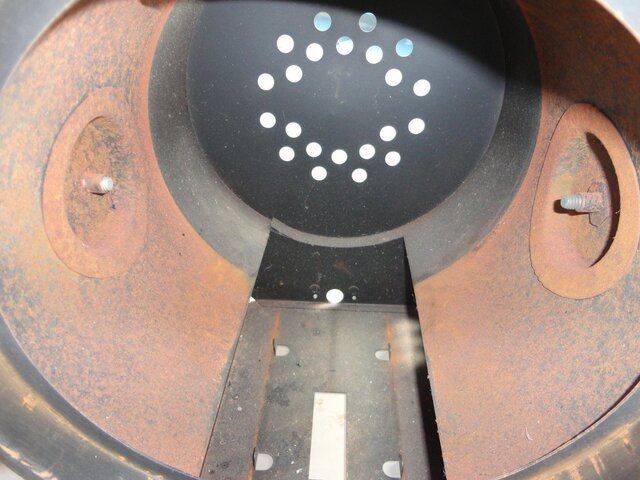
Here's what it looked like coming apart.
 
DSC04758.JPG DSC04760.JPG DSC04761.JPG DSC04762.JPG DSC04764.JPG DSC04766.JPG DSC04768.JPG DSC04769.JPG DSC04773.JPG DSC04774.JPG
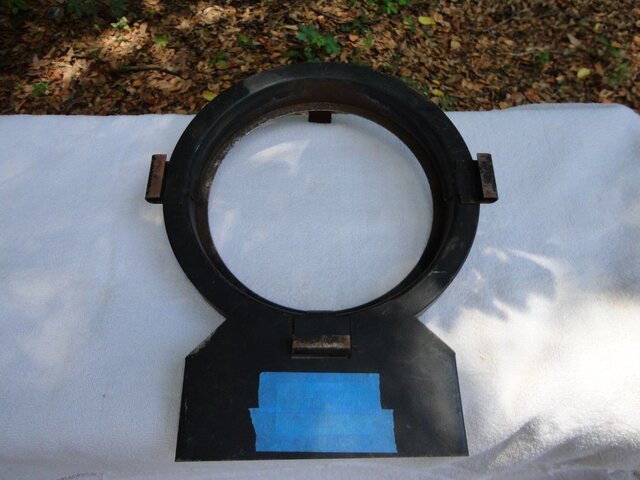
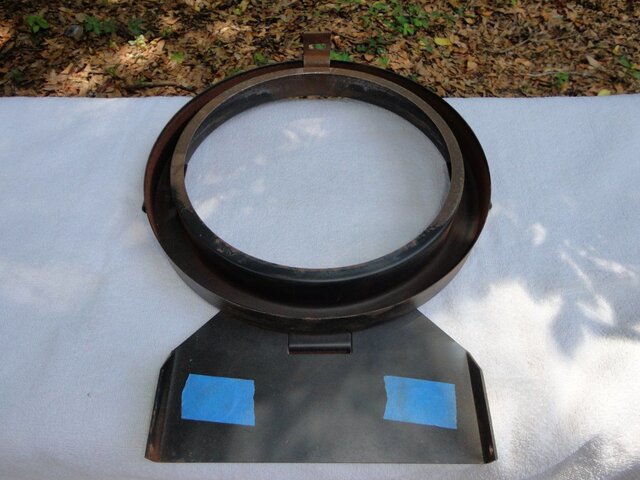
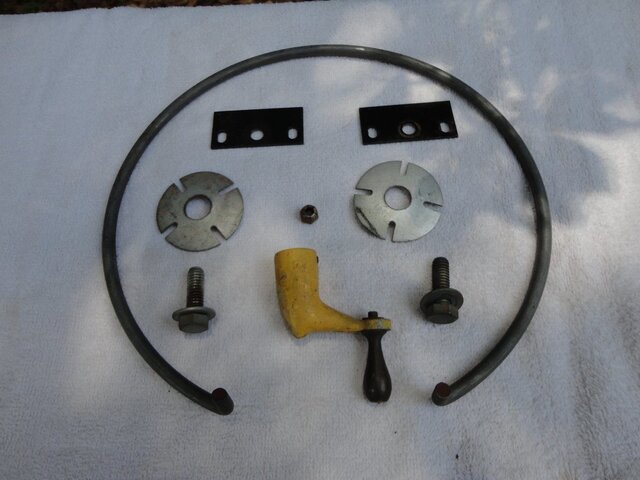
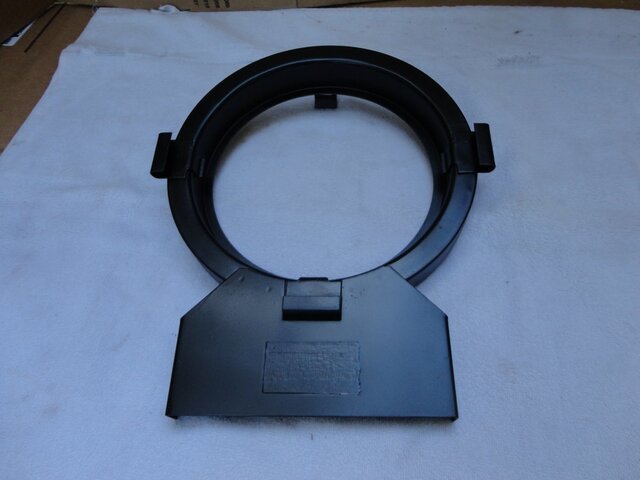
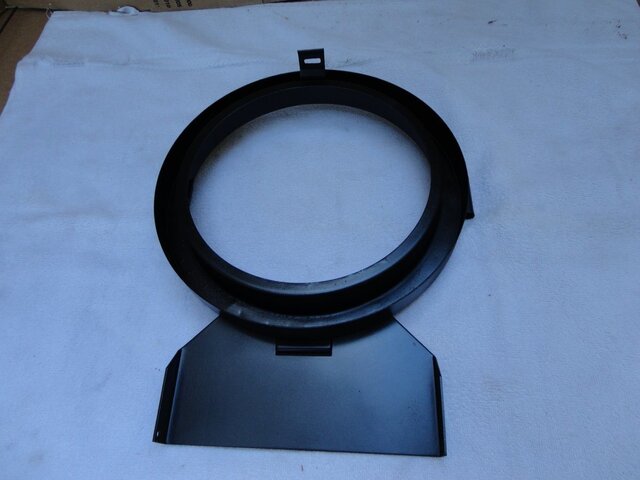
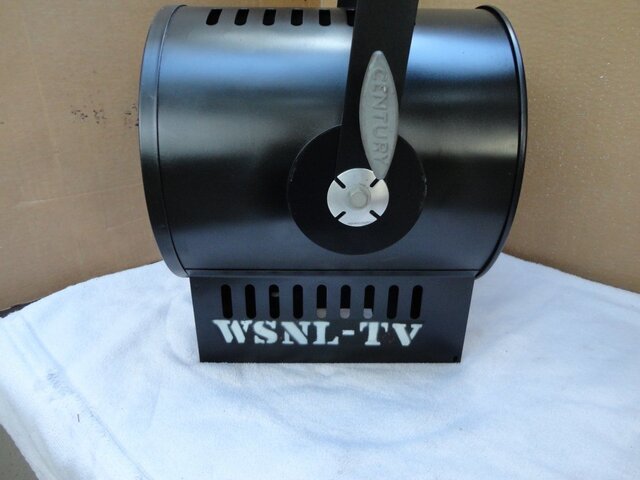
Everything is now apart. I masked off the TV station call letters that were on it when I got it, as well as the original labels. I used various grades of scotchbrite-type pads and sandpaper to remove the rust. (Part 1)
 
DSC04800.JPG DSC04801.JPG DSC04803.JPG DSC04804.JPG DSC04816.JPG DSC04817.JPG DSC04818.JPG DSC04820.JPG DSC04821.JPG DSC04822.JPG
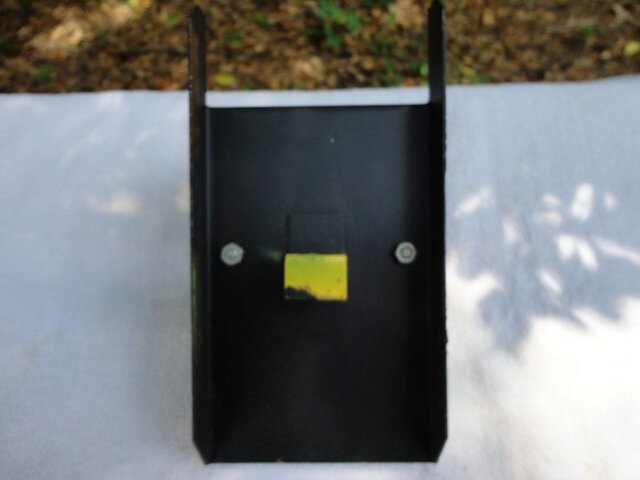
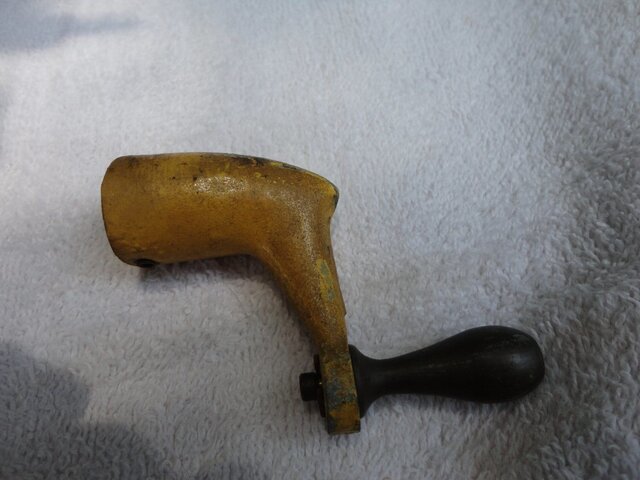
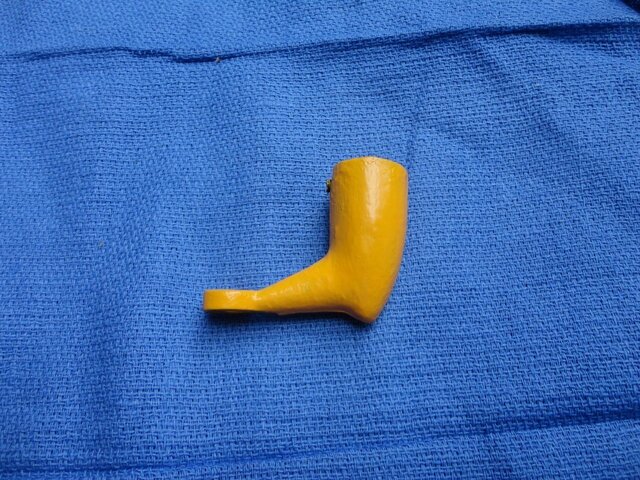
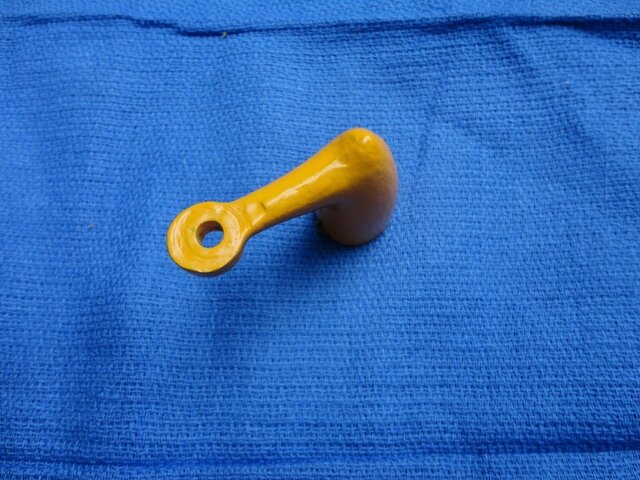
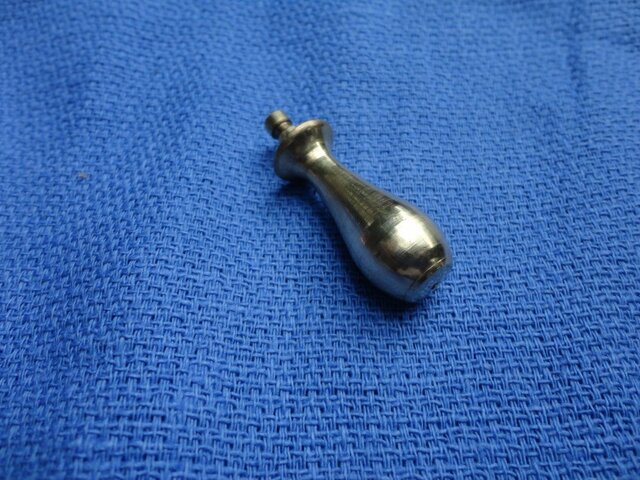
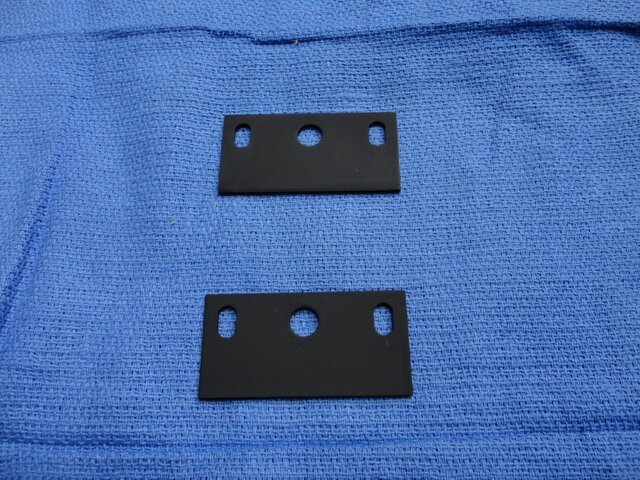
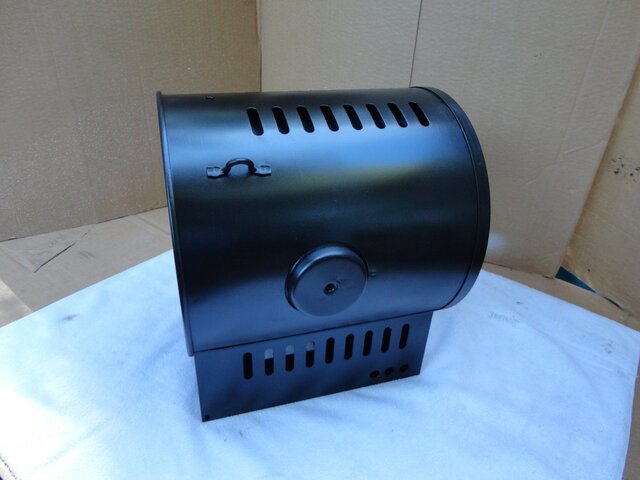
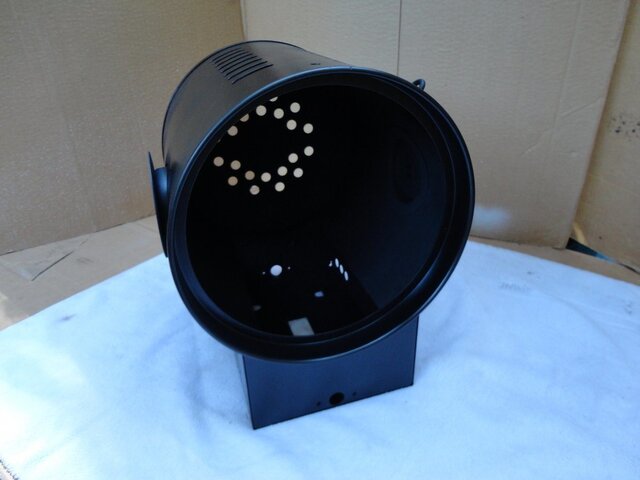
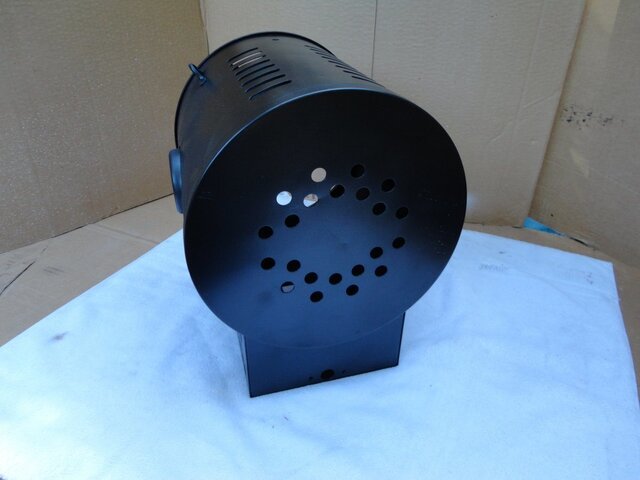
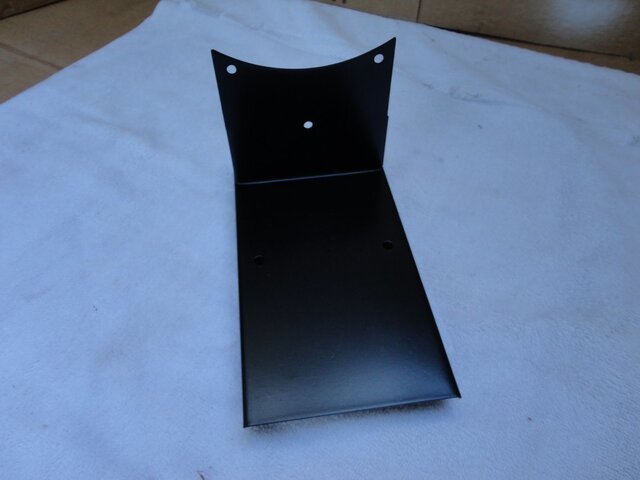
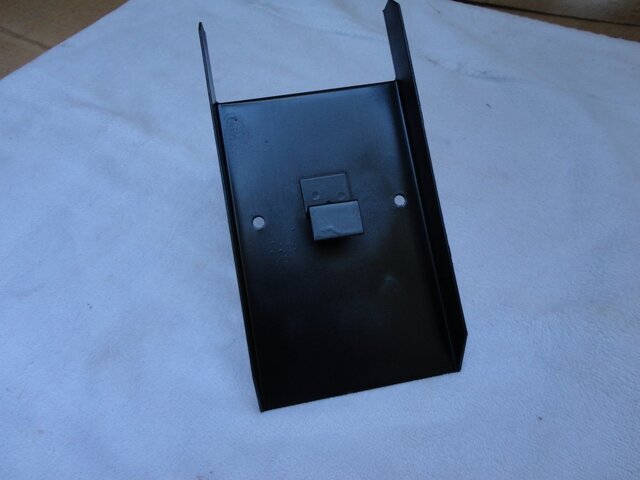
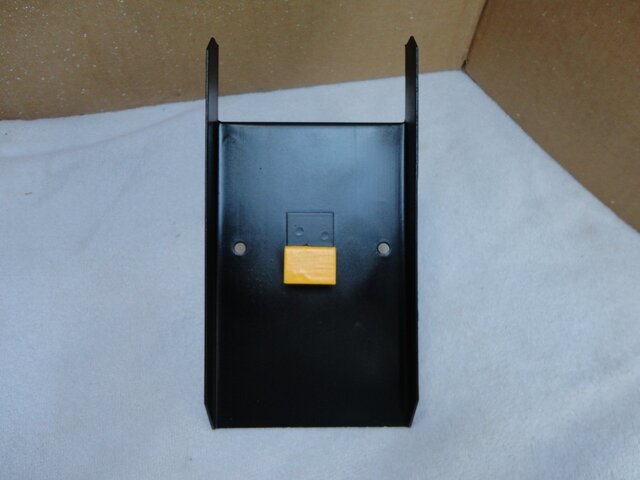
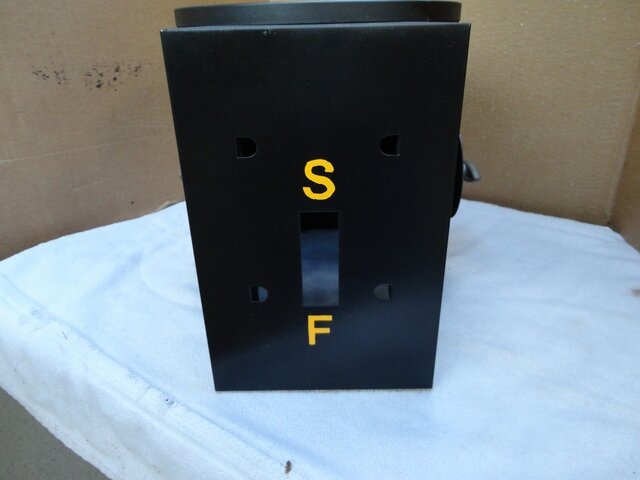
The re-paint, Part 1: I used Testor's yellow enamel on the crank, the sheet-metal tab on the underside of the carriage, and the letters "F" and "S" on the bottom. (I may re-do those letters; I'm not excited about how they turned out.) I was pleasantly surprised to find out the crank handle was actually solid brass, and a few minutes with the buffing wheel on my Dremel shined it up nicely. For the sheet metal, I originally tried Rustoleum High-temp spray paint, but I thought it looked way too chalky for my taste. I sanded the exterior lightly, and re-sprayed it with Dupli-Color Semi-Gloss Black engine paint (DE1635), and liked it much better. I left the Rustoleum on the inside, since I wasn't concerned as much with the appearance.
 
DSC04823.JPG DSC04824.JPG DSC04825.JPG DSC04826.JPG DSC04827.JPG DSC04828.JPG DSC04835.JPG DSC04836.JPG DSC04839.JPG DSC04840.JPG
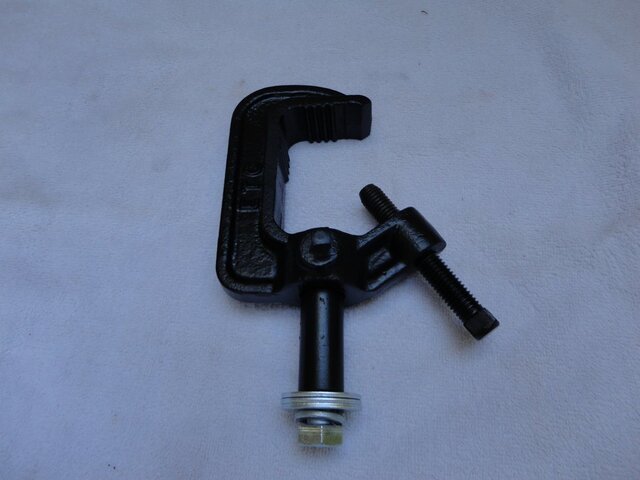
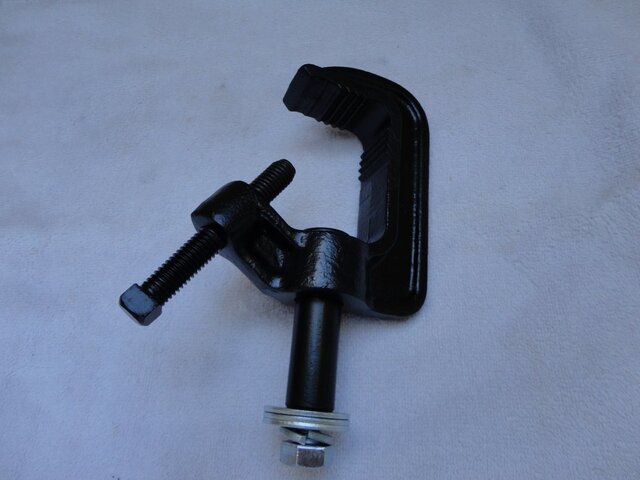
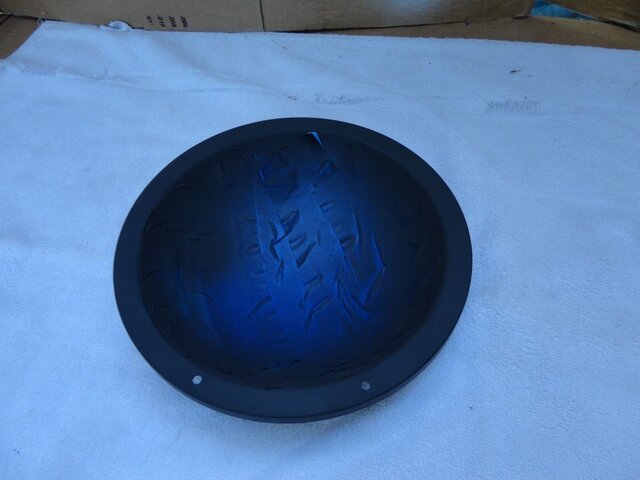
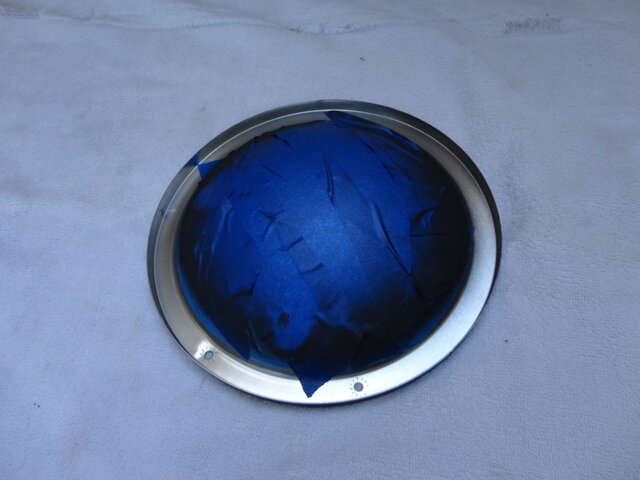
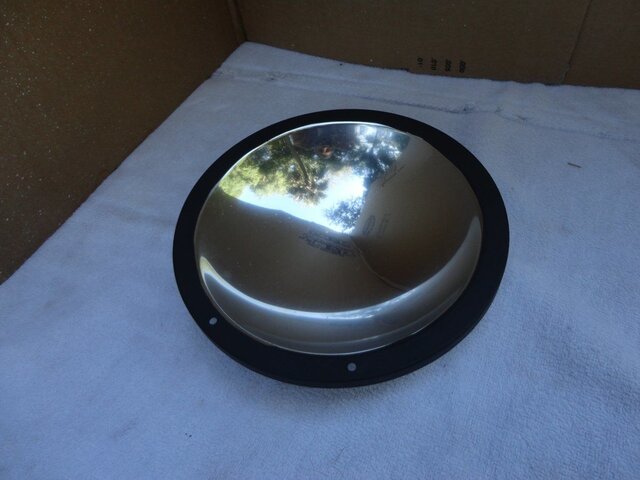
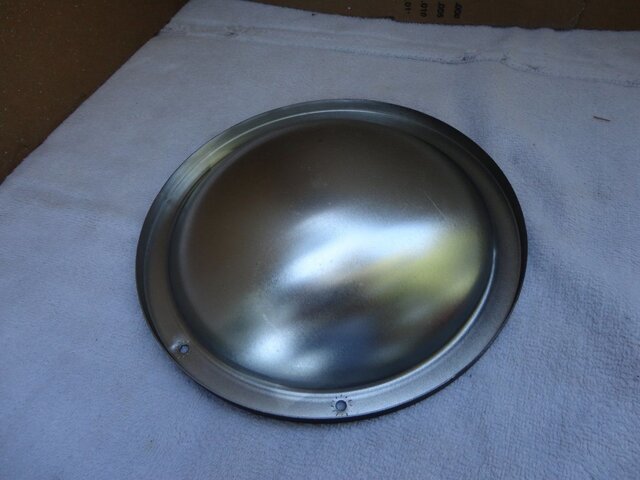
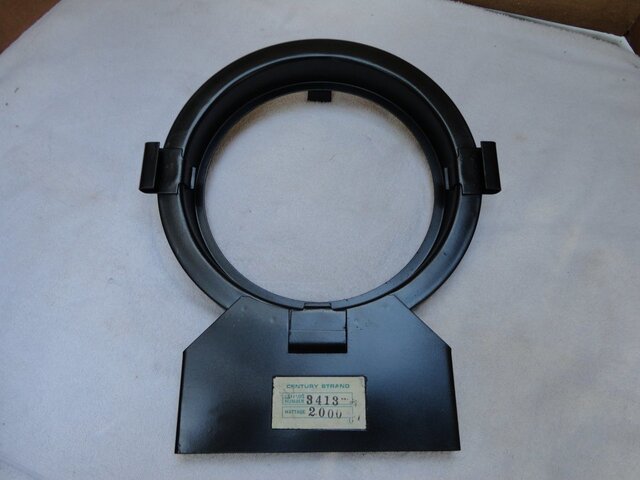
The re-paint, Part 2: When I got this fixture, it had a Kliegl C-clamp on it. Since my other rebuild project is a Kliegl fresnel, I set it aside for that one. I had this rusty ETC C-clamp laying around, so it found its new home on this one. I masked off all but the edges of the reflector, and sprayed it with the Rustoleum.
 
DSC04842.JPG DSC04843.JPG DSC04844.JPG DSC04845.JPG DSC04846.JPG
The re-paint, Part 3: All of the yellow details are done, and the masking tape has been removed. I am seriously considering re-doing the "S" and "F" on the bottom. Sadly, the two labels on the inside of the front frame did not survive the un-masking. They were the Underwriters Laboratories and Union labels. At least the "Century Strand" label made it!
Once I have everything put back together, I'll post some pictures of that to bring this project to a closure. Thanks to everyone who put in their $0.02 worth! (Although it was worth MUCH MORE than that to me...)
:)
 

Users who are viewing this thread

Back