DannyDepac
Member
Hello Everyone,
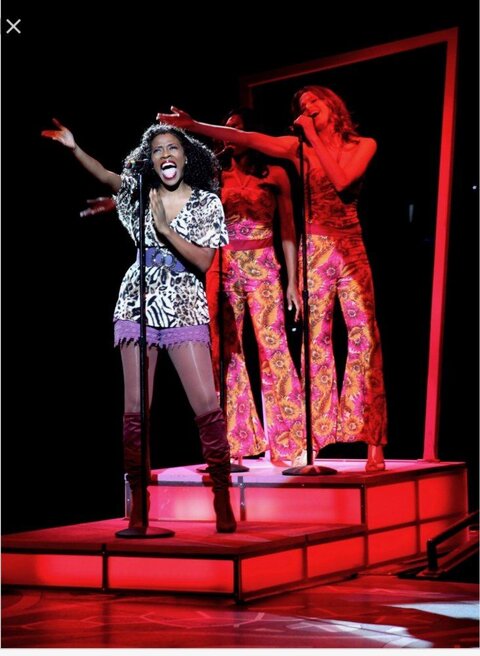
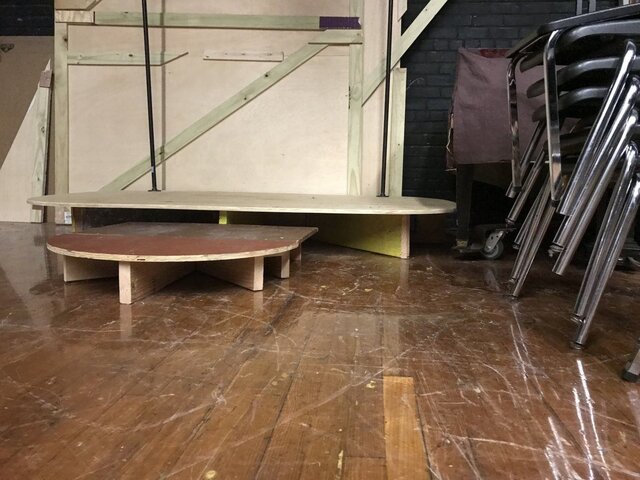
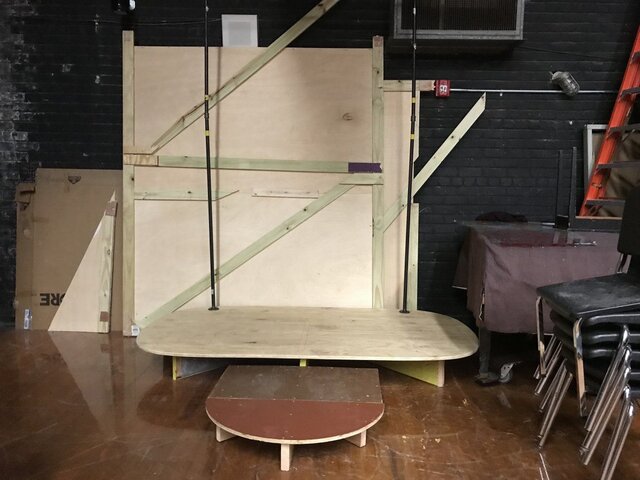
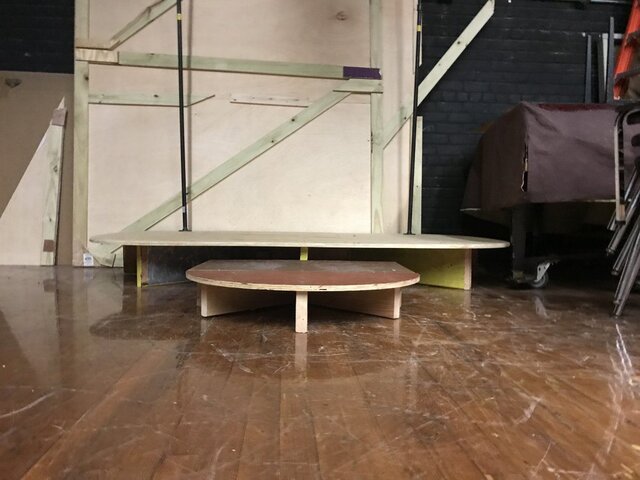
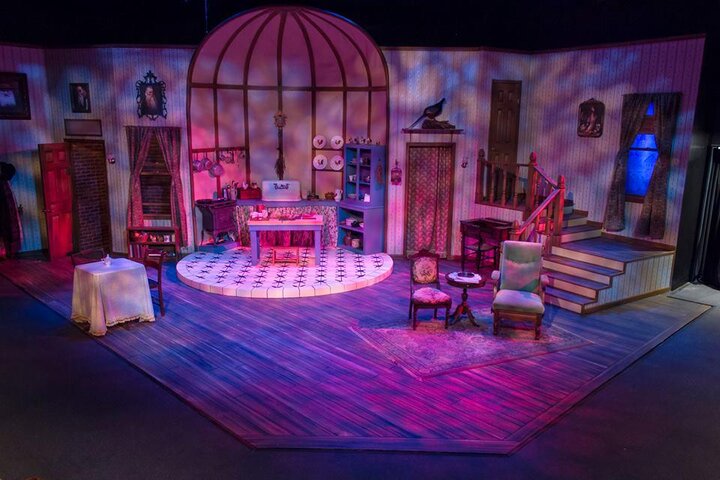
Today I started building a small stage platform for our upcoming musical Sister Act and then I found a cool picture online (after I had built it of course) that would def help "jazz it up"
I can definitely adjust the desired design to my current build but I'm just not sure of the method or material -
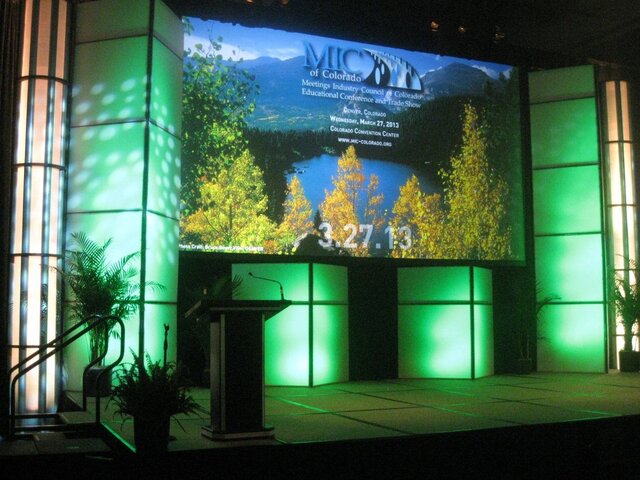
I need a flexible plexiglass / acrylic material that is not very transparent but I want to light it with colored lights...
Should I use frosted glass spray ? Sand plexiglass? Slightly heat the plexiglass? Or does something exist that is curved and not completely transparent like film?
I attached a picture - My version is a curved semi circle is that helps. I can take a picture tomorrow if need be.
Thanks in advance guys
Today I started building a small stage platform for our upcoming musical Sister Act and then I found a cool picture online (after I had built it of course) that would def help "jazz it up"
I can definitely adjust the desired design to my current build but I'm just not sure of the method or material -
I need a flexible plexiglass / acrylic material that is not very transparent but I want to light it with colored lights...
Should I use frosted glass spray ? Sand plexiglass? Slightly heat the plexiglass? Or does something exist that is curved and not completely transparent like film?
I attached a picture - My version is a curved semi circle is that helps. I can take a picture tomorrow if need be.
Thanks in advance guys