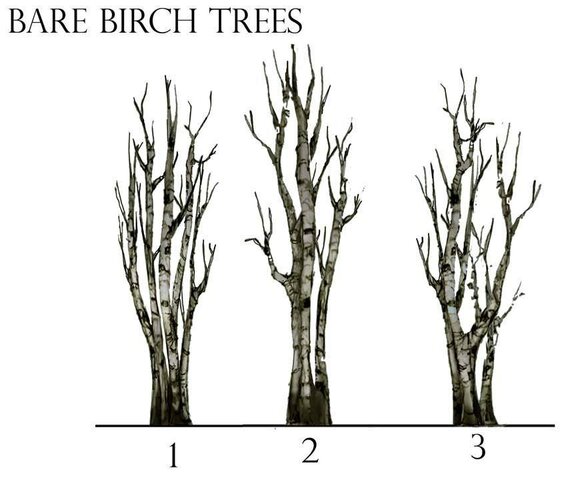
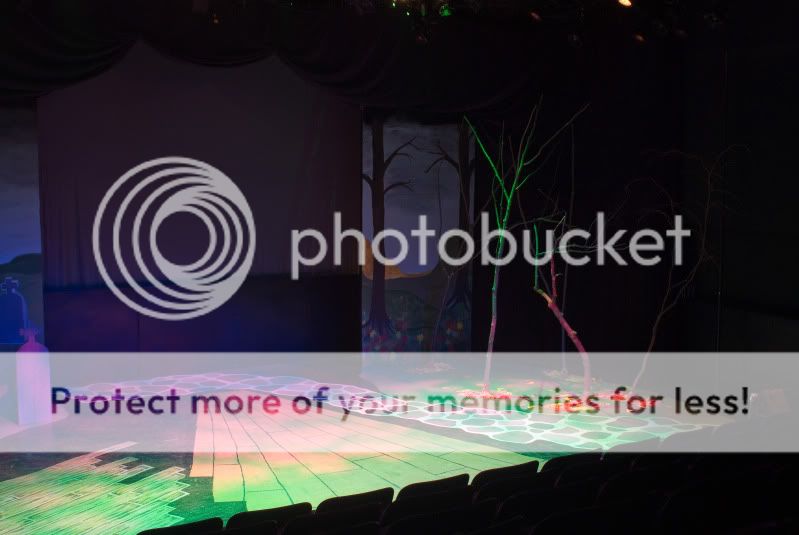
At my school's production of Into the Woods last year, we had to make birch trees much like those.
We didn't actually make the trees 3D, but if the trees only need to look 3D, you can coordinate with the
lighting designer to create an
effect.
What your LD and Set Designer would need to coordinate is:
A: a few lighting points that the LD is willing to make a soft red/green/whatever color fits the theme of the show, off to the side of the trees.
B: A very thin mixture of paint in the color of the gels. You can get this mixture by watering down the paint, say 1 part paint to 10 parts water. Experiment a little
bit to find a good medium.
So, lets say the
stage left side of the trees are covered with a red mixture. The lighting points
stage left would need to be gelled red. Then
stage right would be painted green, SR instruments gelled green.
You would want to apply the paint no wider than half an inch, and it should run wherever you want to add a 3D
effect.
Hope this helps.