bobgaggle
Well-Known Member
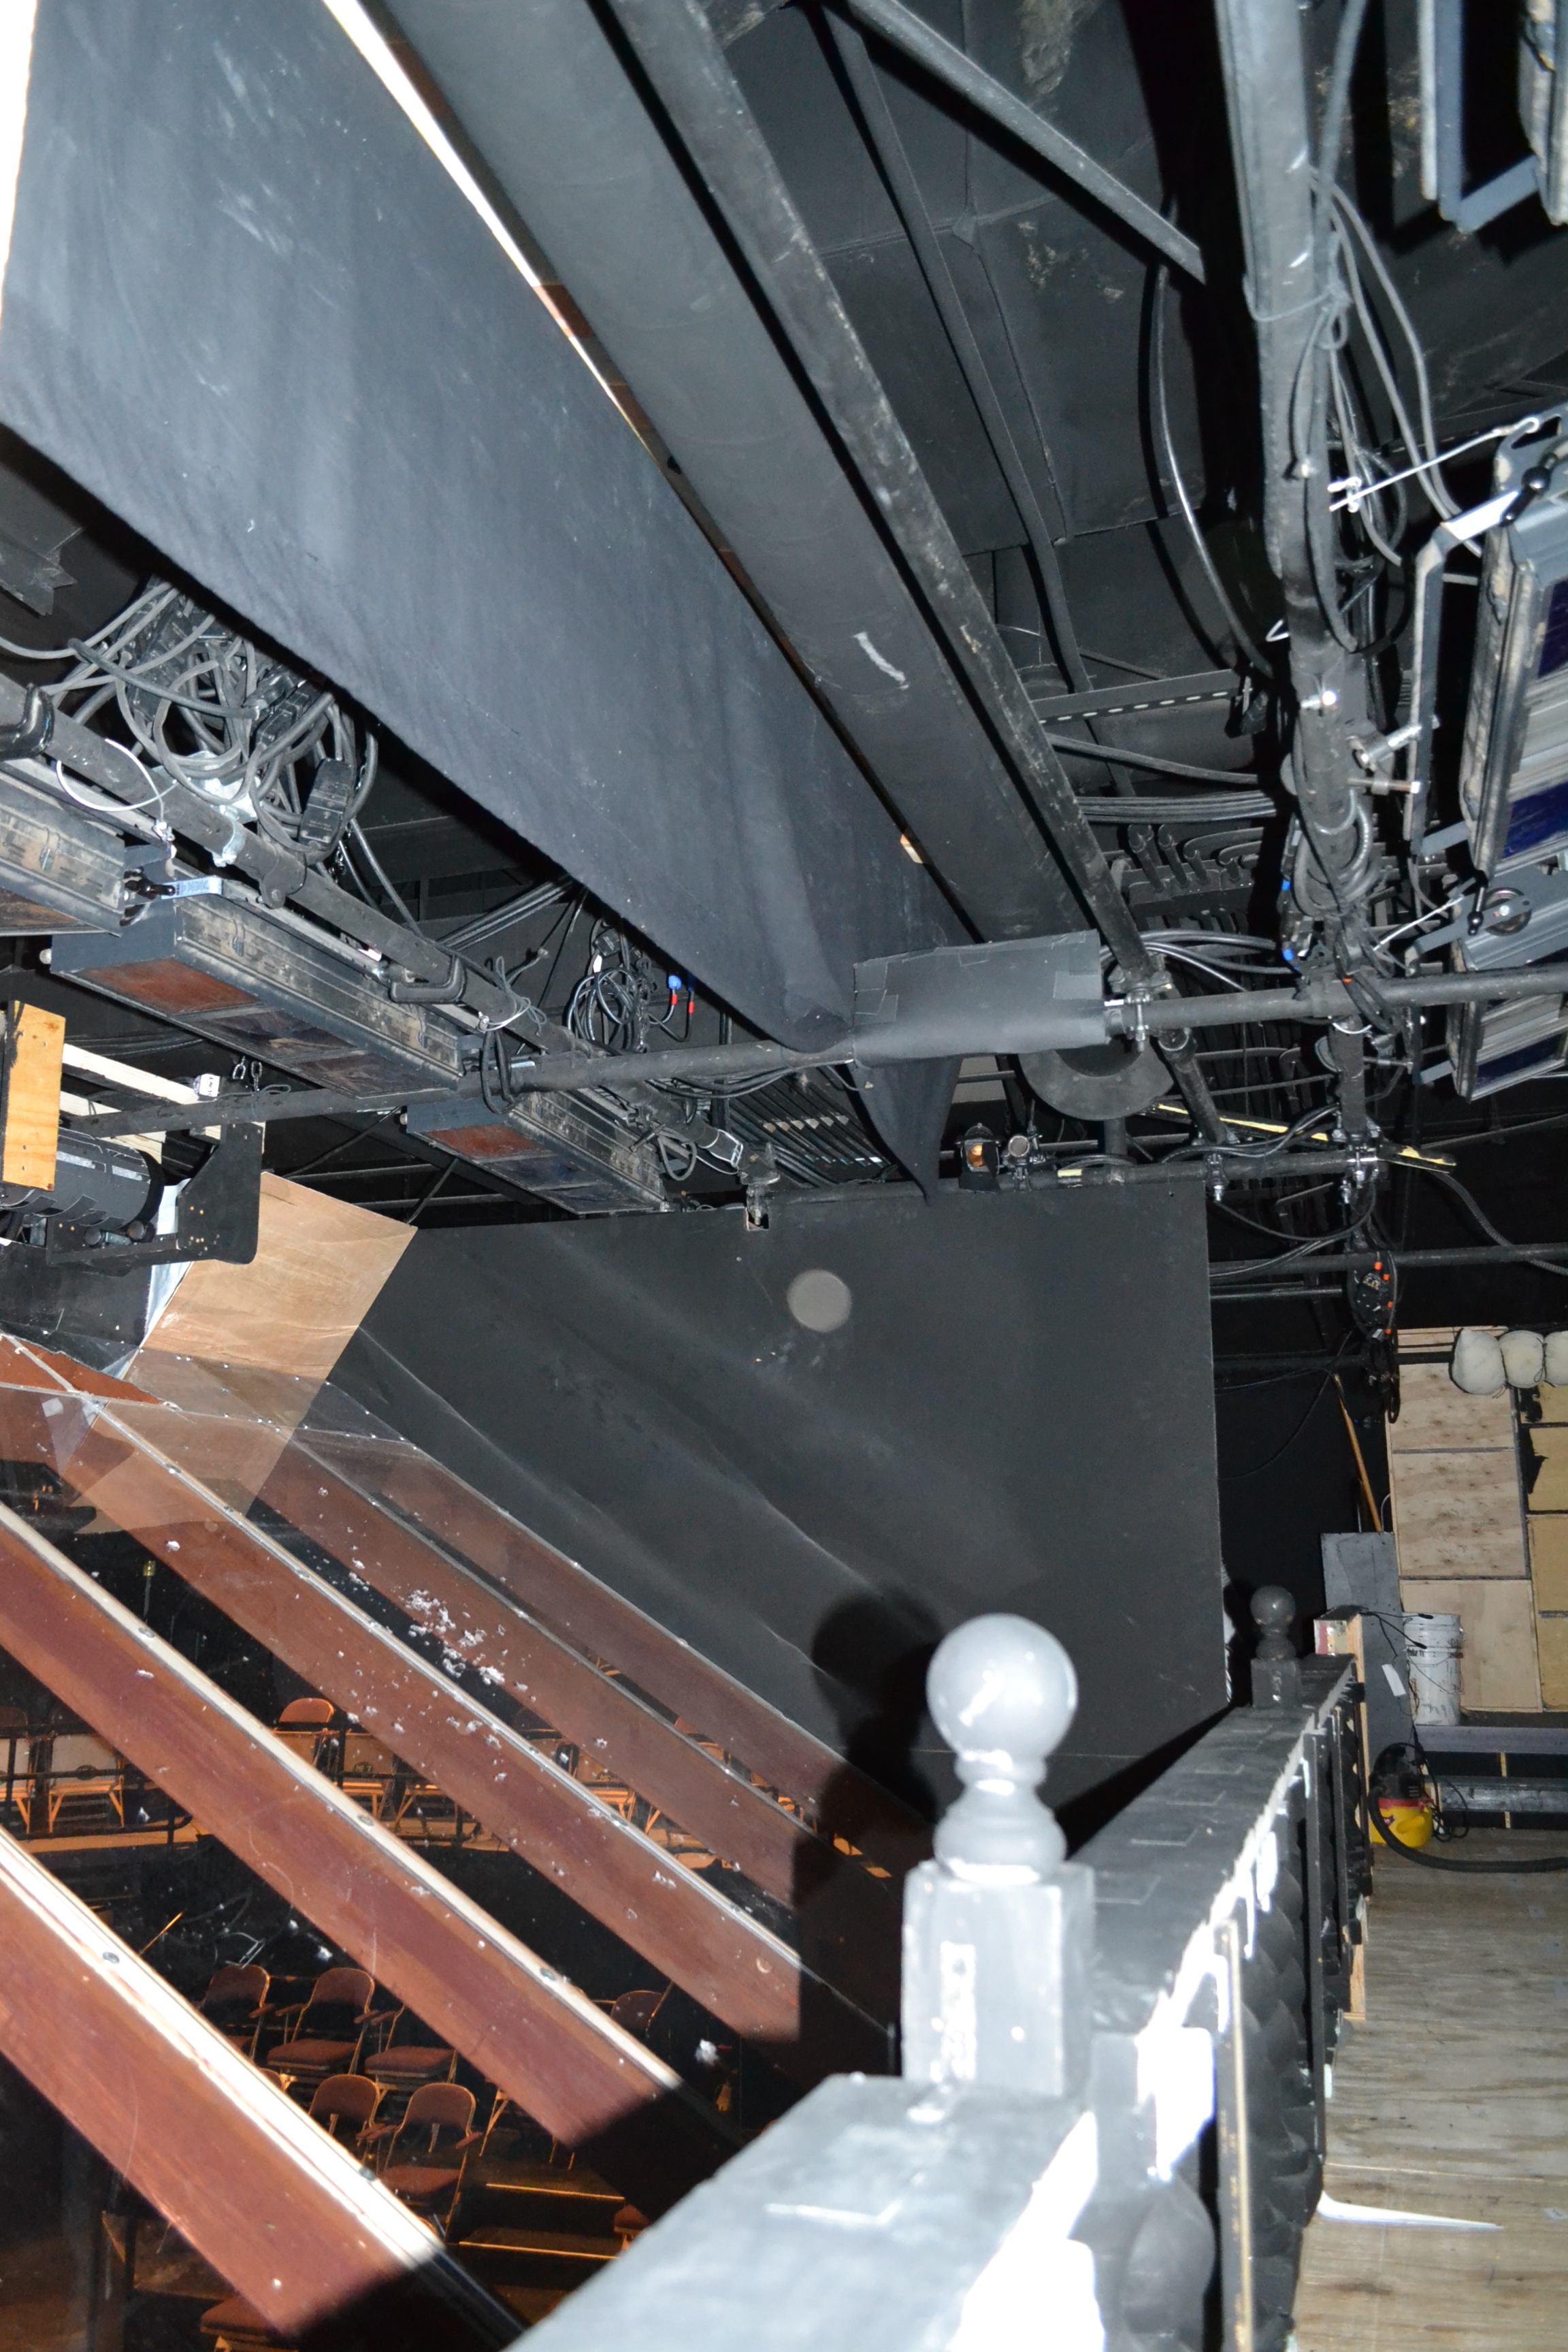
I'd been doing some research on the forums about snow effects for my holiday show. After reading all the posts and seeing what products are commercially available, I created a snow drum to meet the specific needs of my space. The venue is located in the basement of an old department store, is set up as a 3/4 thrust and has a ceiling height of 11-ish feet. The thrust is 24', but the entire playing space US of the thrust is about 40' wide. The director wanted snow to cover the entire stage and budget constraints prevented us from using liquid snow machines. So here is the process we used for making a low profile snow drum...
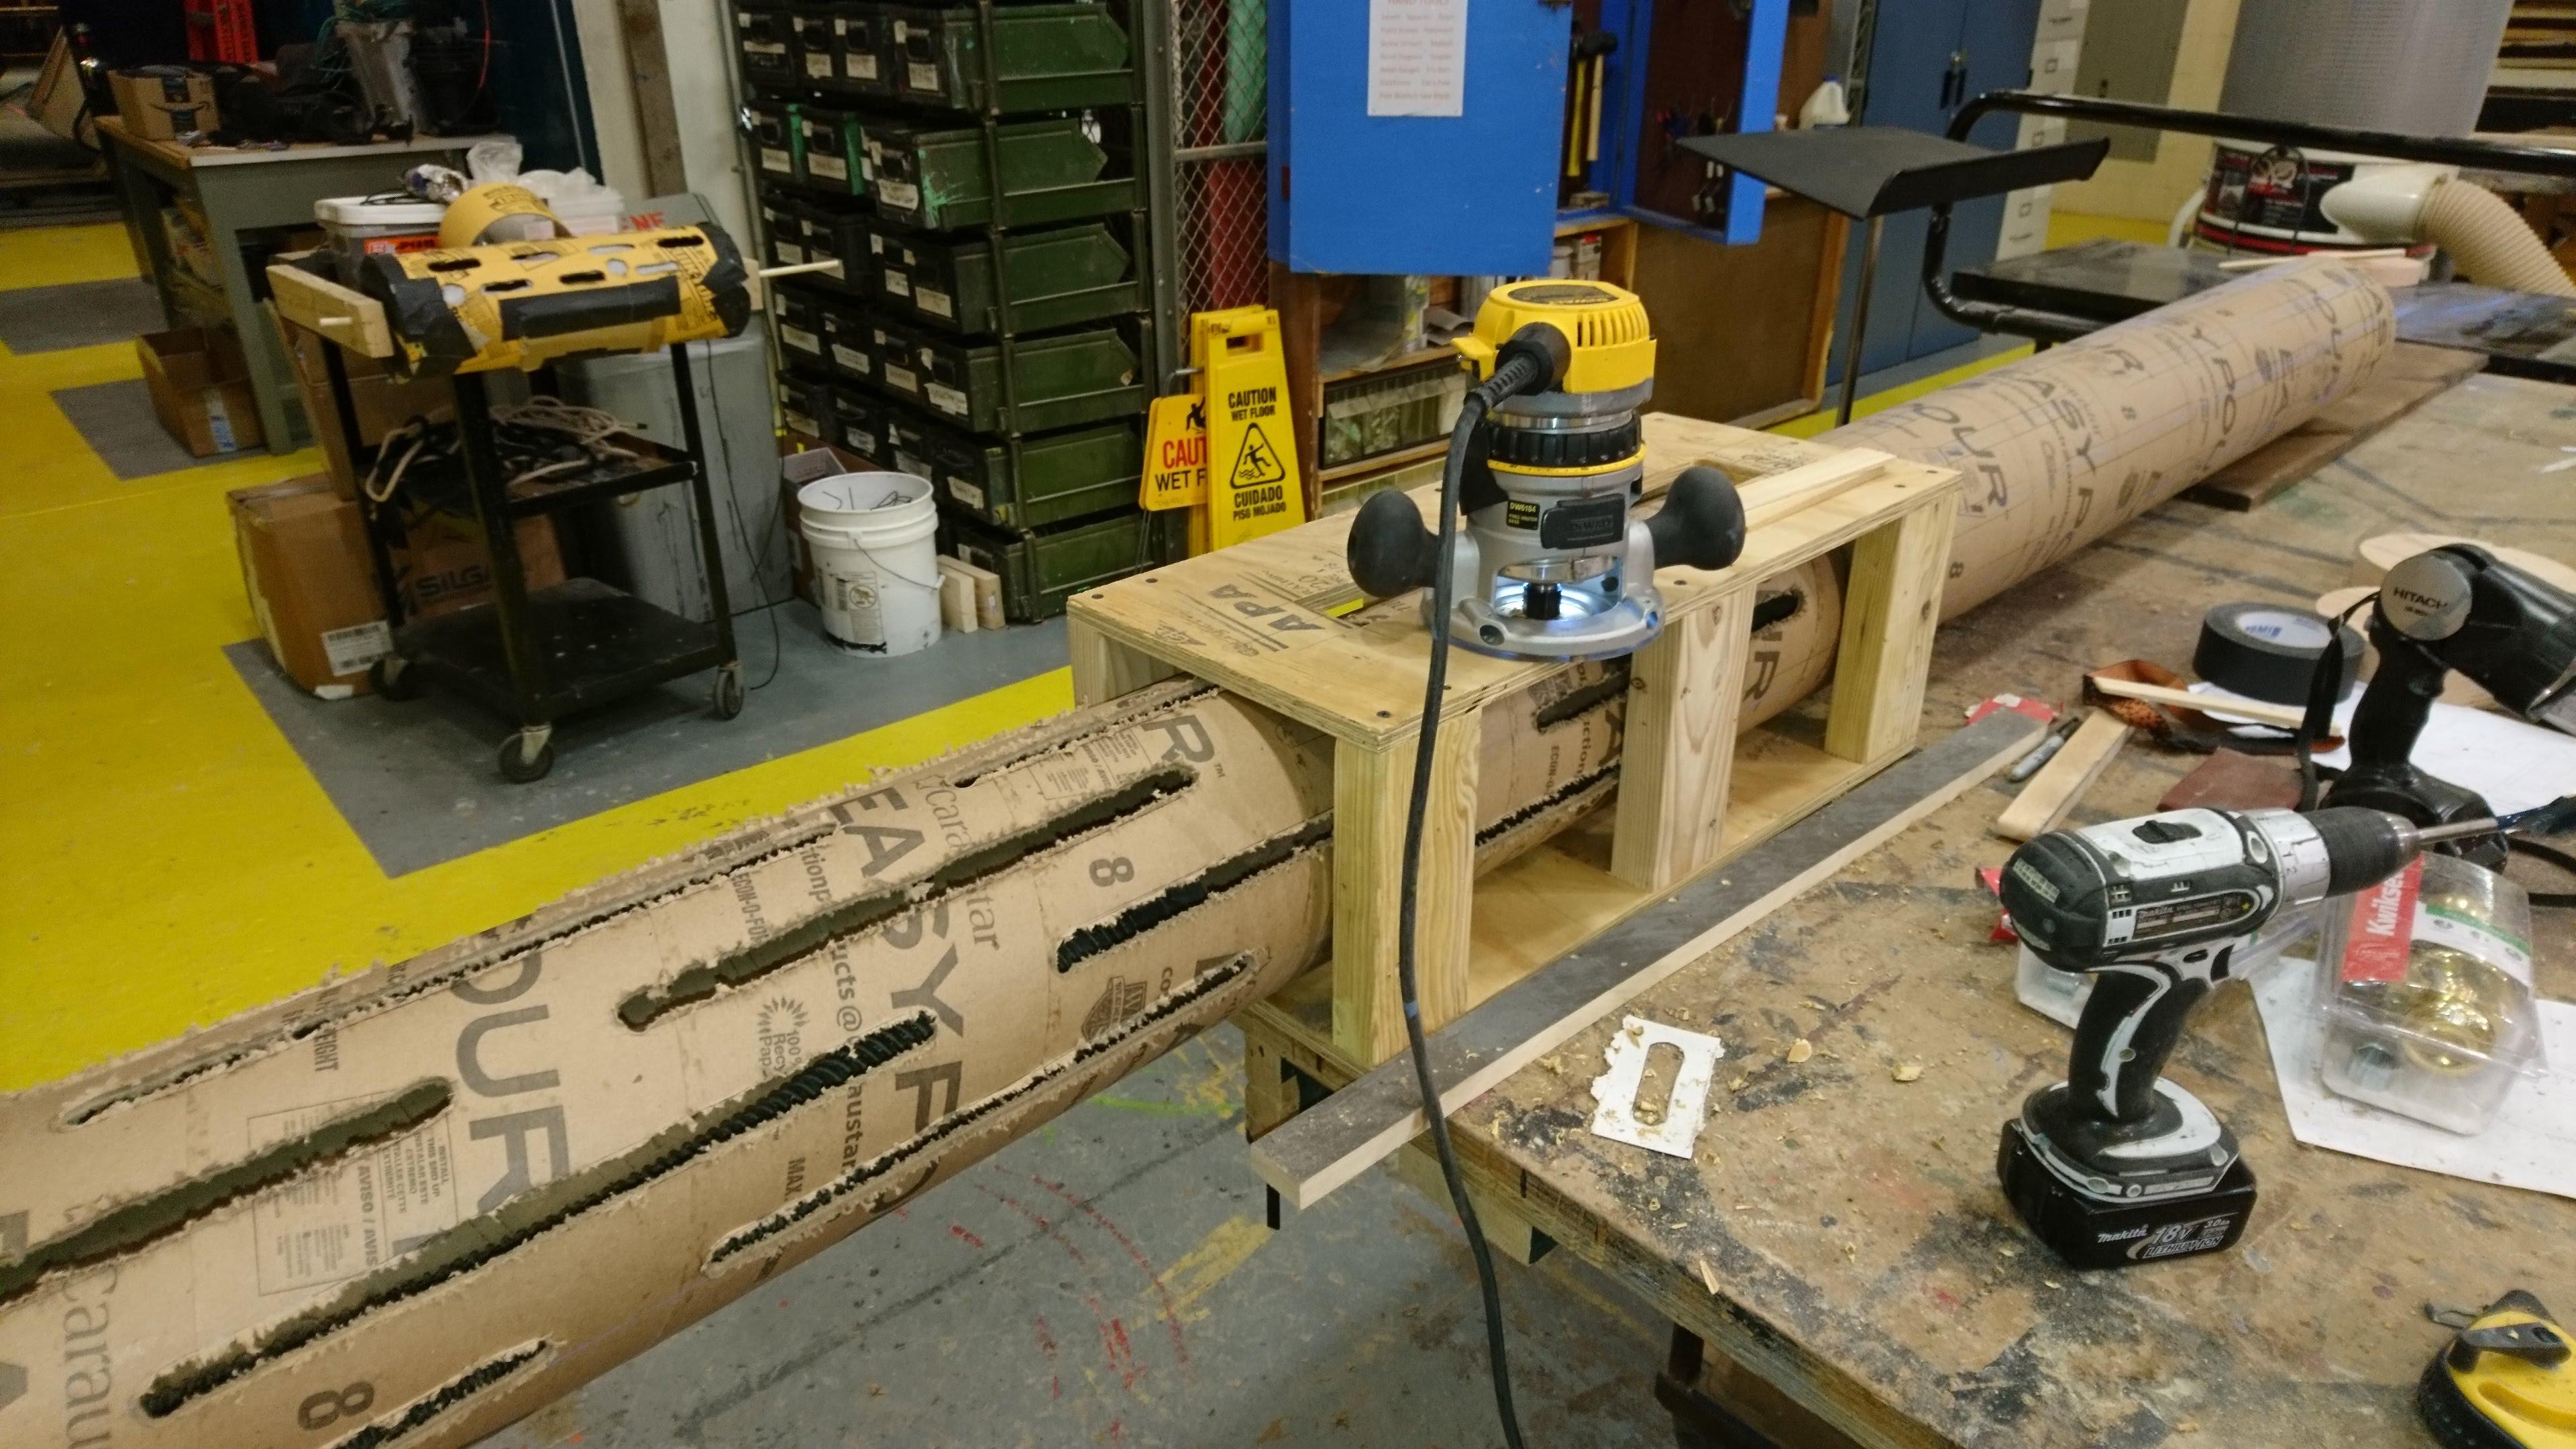
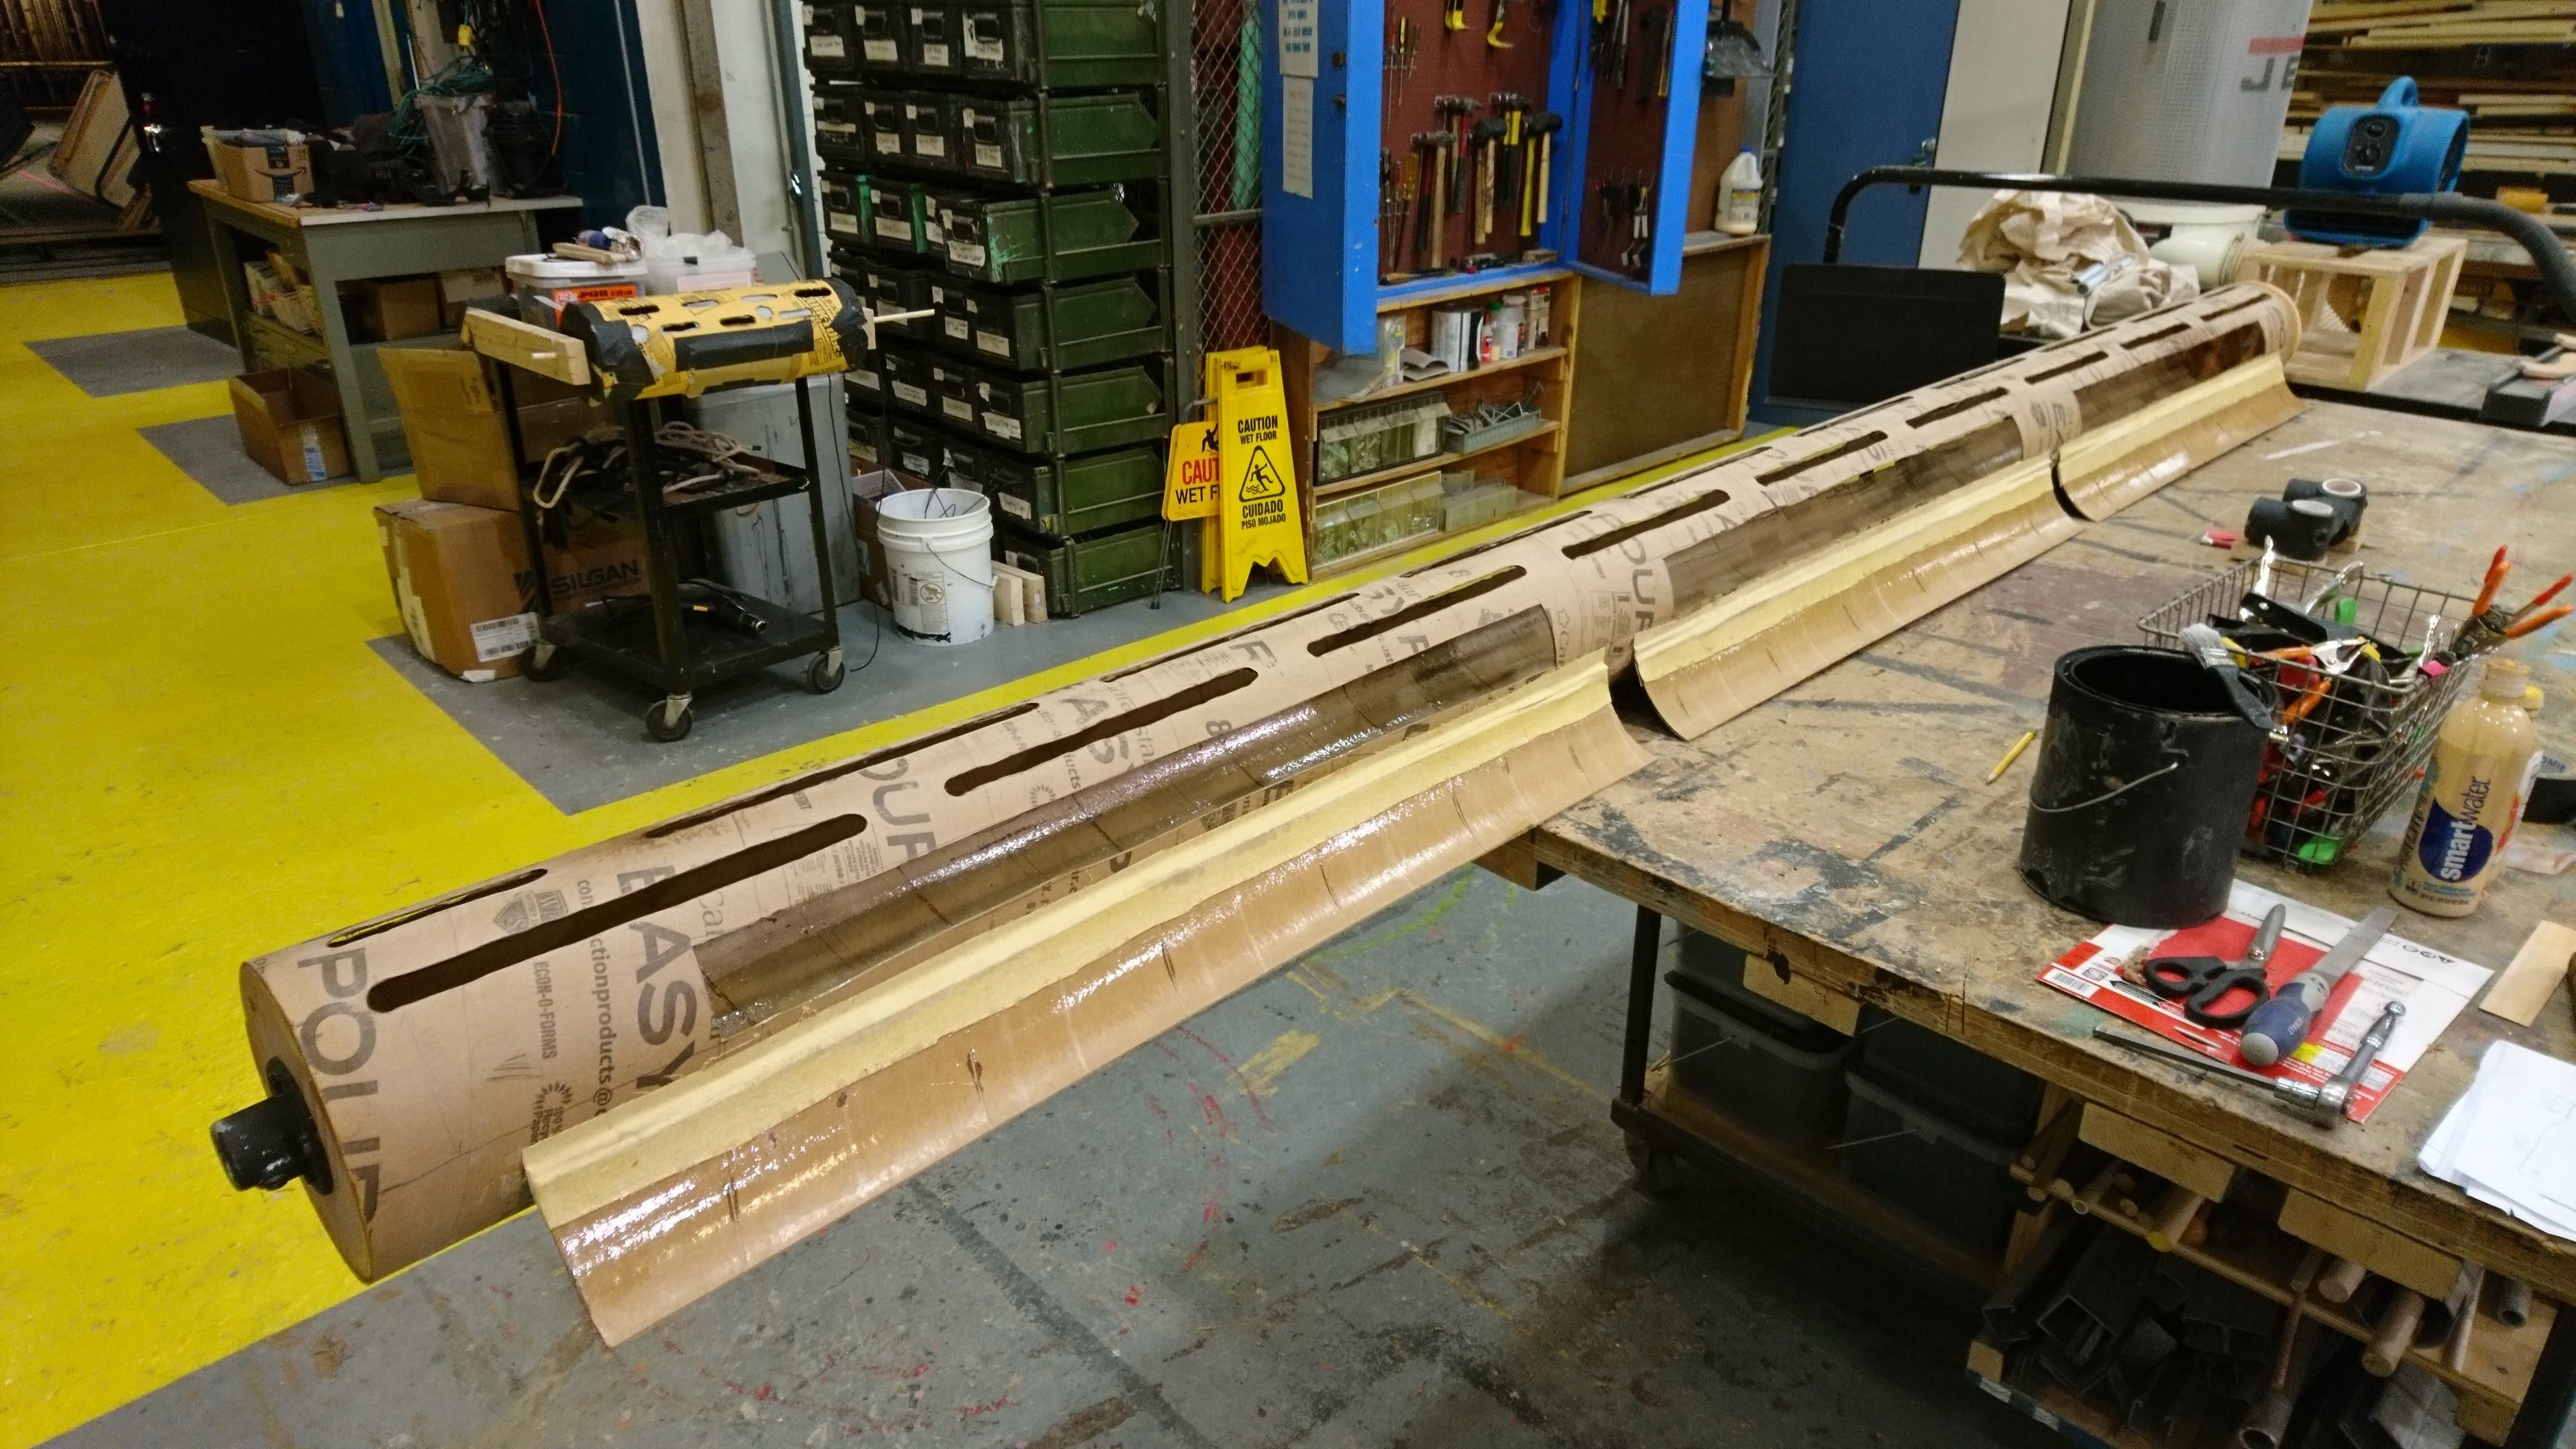
1. The Drum (4" PVC Pipe at 10')
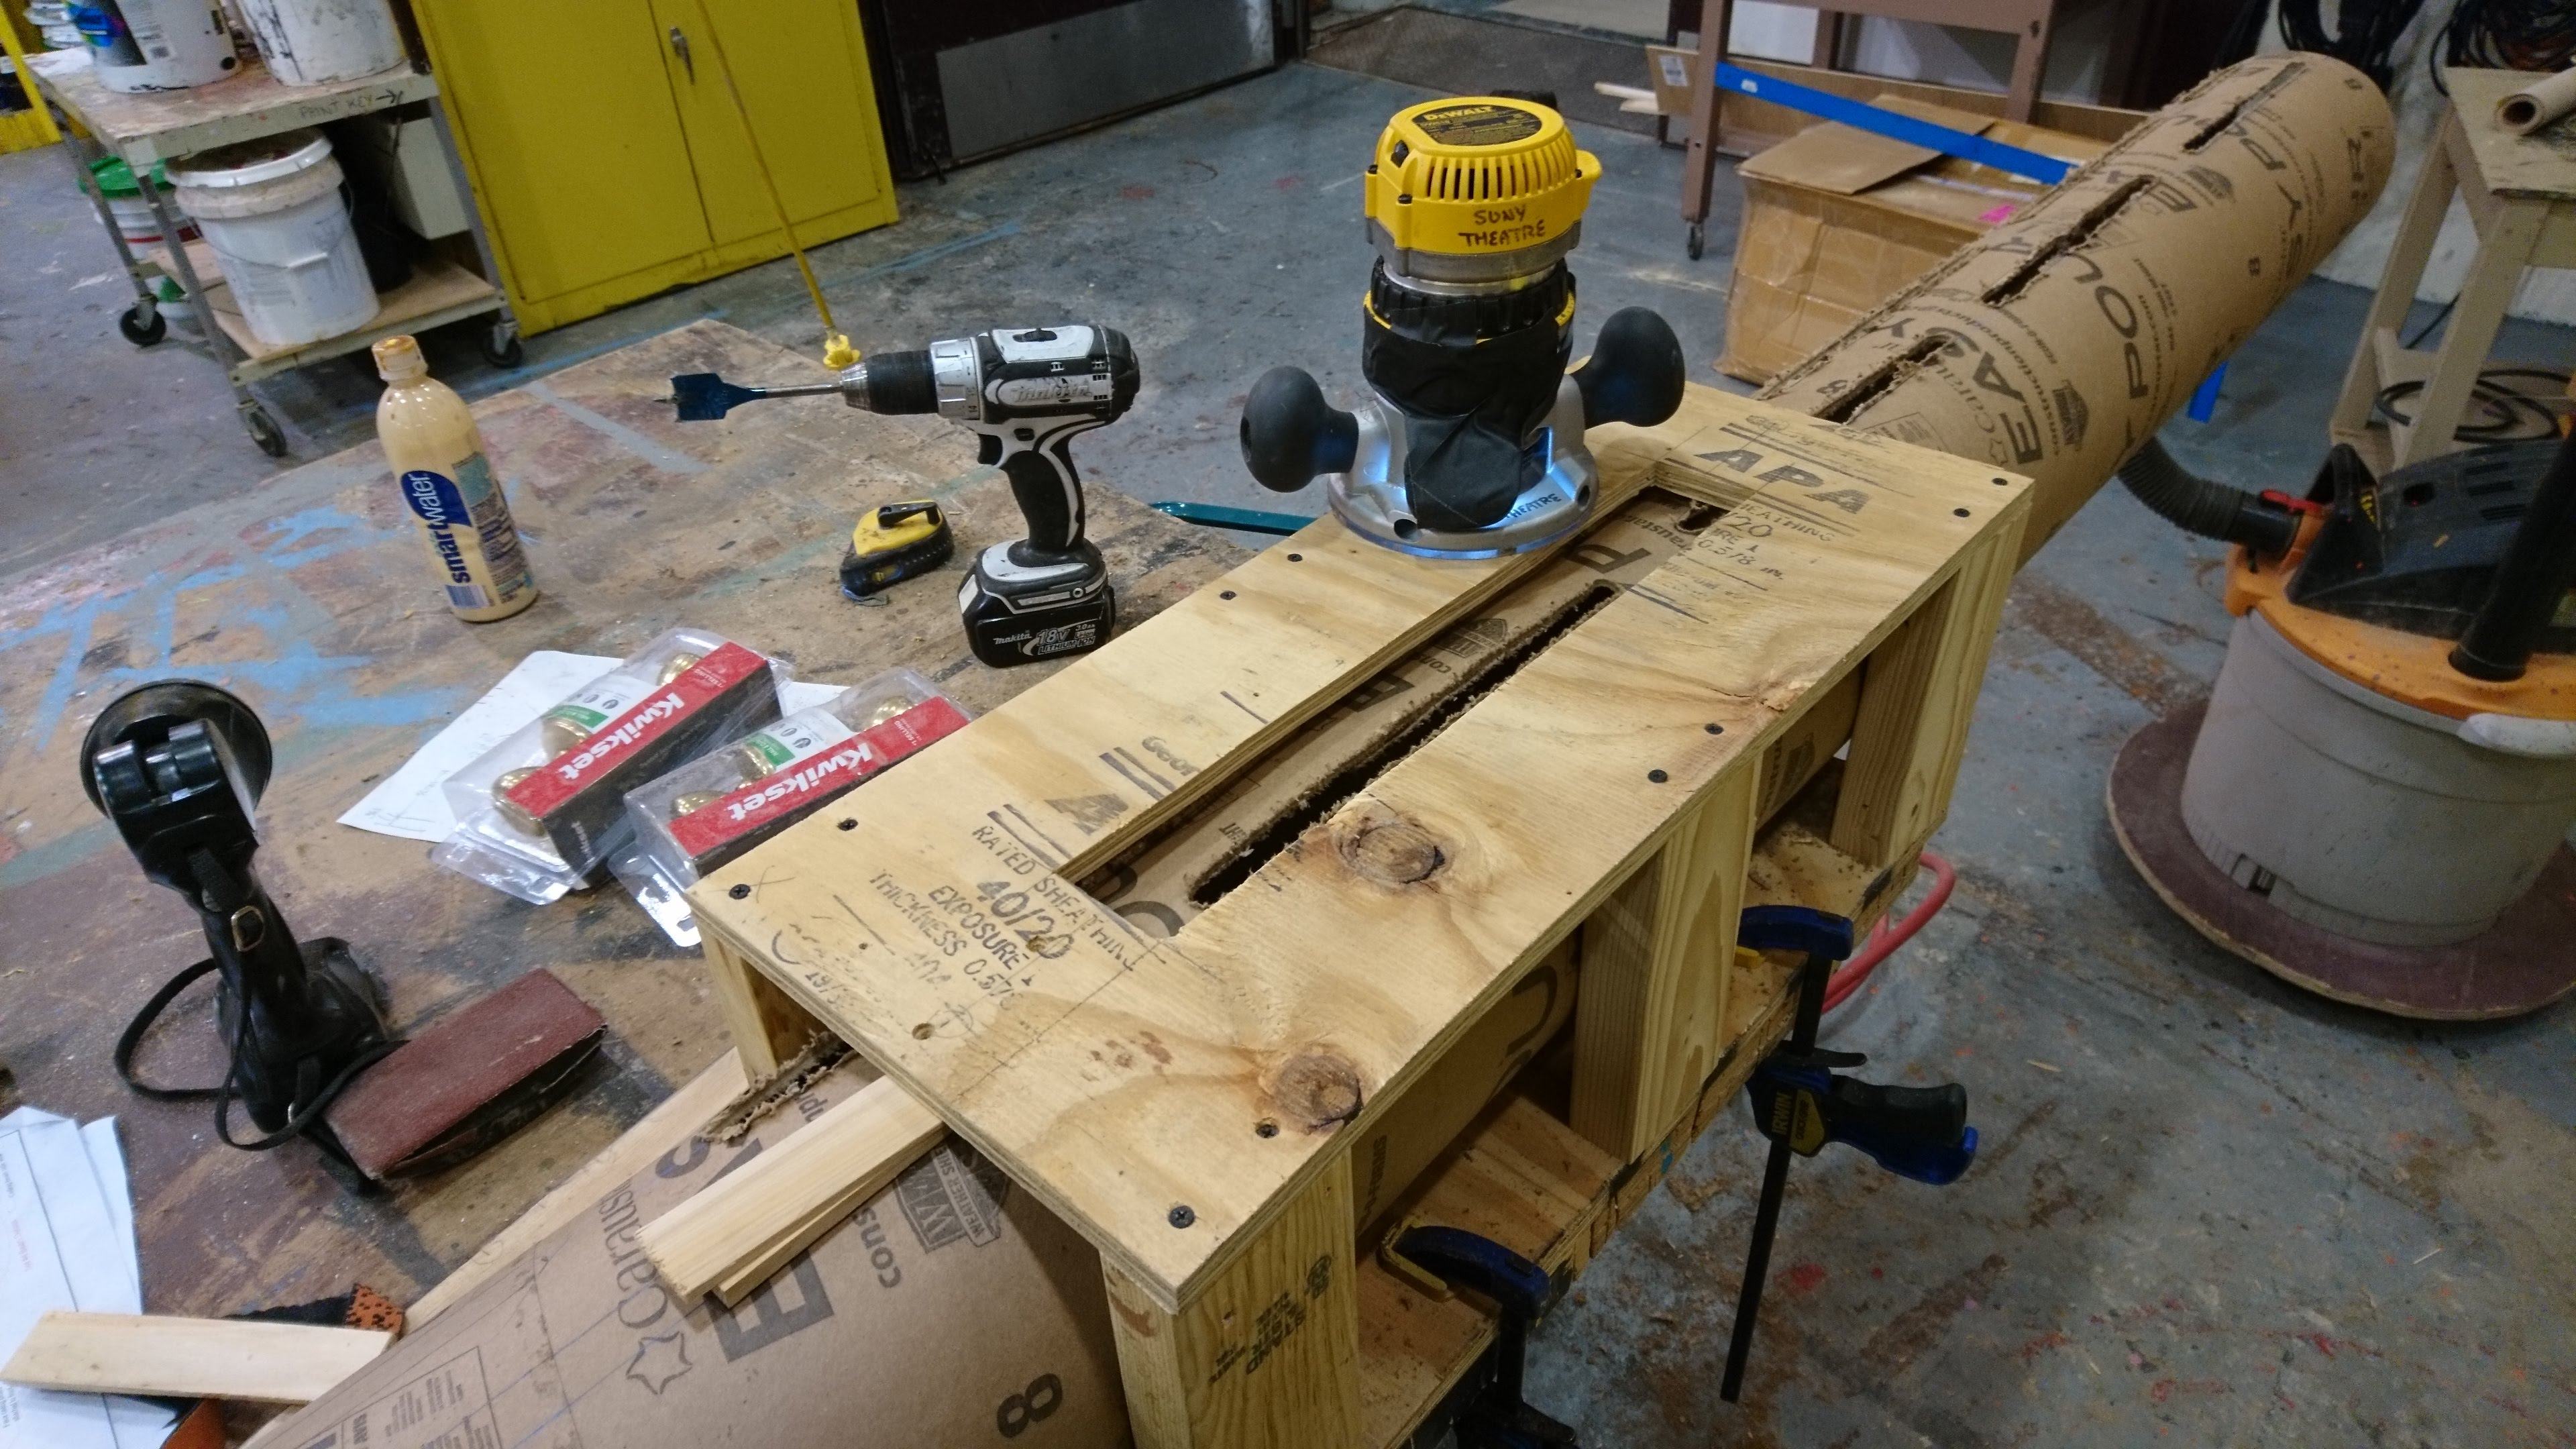
I built a jig for the router that allowed the operator to raise and lower it while another person pushed the PVC through a chute of sorts. This allows for fairly uniform holes to be cut into the pipe. In the photo, the pipe is sitting on top of the chute, but for cutting it was fed through underneath. In the background you can barely see the router resting on its swing arm away from the pipe.
In order to keep the pipe straight when cutting, we snapped a chalk line on the pipe and marked the router's swing arm to indicate where the bit's center was. All we had to do was align the two and we had a straight line of cuts.

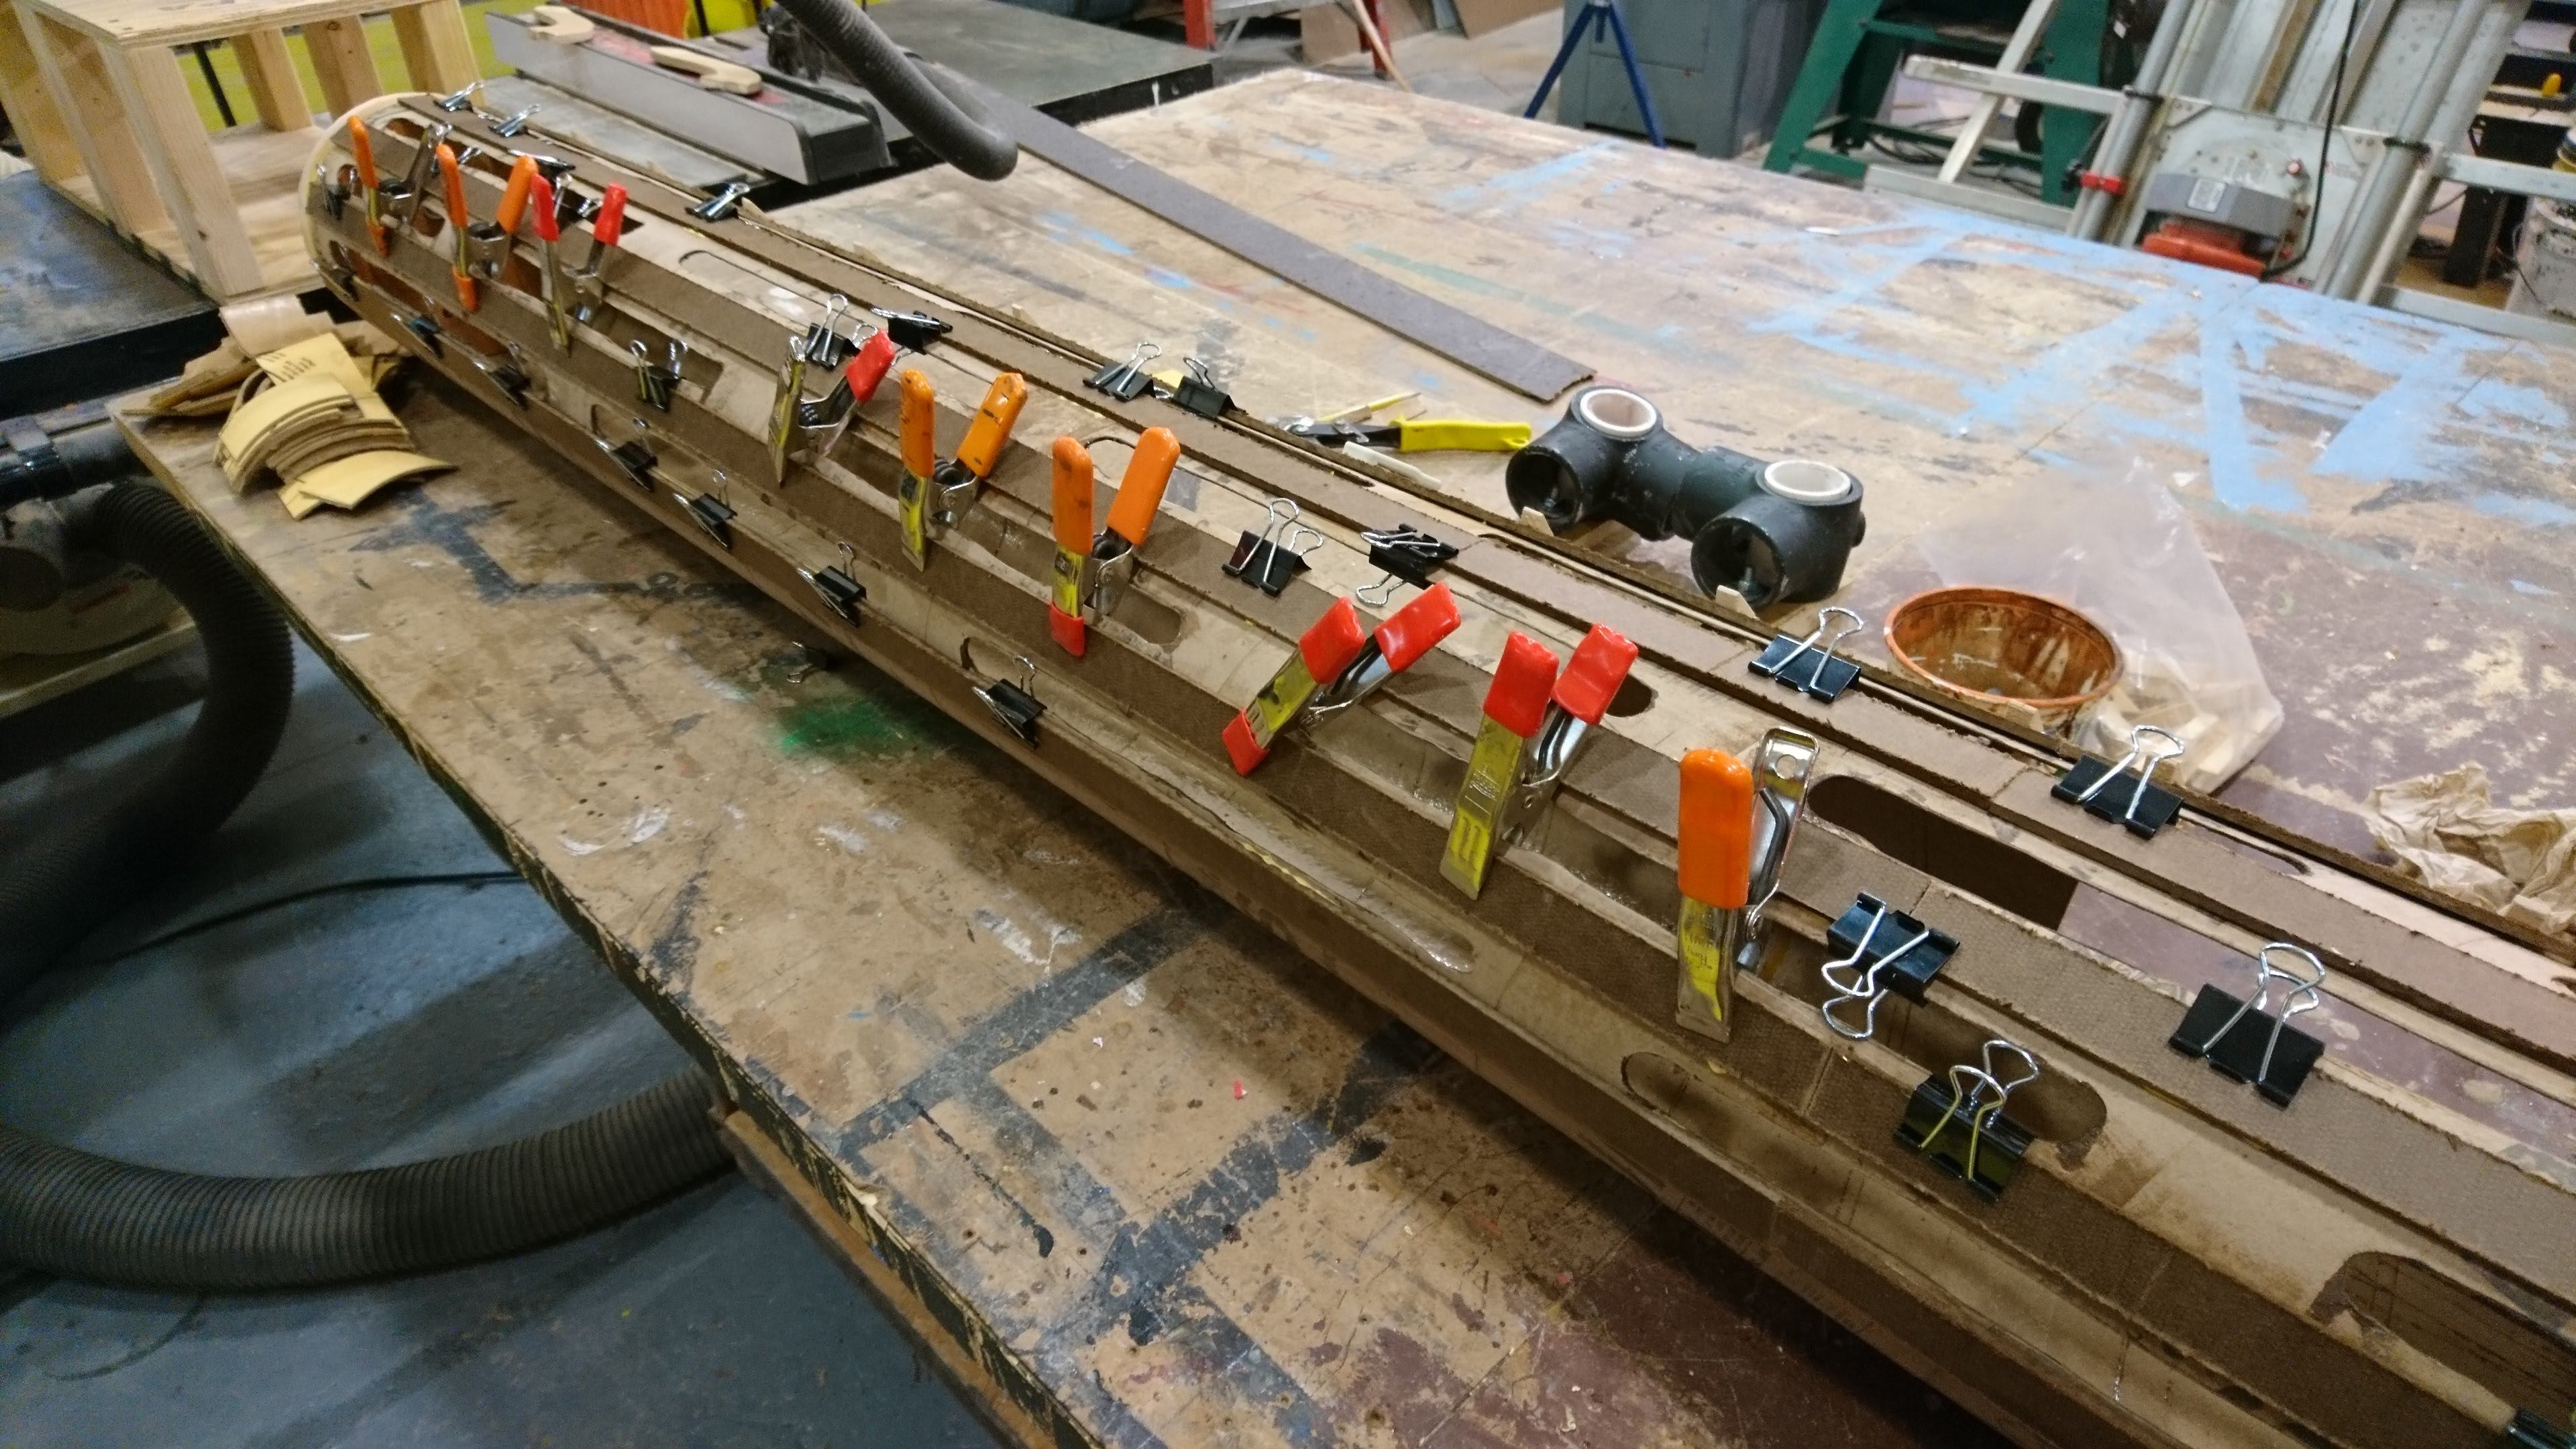
After the cuts were made, we cut two gates in the pipe to facilitate loading of the snow. Small hinges allow them to swing open and velcro holds it shut.
2. The Power Plant (2 RPM Motor rated at 220 in./lb.)
Found a 2 RPM motor on line and built a plywood box to house it. I soldered on 2 cables then ran them through the box wall with a strain relief. The ends got a male and female edison connector, which allows multiple snow drums to be run in parallel. It worked out well because the motors draw 1.5 amps each and we are using 8 snow drums, so we can run all of them on a 15 amp circuit.
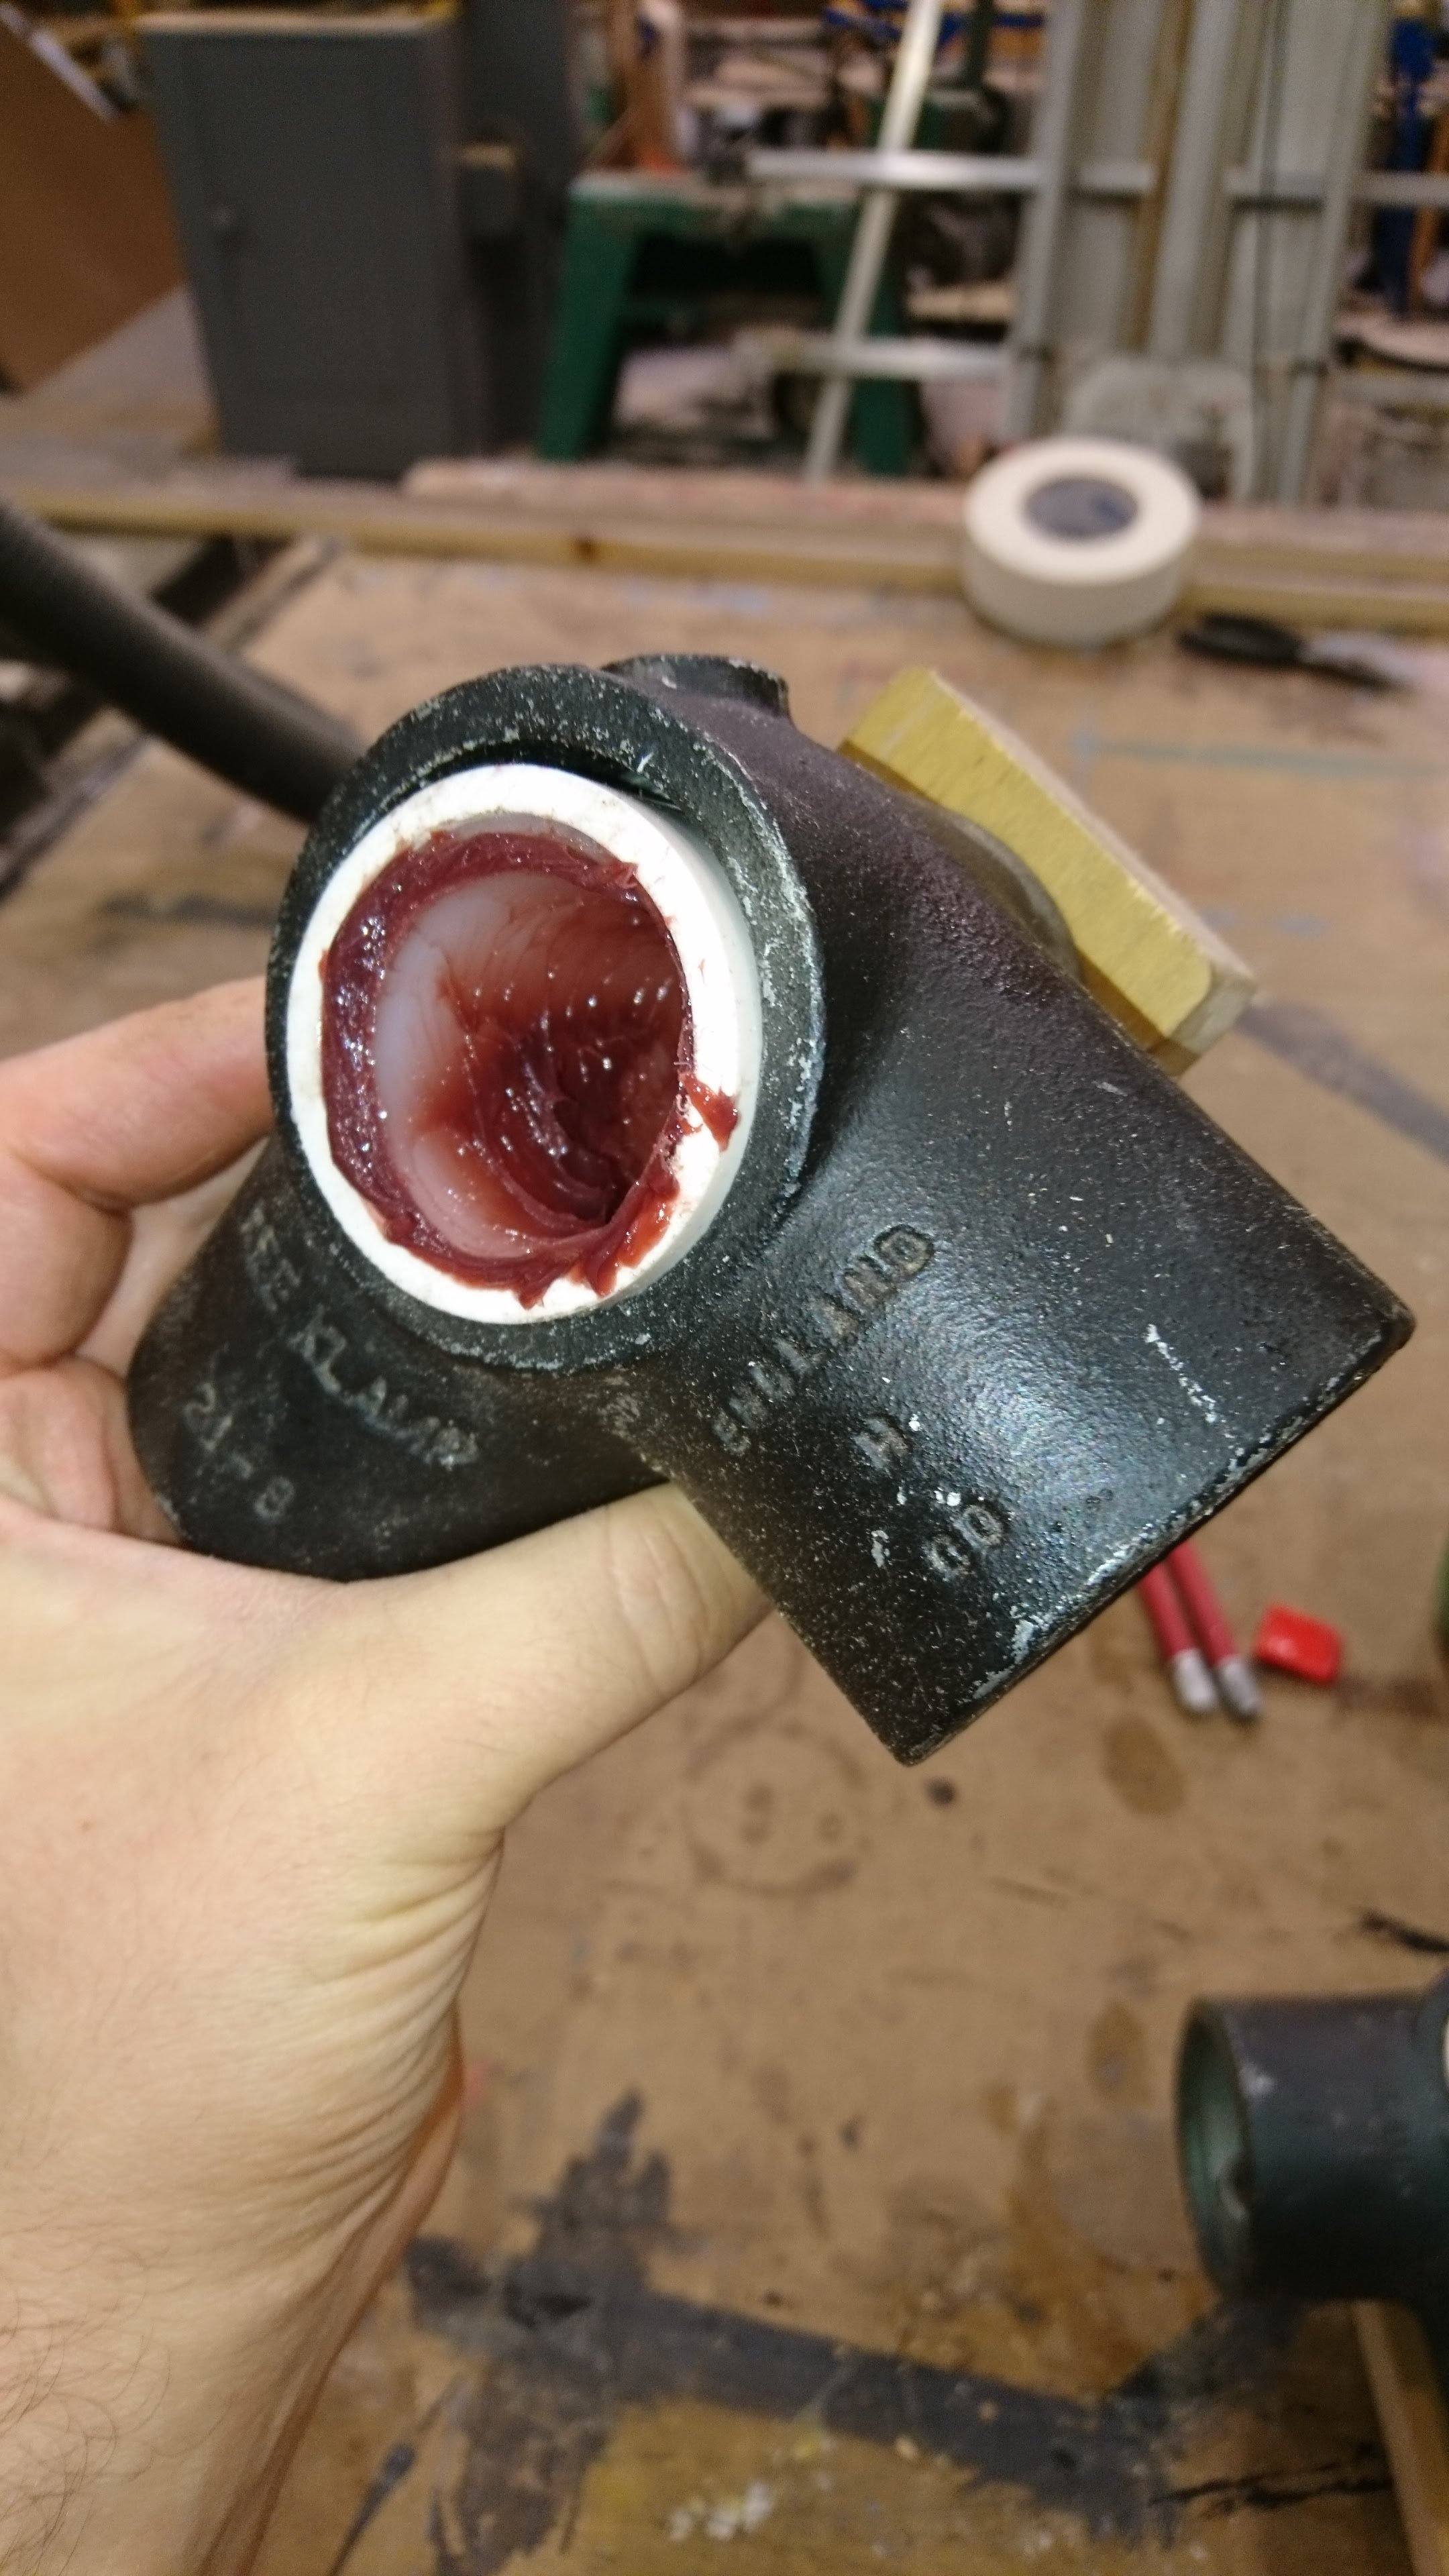
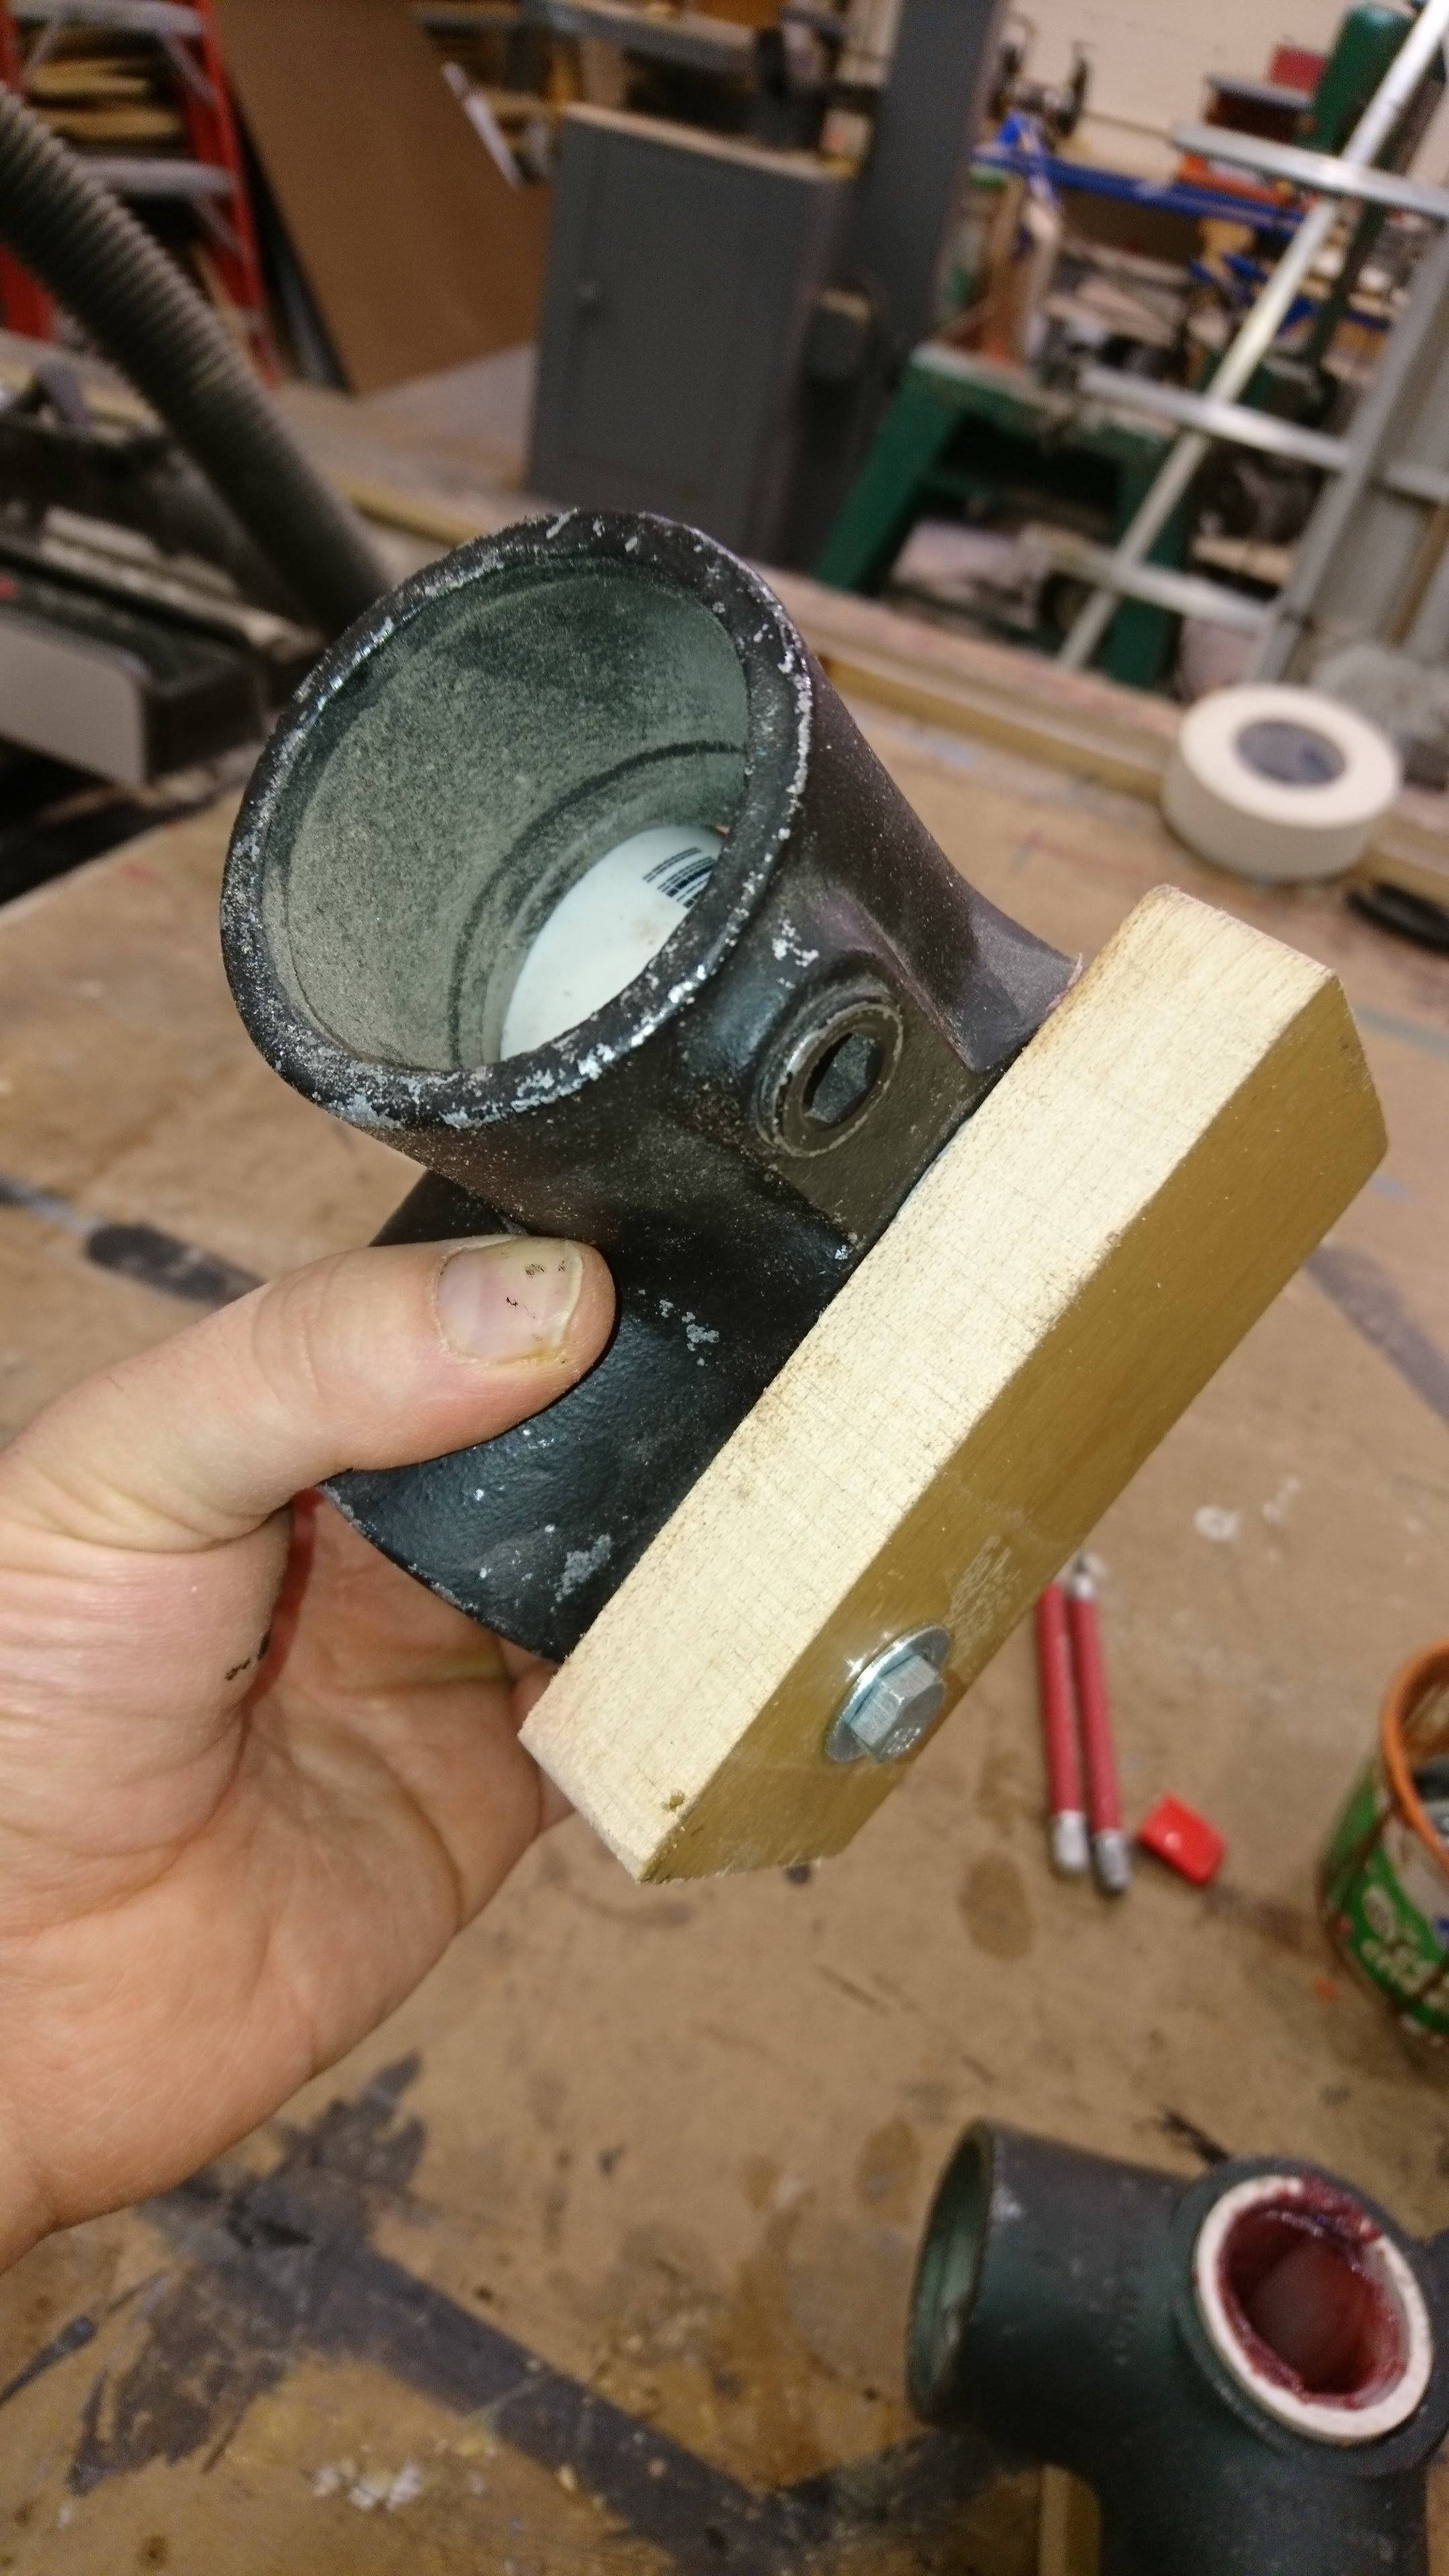
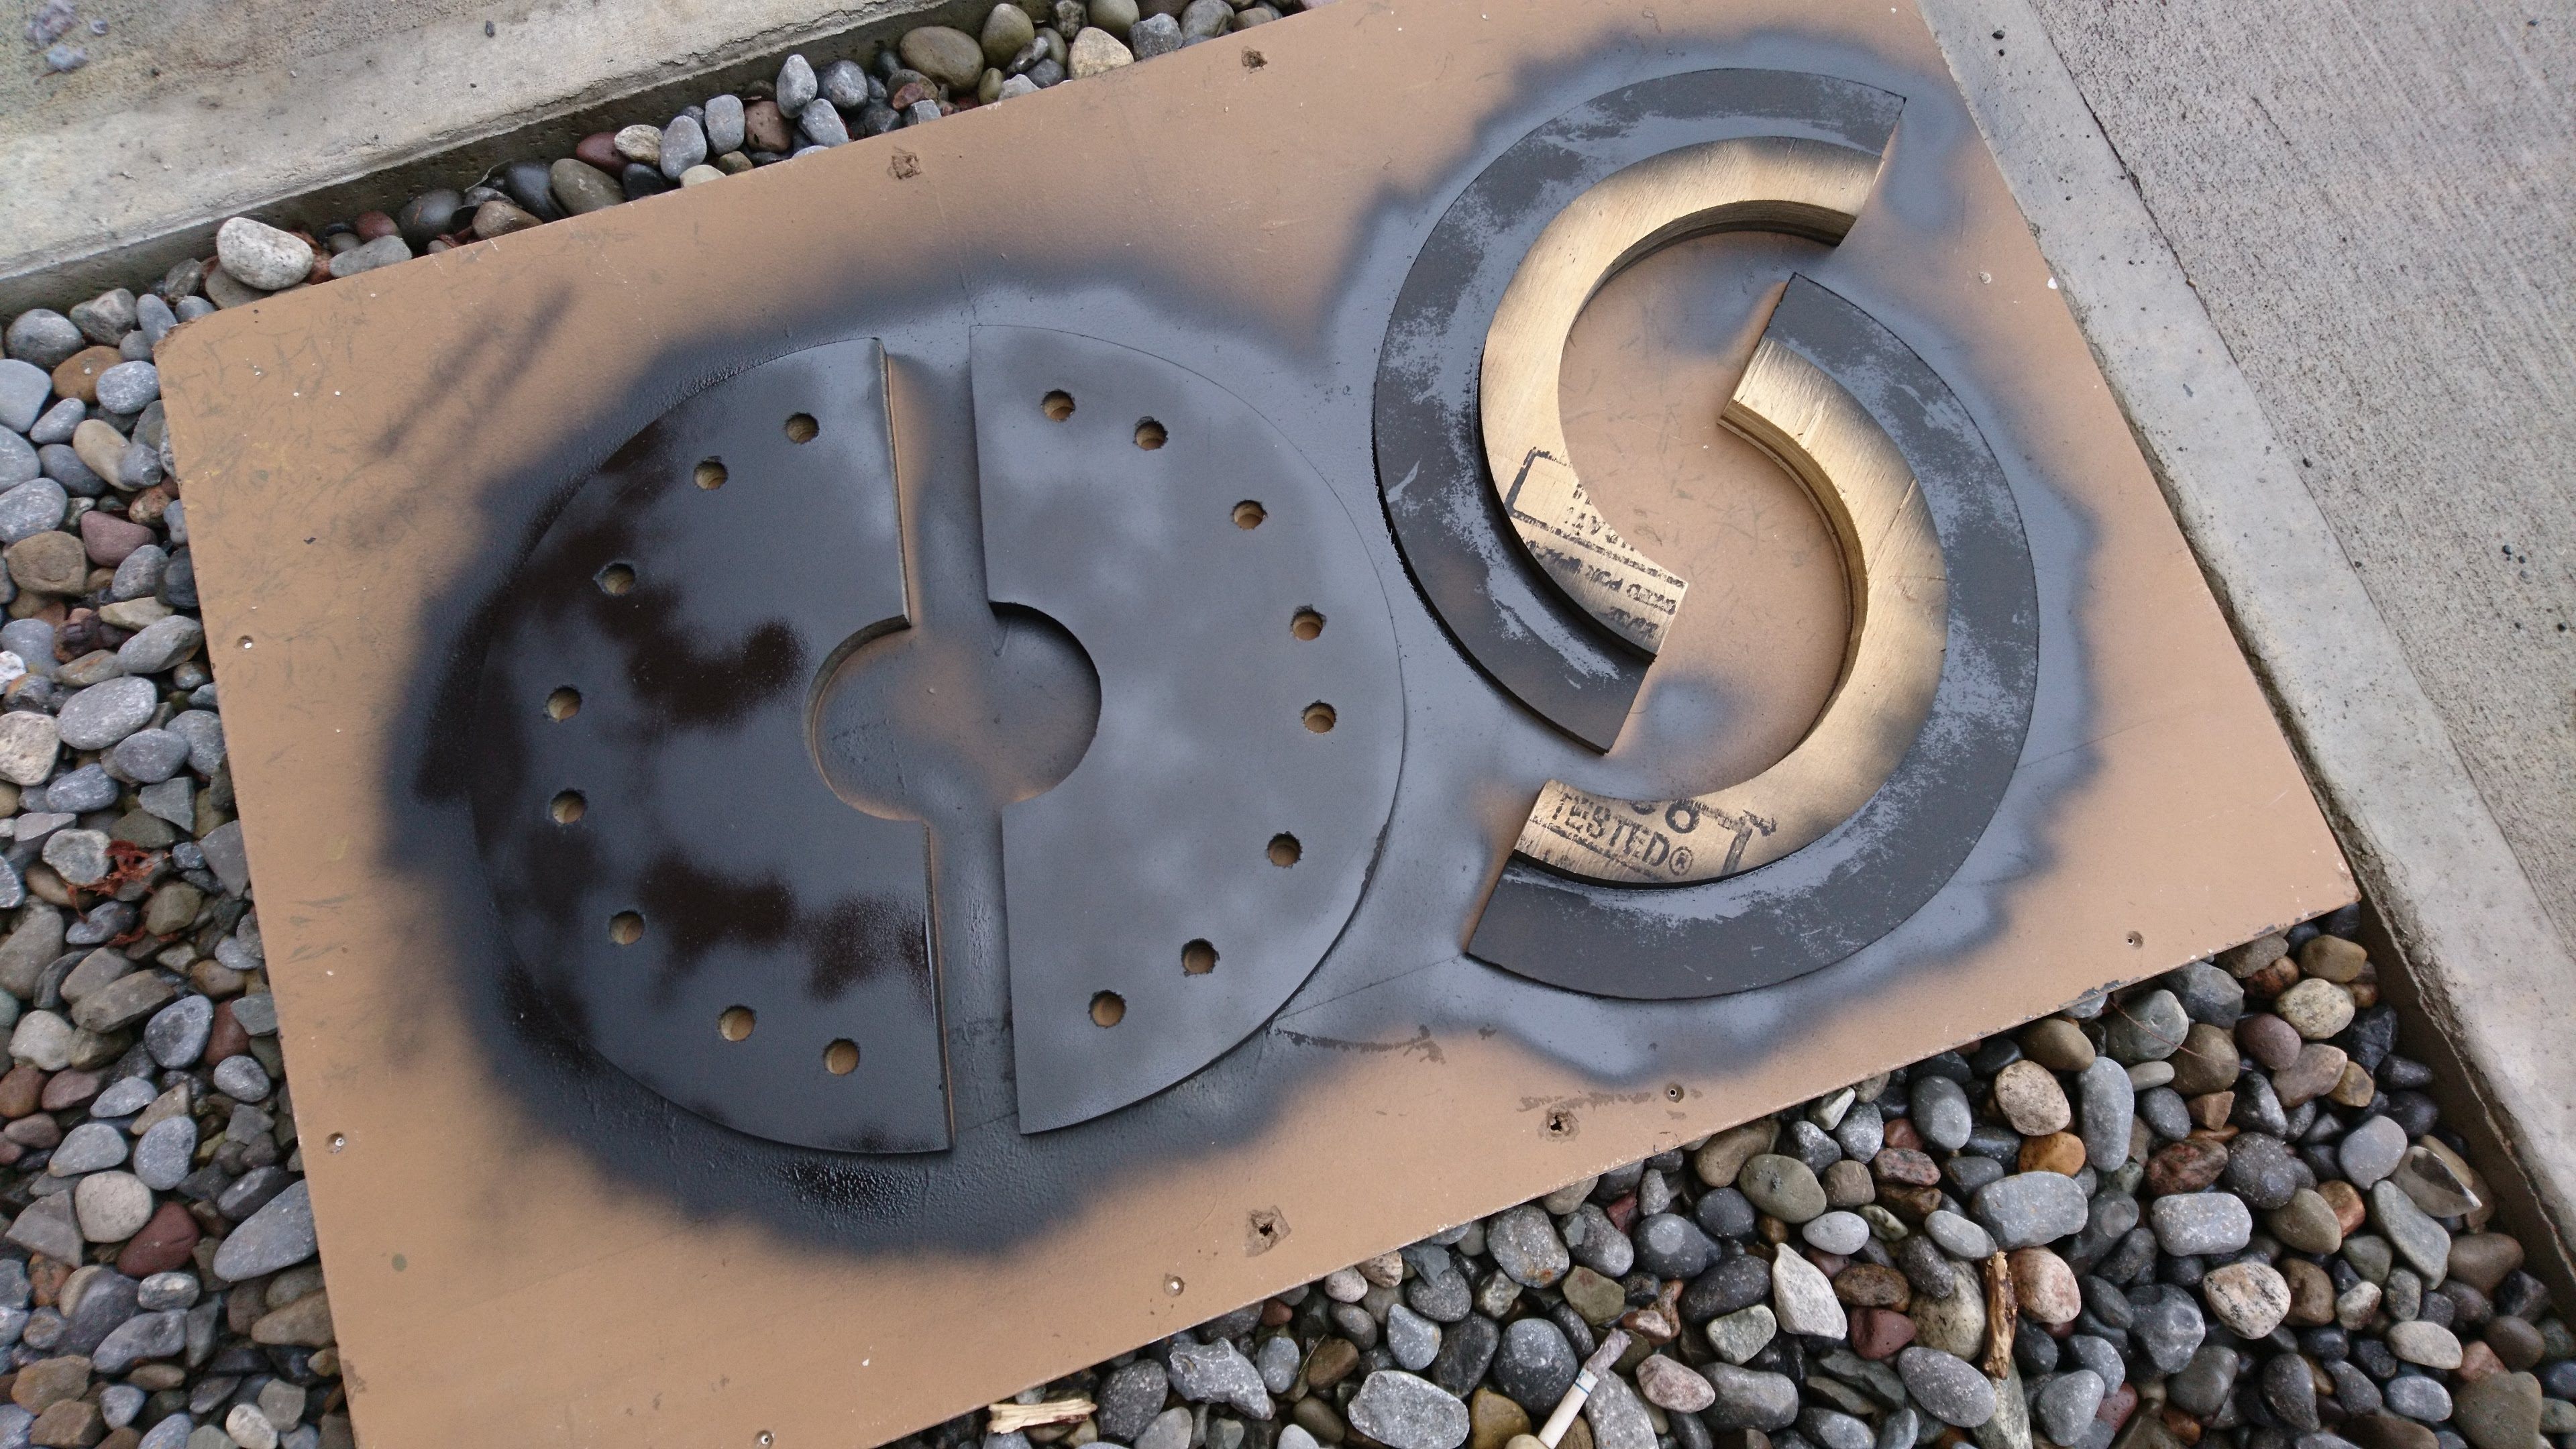
3. Connecting Them
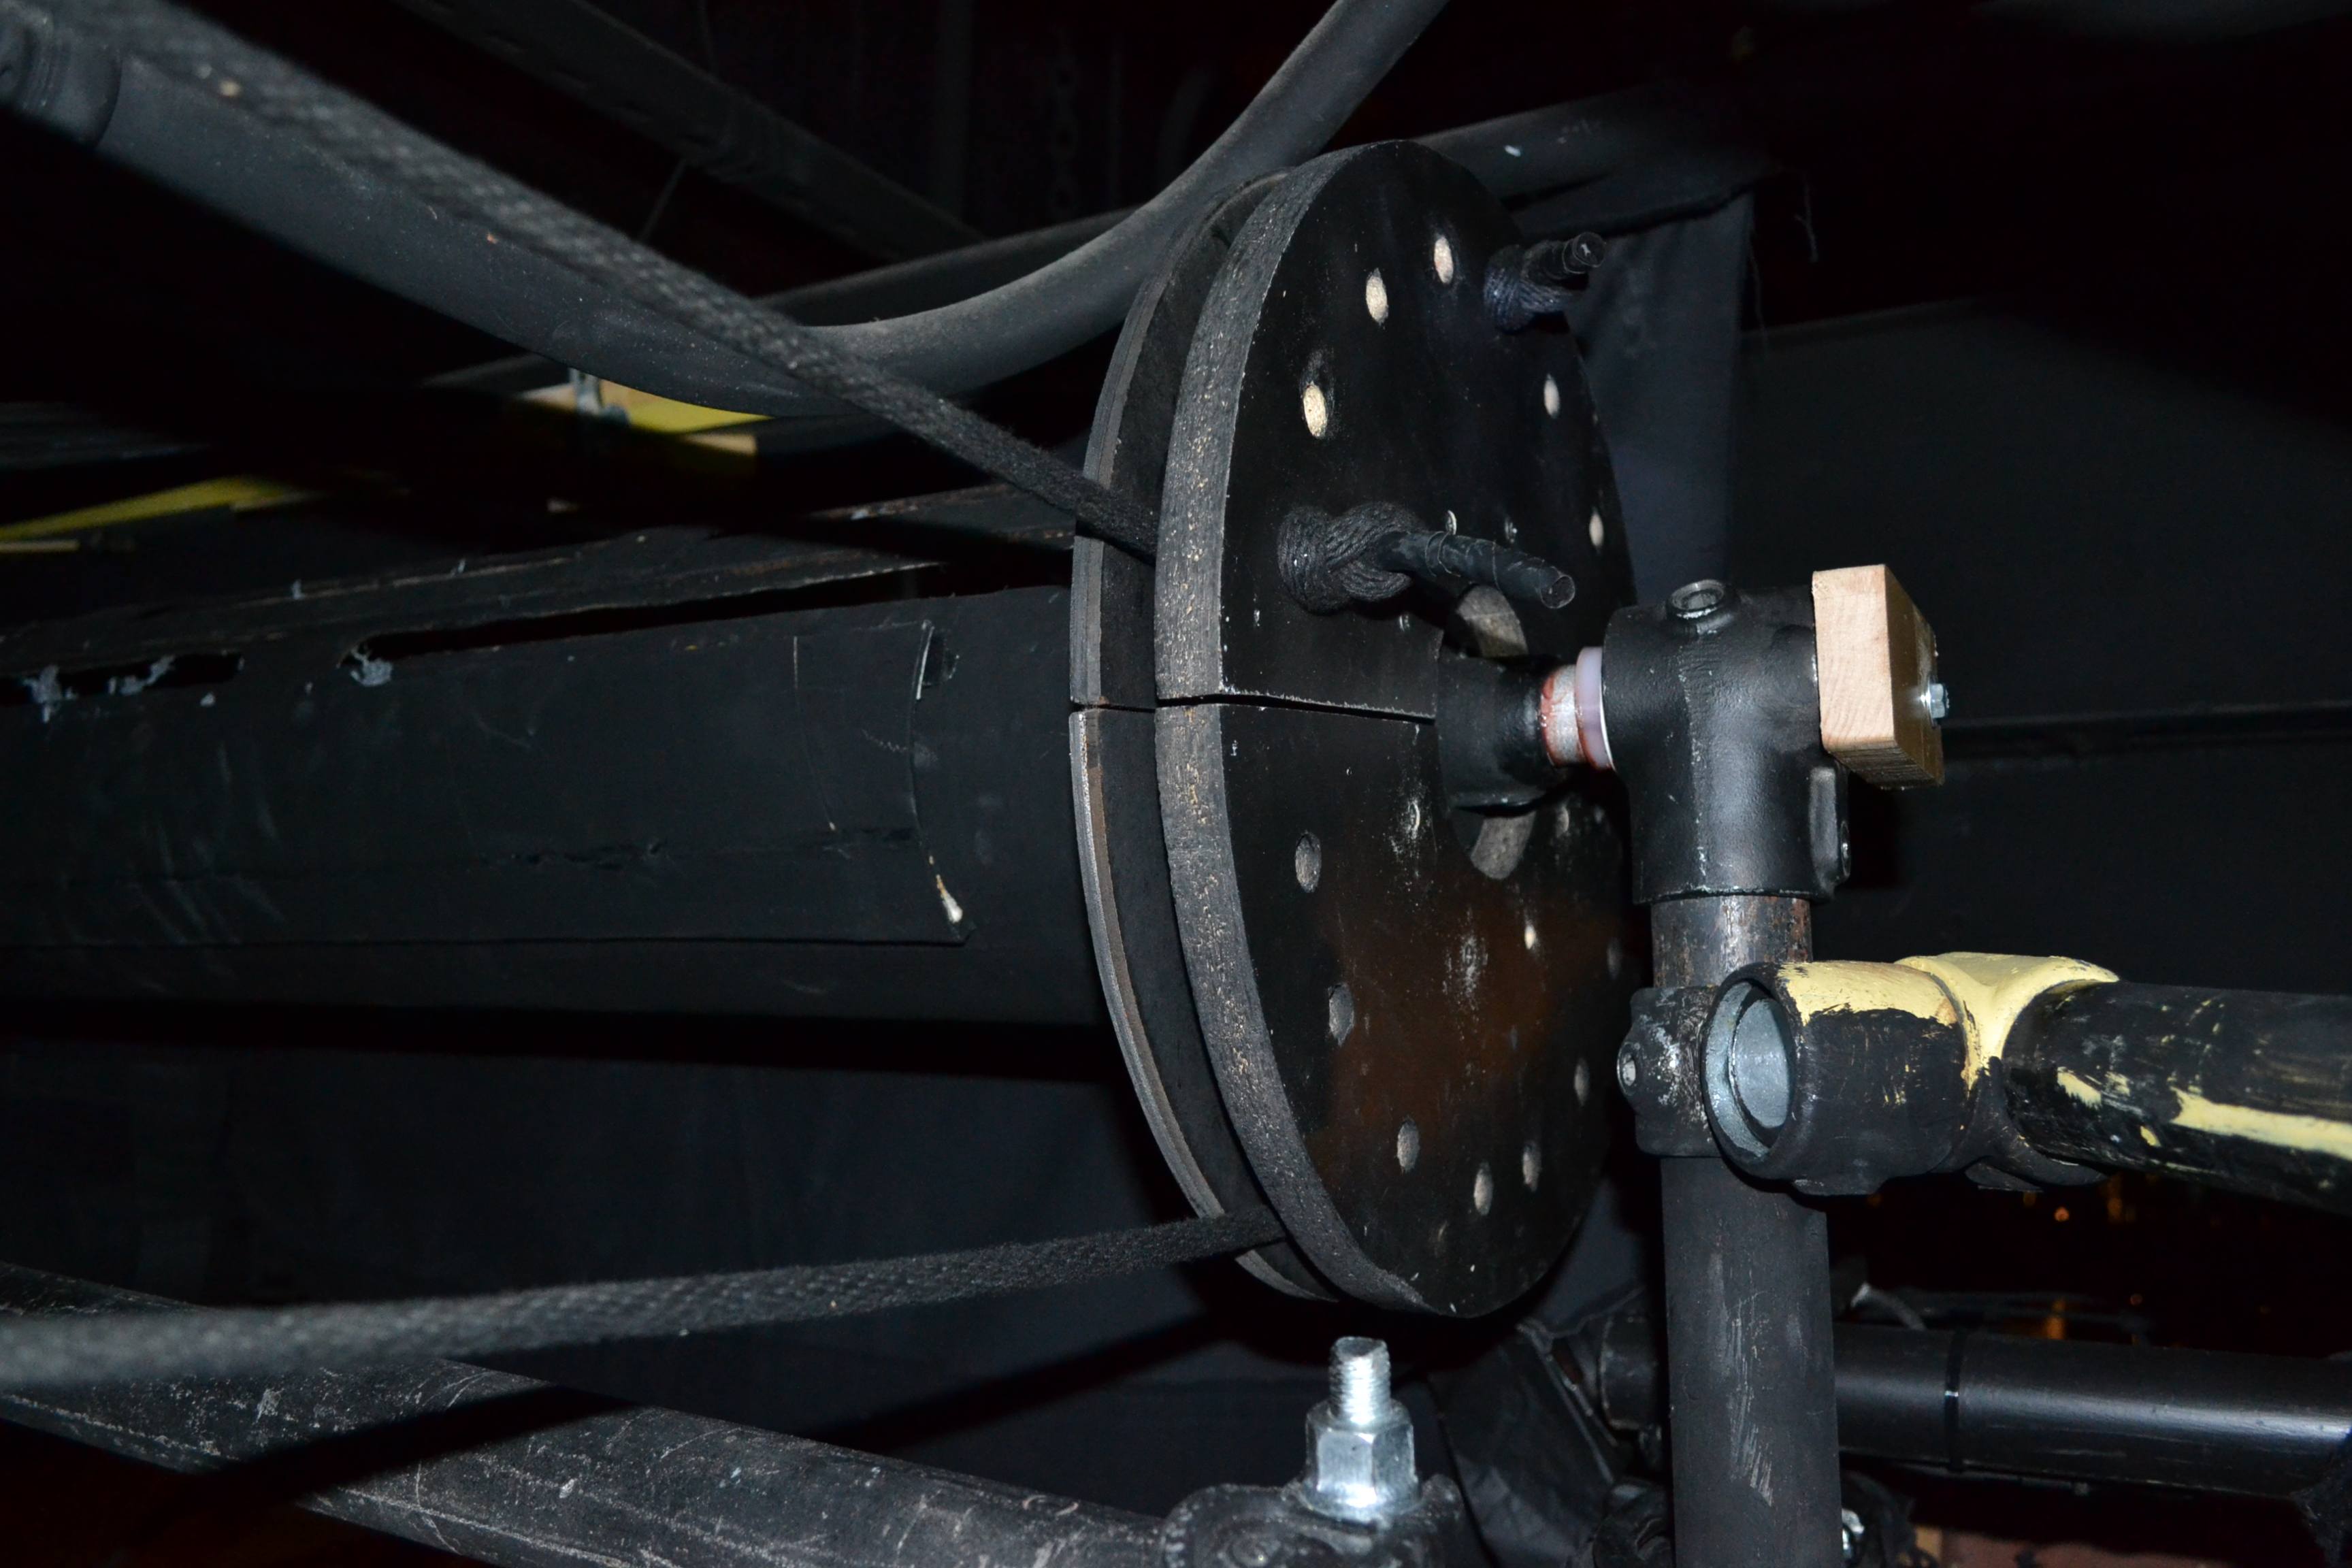
A 4" hole saw made cutting plywood discs easy. We ran a half inch bolt through it, then halfway through a shaft coupler. I couldn't find any threaded couplers so I tack welded the two together. The idea of course is that the disc is inserted into the pipe and the two are screwed together. The coupler is slid onto the motor shaft and locked on with the set screw.

The other end of the pipe gets a similar disc and bolt, but without the coupler. The motor box is screwed to a hog trough and a block of plywood with a hole in it acts as an idler for the free end of the pipe. Sorry I don't have a photo of it, its hard to explain.
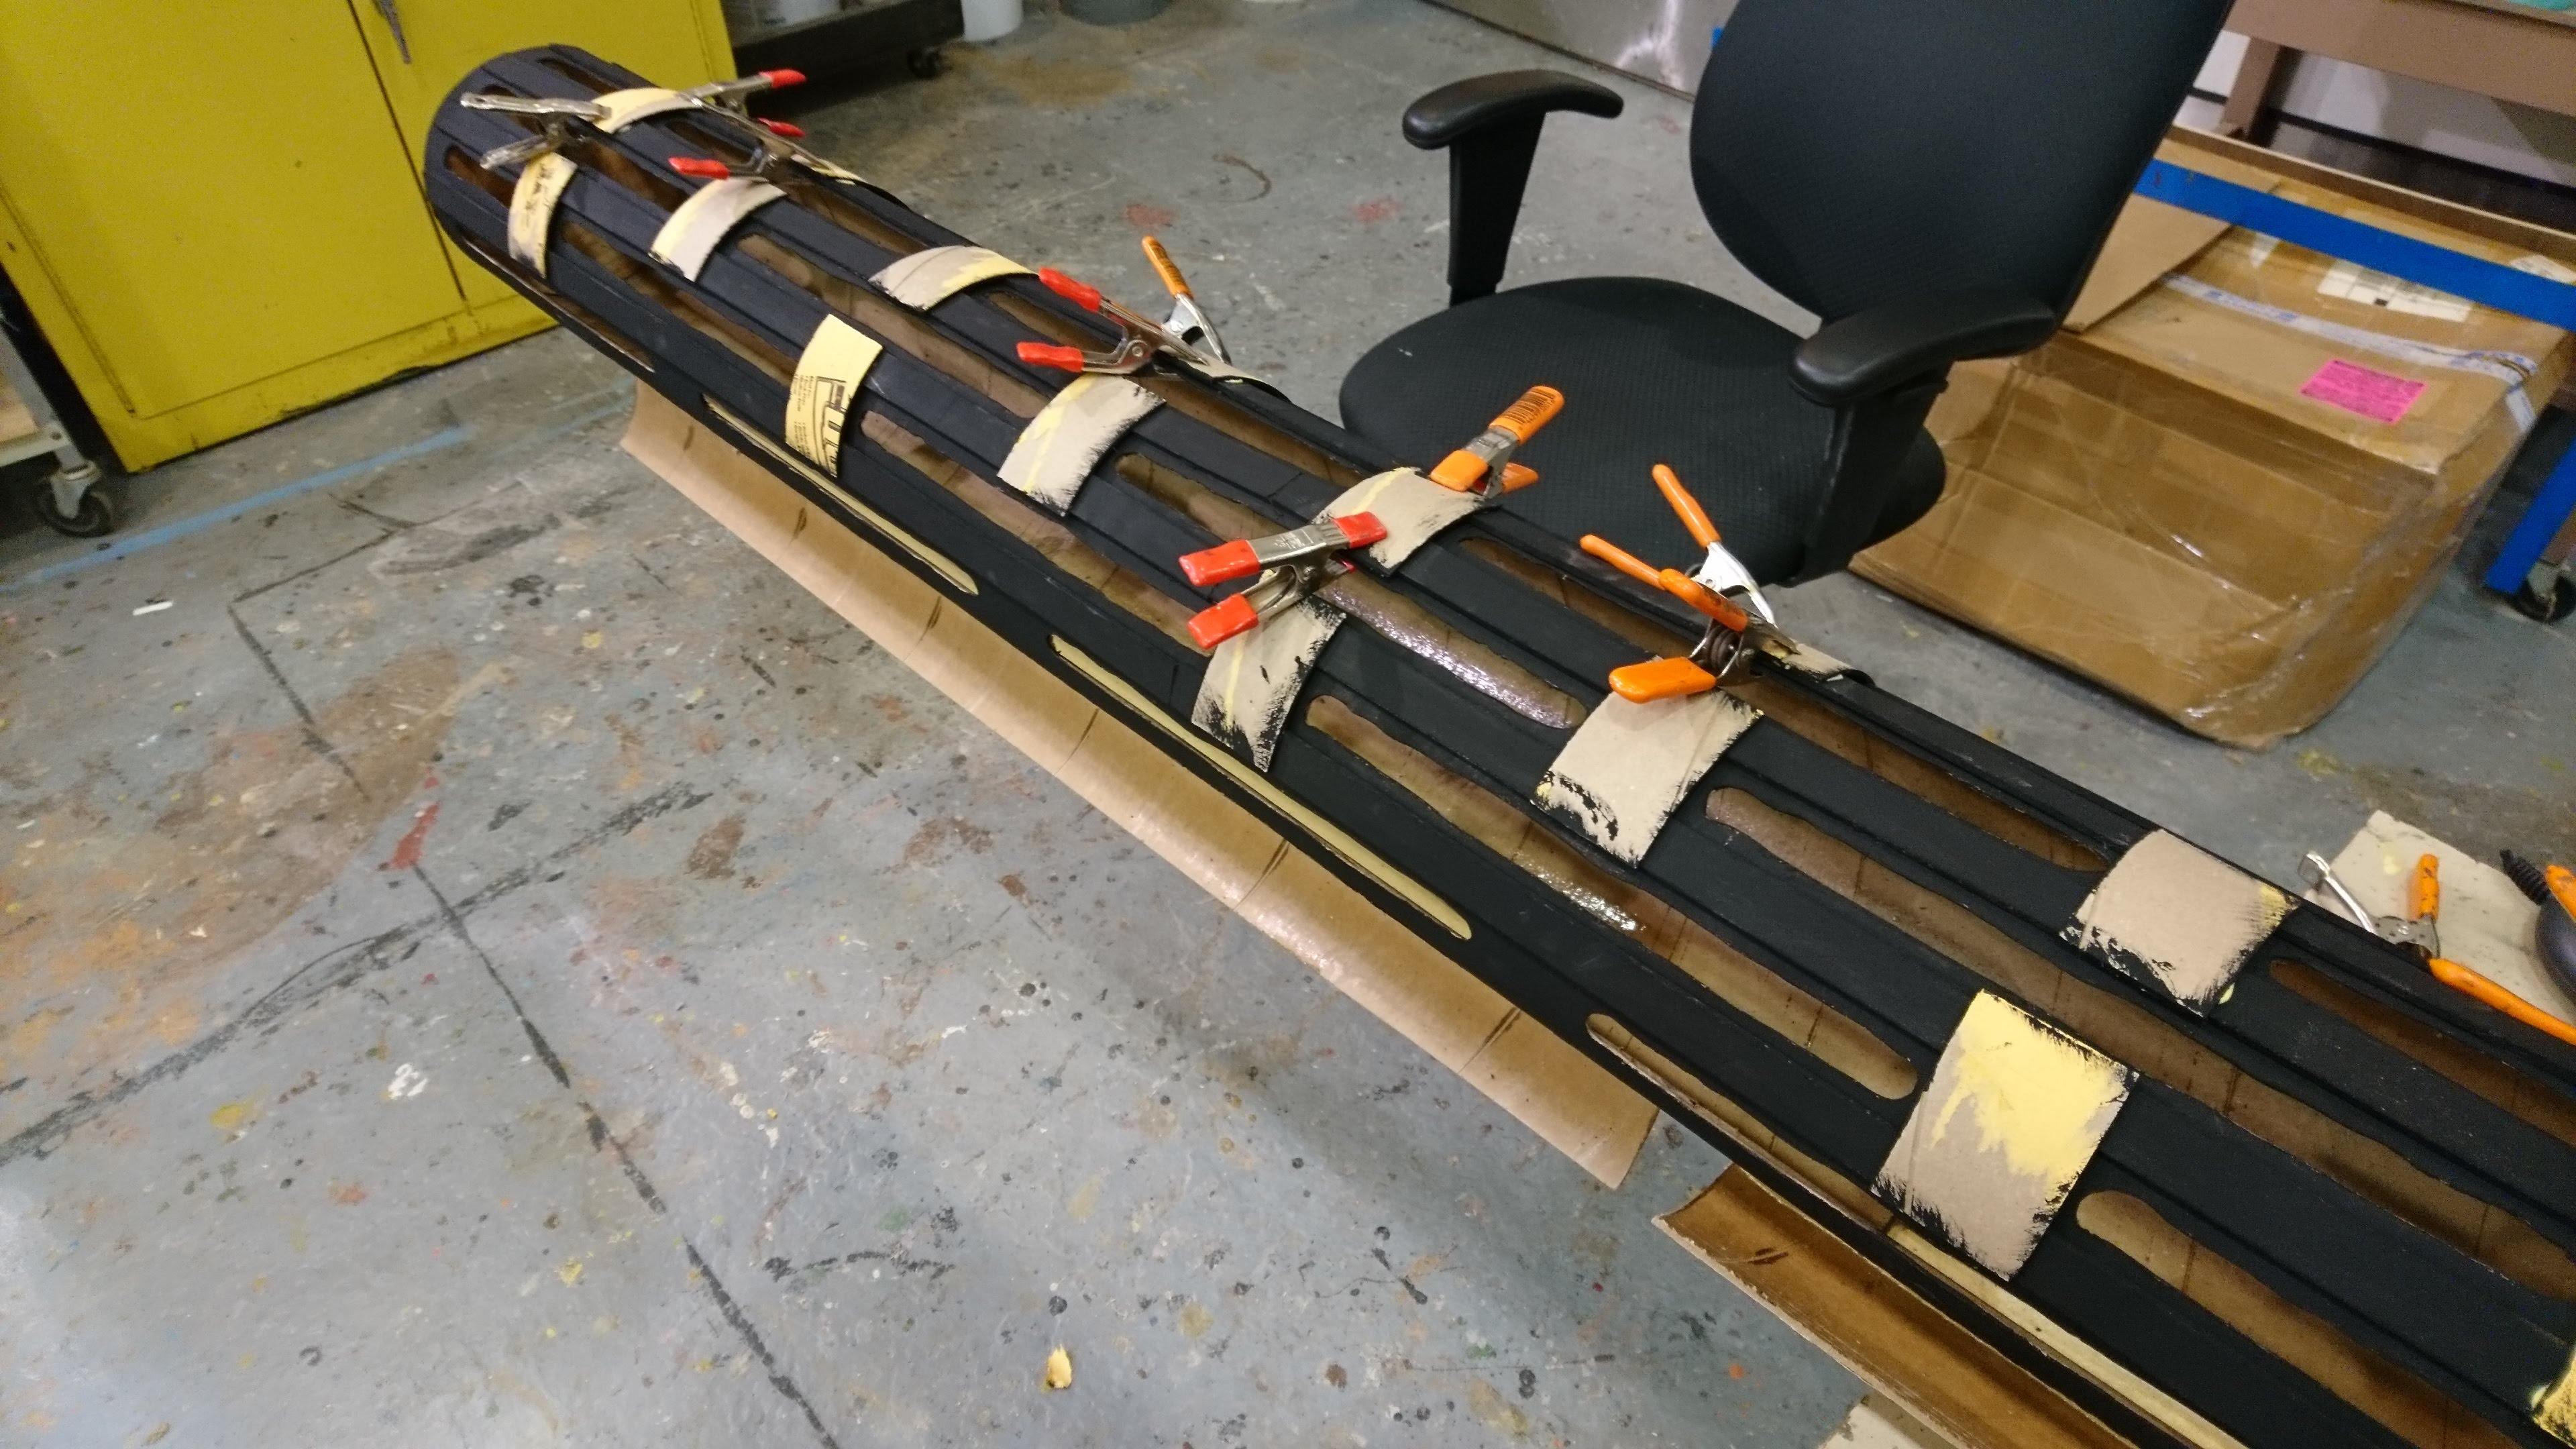
Once its all put together we painted it black and drilled holes for C Clamps in the trough to hang it.
Overall:
PVC - $10
Motor $22 ish
Coupler $5
Most of the other hardware any theatre will have lying around somewhere, but the cost of it all would maybe be around 20 bucks. So overall, to build this from scratch it would cost maybe 60-70 dollars depending on tax and where you get your materials.
With 3/4" holes cut 2" long and spaced 2" apart, and 8 rows of such holes, we got about 80 seconds of steady snowfall when the pipe was stuffed about 2" high with shredded plastic snow.
Hope this helps someone if they're looking to build a nice snowfall, I'll see if I can link a video once we get this show running...
1. The Drum (4" PVC Pipe at 10')
I built a jig for the router that allowed the operator to raise and lower it while another person pushed the PVC through a chute of sorts. This allows for fairly uniform holes to be cut into the pipe. In the photo, the pipe is sitting on top of the chute, but for cutting it was fed through underneath. In the background you can barely see the router resting on its swing arm away from the pipe.
In order to keep the pipe straight when cutting, we snapped a chalk line on the pipe and marked the router's swing arm to indicate where the bit's center was. All we had to do was align the two and we had a straight line of cuts.

After the cuts were made, we cut two gates in the pipe to facilitate loading of the snow. Small hinges allow them to swing open and velcro holds it shut.

2. The Power Plant (2 RPM Motor rated at 220 in./lb.)
Found a 2 RPM motor on line and built a plywood box to house it. I soldered on 2 cables then ran them through the box wall with a strain relief. The ends got a male and female edison connector, which allows multiple snow drums to be run in parallel. It worked out well because the motors draw 1.5 amps each and we are using 8 snow drums, so we can run all of them on a 15 amp circuit.


3. Connecting Them
A 4" hole saw made cutting plywood discs easy. We ran a half inch bolt through it, then halfway through a shaft coupler. I couldn't find any threaded couplers so I tack welded the two together. The idea of course is that the disc is inserted into the pipe and the two are screwed together. The coupler is slid onto the motor shaft and locked on with the set screw.


The other end of the pipe gets a similar disc and bolt, but without the coupler. The motor box is screwed to a hog trough and a block of plywood with a hole in it acts as an idler for the free end of the pipe. Sorry I don't have a photo of it, its hard to explain.
Once its all put together we painted it black and drilled holes for C Clamps in the trough to hang it.
Overall:
PVC - $10
Motor $22 ish
Coupler $5
Most of the other hardware any theatre will have lying around somewhere, but the cost of it all would maybe be around 20 bucks. So overall, to build this from scratch it would cost maybe 60-70 dollars depending on tax and where you get your materials.
With 3/4" holes cut 2" long and spaced 2" apart, and 8 rows of such holes, we got about 80 seconds of steady snowfall when the pipe was stuffed about 2" high with shredded plastic snow.
Hope this helps someone if they're looking to build a nice snowfall, I'll see if I can link a video once we get this show running...