Need to get the cannon out of the garage - takes up too much floor space & might bring home another (the 6" lens version) this or next week. Imagine, a 15" body taking a Westinghouse 2Kw incandescent T-32 lamp in a fixture slotted down to a 6" lens size.... Next on my wish list from the theater, & sitting in a hallway I need to remove before it goes into the trash by accident.
(Yea, I know it’s asbestos inside the lamp cap... a process for disposal in place and the whips outside the fixtures long gone before taking them home. Another system for inside the cap once home safely.)
Research Questions:
I know at some point probably early 70's Hub bought some old castings for the Altman 360 radial series Leko’s. Believe from memory, the 360Q came out in 1974. You can tell by the scrap material left in / blocking the vent holes on the Hub radial Leko’s that given all other than paint, parts are similar.... Hub was using old warn out Altman castings. This was an upgrade 10+ years out of date from what Hub was selling as new in being new upgrade to what they were selling as per new. Was seemingly an improvement over what Hub was selling as new from Century - 20-30++ years out of date fixtures for the most part.. Note in the say early 1960's Hub catalogue, they are still selling the original 1936 Century 1st’ generation Leko, much less what I believe to be the c.1938-41 2nd version.. Later a Hub #8768. Really, all steel bent & welded reflector housing in the days of cast or spun aluminum fixtures by that time & selling as new? Very heavy fixture - I think second generation Leko set the stage for all modern Leko’s. Don’t know it’s actual date and only has Century period knobs / 1948 still in use such knobs to say it’s an early Century.
Research Questions:
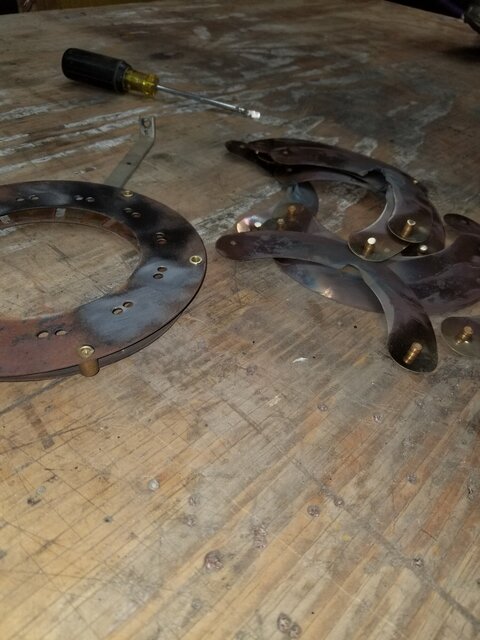
Was recently working on some Major/Century Leko’s that all Major changed was the Major marked yoke knobs - still Century stamped into the body and even a Century/Strand sticker on them... Removed mostly not well, burnt into the casting shells. Date is? They were still P-28s - so before Century/Strand upgrade this design to #2321 medium Bi-Pin - probably right after Century got bought out?
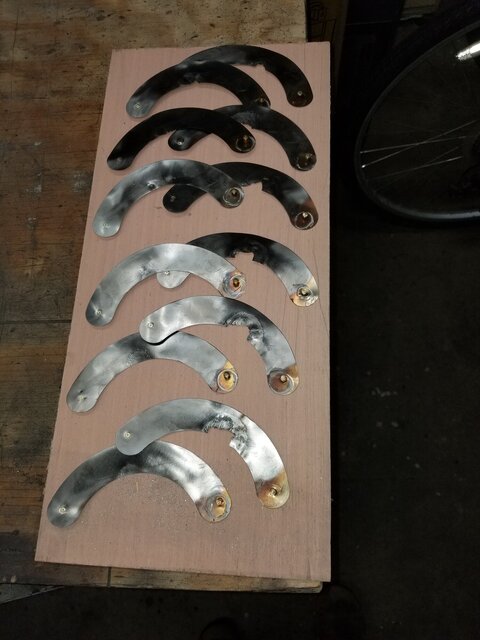
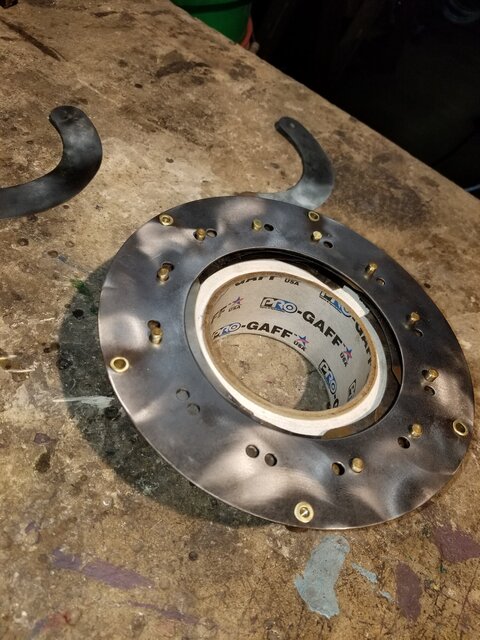
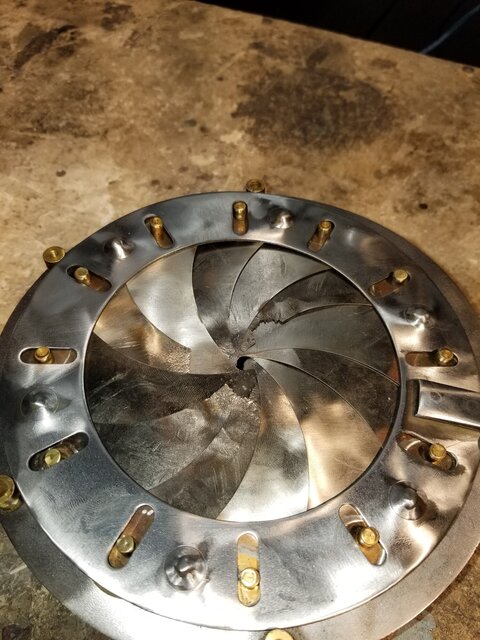
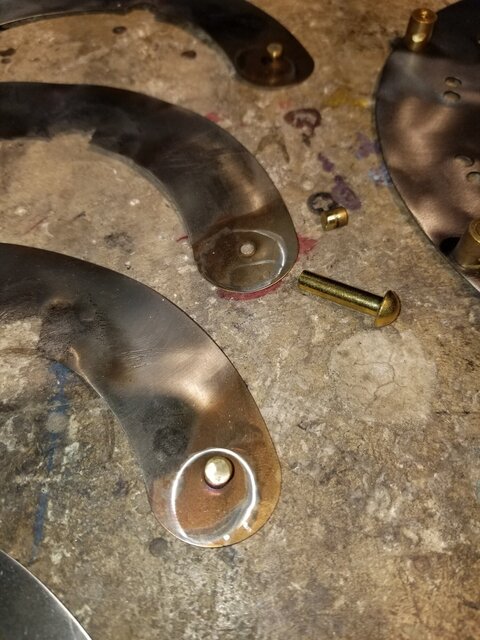
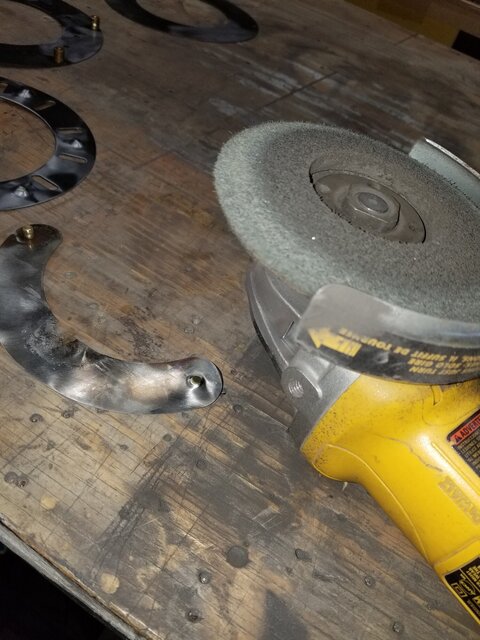
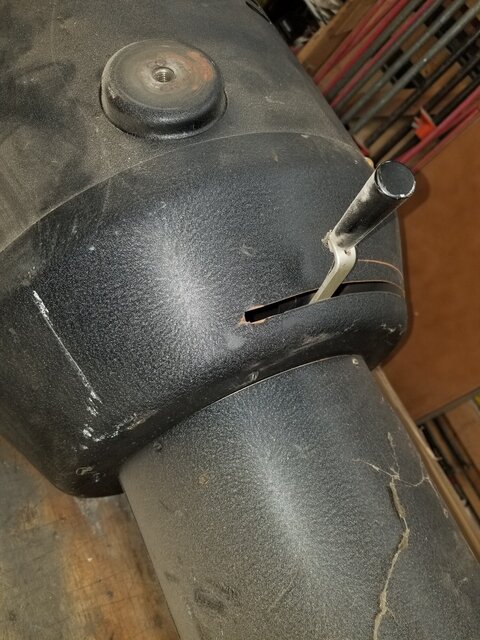
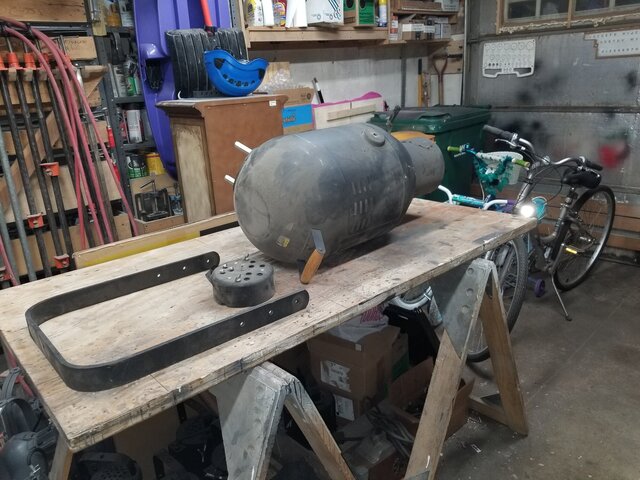
Took on the big cannon Leko of 15" body size with a 8" step lens today. (Got lots more coming, including one of 15" body with a 6" lens.) This one is iris only version - no shutters so wrong part number mentioned before. (Darned... Just put my Century and Major catalogues back up in the attic.)
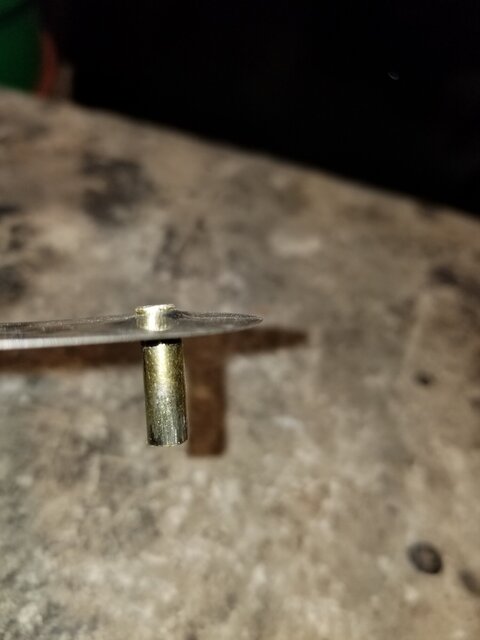
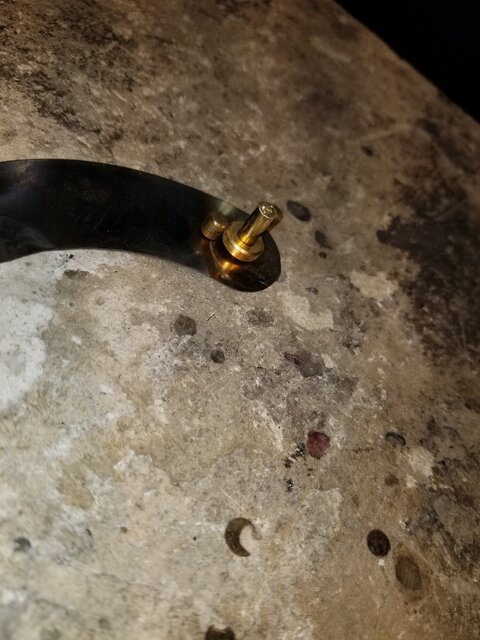
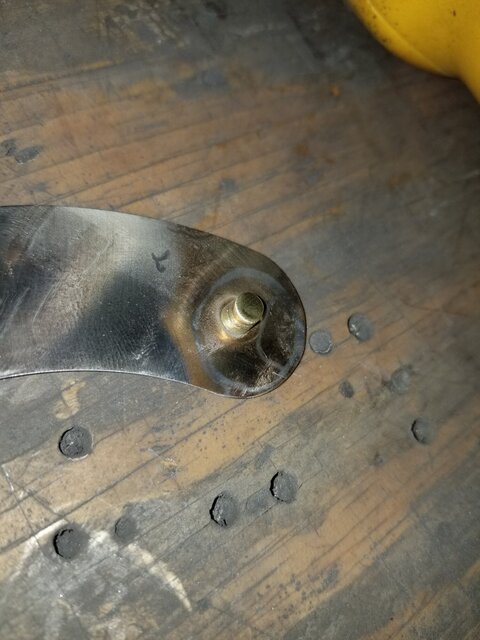
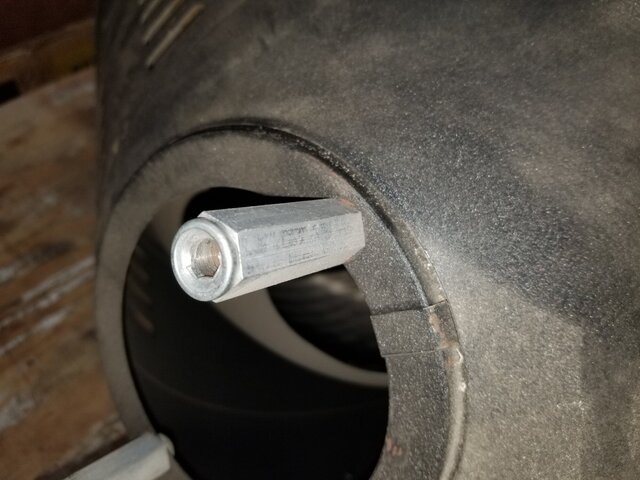
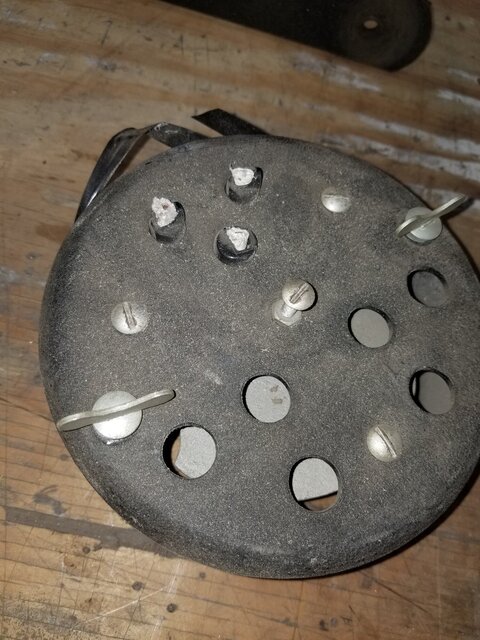
Fascinating 1/4 turn lamp cap thumb screws mounted to some hex aluminum standoffs. Never seen this before. That took some thought. Not a huge amount of support for the lamp cap, but having a pentium plate for the support of the three screw mounted lamp socket. Guess that’s considered quick adjustment - bend the bench focus from the lamp cap in bending the fixture mounts forward or backwards up/down in quick adjust... Will have to open up more fixtures before I know if this is the norm. Certainly an improvement to the c.1948 Century cannons I already have for bench focus.
Grounded - says either paid extra or later 60's to me. Or given Major not Century... into the 70's?
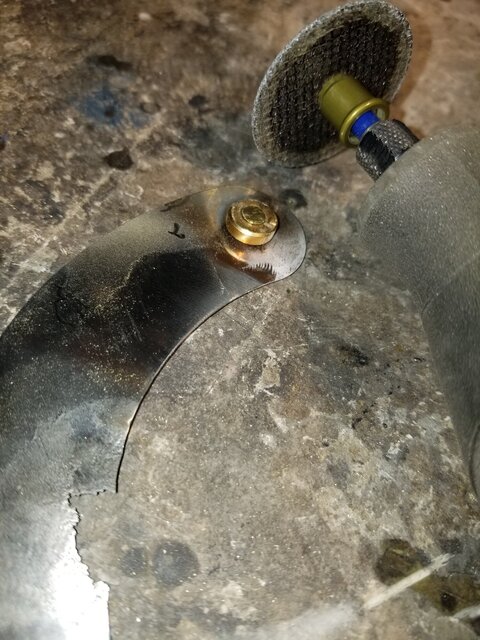
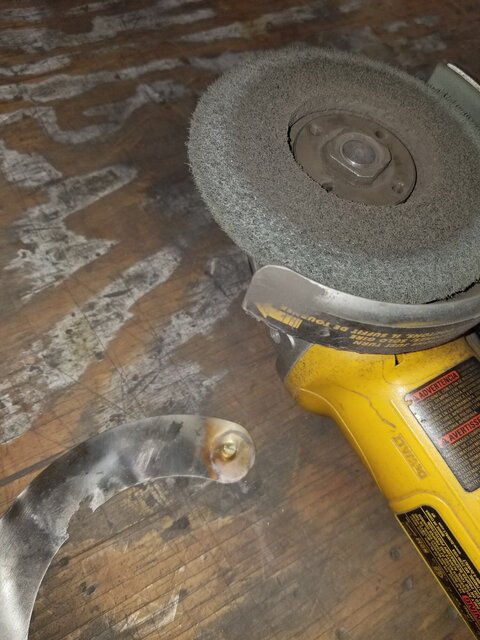
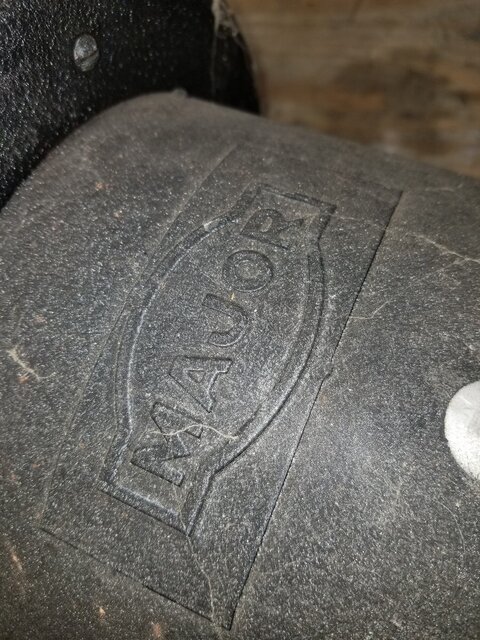
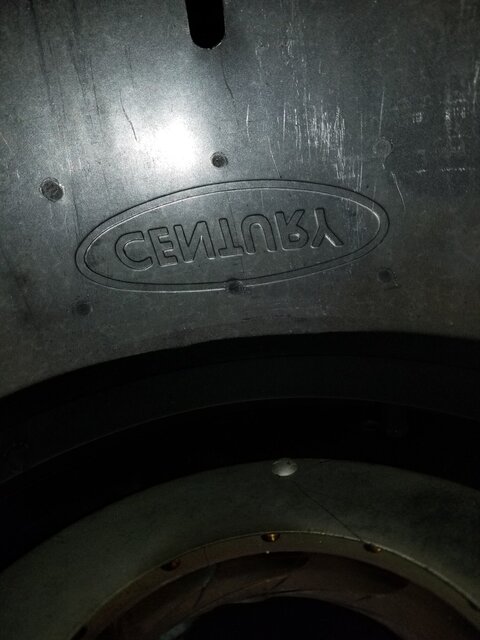
Has a Major name plate to it on the lens train - Major fixture.... Until one looks inside the lens train. The name plate of Major is mounted above the Century stamp on the lens train top hat. Good job of hiding who made the fixture. Paint so thick, almost can’t see the rivets, they are almost flush pounded so as not to obstruct the lens train focusing. Interesting fixture so far.
Research Questions:
I also know Hub at some point bought Major... Century was bought out by Strand etc. What’s the story on all these re-branded fixtures and histories having Century designed Leko’s & when did Hub buy out Major? This much less, did Major buy out Chicago Stage Lighting back in the 20's?
Research Questions:
Need to get the various catalogues out of the attic and the book on him/the company. What was the title of the book which might be relevent?
(Yea, I know it’s asbestos inside the lamp cap... a process for disposal in place and the whips outside the fixtures long gone before taking them home. Another system for inside the cap once home safely.)
Research Questions:
I know at some point probably early 70's Hub bought some old castings for the Altman 360 radial series Leko’s. Believe from memory, the 360Q came out in 1974. You can tell by the scrap material left in / blocking the vent holes on the Hub radial Leko’s that given all other than paint, parts are similar.... Hub was using old warn out Altman castings. This was an upgrade 10+ years out of date from what Hub was selling as new in being new upgrade to what they were selling as per new. Was seemingly an improvement over what Hub was selling as new from Century - 20-30++ years out of date fixtures for the most part.. Note in the say early 1960's Hub catalogue, they are still selling the original 1936 Century 1st’ generation Leko, much less what I believe to be the c.1938-41 2nd version.. Later a Hub #8768. Really, all steel bent & welded reflector housing in the days of cast or spun aluminum fixtures by that time & selling as new? Very heavy fixture - I think second generation Leko set the stage for all modern Leko’s. Don’t know it’s actual date and only has Century period knobs / 1948 still in use such knobs to say it’s an early Century.
Research Questions:
Was recently working on some Major/Century Leko’s that all Major changed was the Major marked yoke knobs - still Century stamped into the body and even a Century/Strand sticker on them... Removed mostly not well, burnt into the casting shells. Date is? They were still P-28s - so before Century/Strand upgrade this design to #2321 medium Bi-Pin - probably right after Century got bought out?
Took on the big cannon Leko of 15" body size with a 8" step lens today. (Got lots more coming, including one of 15" body with a 6" lens.) This one is iris only version - no shutters so wrong part number mentioned before. (Darned... Just put my Century and Major catalogues back up in the attic.)
Fascinating 1/4 turn lamp cap thumb screws mounted to some hex aluminum standoffs. Never seen this before. That took some thought. Not a huge amount of support for the lamp cap, but having a pentium plate for the support of the three screw mounted lamp socket. Guess that’s considered quick adjustment - bend the bench focus from the lamp cap in bending the fixture mounts forward or backwards up/down in quick adjust... Will have to open up more fixtures before I know if this is the norm. Certainly an improvement to the c.1948 Century cannons I already have for bench focus.
Grounded - says either paid extra or later 60's to me. Or given Major not Century... into the 70's?
Has a Major name plate to it on the lens train - Major fixture.... Until one looks inside the lens train. The name plate of Major is mounted above the Century stamp on the lens train top hat. Good job of hiding who made the fixture. Paint so thick, almost can’t see the rivets, they are almost flush pounded so as not to obstruct the lens train focusing. Interesting fixture so far.
Research Questions:
I also know Hub at some point bought Major... Century was bought out by Strand etc. What’s the story on all these re-branded fixtures and histories having Century designed Leko’s & when did Hub buy out Major? This much less, did Major buy out Chicago Stage Lighting back in the 20's?
Research Questions:
Need to get the various catalogues out of the attic and the book on him/the company. What was the title of the book which might be relevent?
Attachments
-
 20200504_211612.jpg866.4 KB · Views: 199
 -
 20200504_211638.jpg429.6 KB · Views: 200
 -
 20200504_211717.jpg422.1 KB · Views: 214
 -
 20200504_211726.jpg358.7 KB · Views: 209
 -
 20200504_211735.jpg810.4 KB · Views: 179
 -
 20200504_222616.jpg653.5 KB · Views: 186
 -
 20200303_215047.jpg345.2 KB · Views: 204
 -
 20200504_235553.jpg488 KB · Views: 194
Last edited: