Been working on adapting 1950's-1960's Radial Lekos, in 8", 6" and 4.1/2" size; to RGBW / LED lately for prop lights. Budget, Minimum as possible...
First prototype was doing it the proper way. A fairly inexpensive RGBW / LED node of medium power (didn’t even need the node lens accessory). Intent is to to glow the fixture lens brightly, not have real throw output on stage. Worked incredibly well!
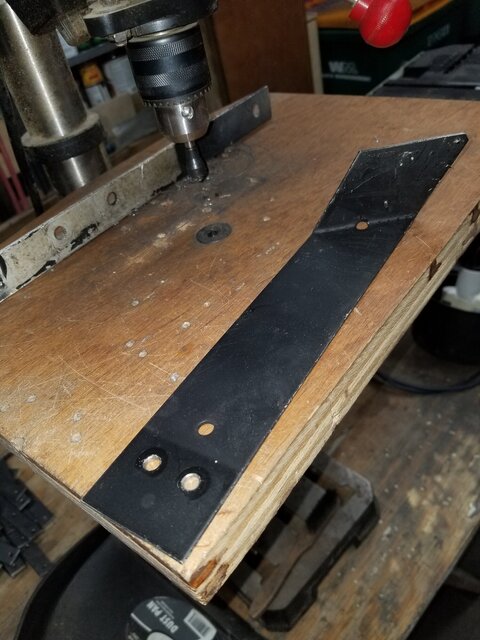
Bent a steel bracket to mount to the lamp base assembly so the node would be mounted parallel to the lens and at filament center. Mounted the node, one resistor each and a second one in-line for the white (help from the electronics dpt.). Wired to a LED decoder and 12VDC power supply - both which fit inside the fixture body between reflector & shell. Amazing perfect output once bench focused, almost too much output in some light projecting on the wall. Had we mounted the more powerful node.... this fixture might have had some real punch in a servicable Leko type of way for under $200.00 in parts.
Four problems:
1) The step lens on the 8" Leko glowed with color, but was still projecting light. I’m also short on lenses at the moment & a lot of the fixtures I’m working on have broken or wrong lenses installed. No a 6" Fresnel lens is not a 6" step lens for instance... I replaced the lens with one side sand blasted polycarbonate.... Perfect but does not look as decorative. Later fixtures with lens trains won’t have step lenses, so its kind of a moot point.
2) The node got hot. It was properly mounted with thermal grease, but other than the bracket there was no real heat sink at the node. Sustained temperature at the node was 200F. This was close to the maximum temperature of the node & probably above the wiring maximum temperature. A 12v micro fan was added to the fixture, but the problem with a fan is it’s either going to be always on even if the LED is off (short of linking on the light board that 120v circuit), or tapped off the decoder which could be bad for the fan and cooling. Short of a thermal in-line switch also mounted to the fixture, if the fan were to stop working, the node could burn out. These fixtures will be installed in not very accessible areas & will probably never get serviced. A thermal switch would also allow the fixture to blink off and on which could get annoying.... not like anyone on-site would be available to repair the fixture should this start to happen & could be a long time before such a thing is reported.
3) Man/hours to do this was decent but too much for budget. LED node was cheap, but once you added in a power supply & decoder, resisters etc... Was probably in the range of $200.00 in parts.
4) My boss wants to keep the fixtures complete / historically accurate. Just wants to drop in a RGBW Marquee lamp on a pendant cord & leave the rest of the fixture alone. The theater is already getting their own museum of restored and accurate fixtures... why line use prop lights need to be accurate? (Remove the asbestos only). He is wavering on the polycarbonate lenses though.
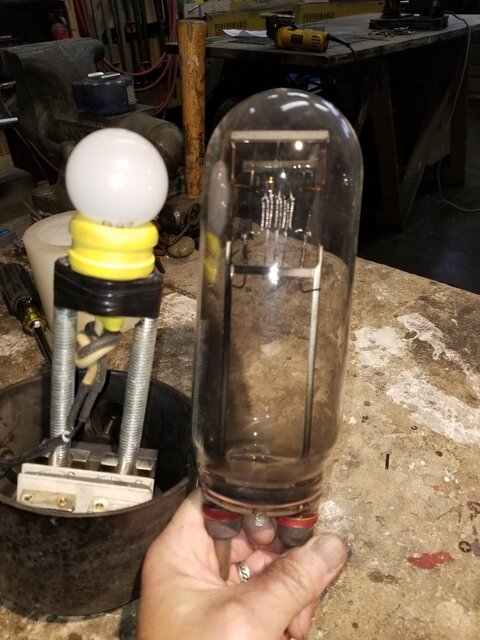
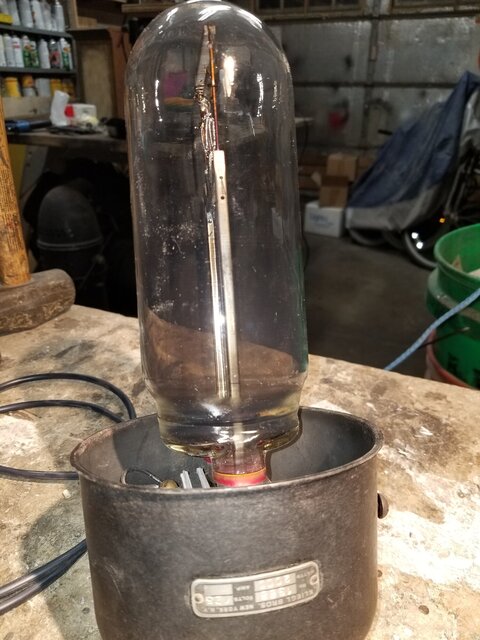
Second prototype had me spend a few hours over a weekend grinding and sanding some ½" threaded rod so as to mount them into the G-38 fixture lamp socket, this to tape a pendant light lamp socket at the bench focus height of a incandescent 1500T24/6 lamp. I used the TMB RGBW G-16 medium based marquee light system in use all over the theater house already. Challenge is it’s only like 25 watts in luminous output. At least if bench focused, it might have a chance to compete with the above. With the step lens, the fixture had a slight glow of something, but unless directly looking down the fixture beam of light... almost no punch. Add the polycarbonate sand blasted lens, ok.. This could work, but was pre-production hack & not a solution for doing the 4.1/2" and 6" Leko’s... Boss also wanted to just stick in a pendant lamp socket with the lamp into the fixture.
Third Prototype removed the tape from the lamp socket - Knew he would want to see his idea done thus just taping the last one on. Stuck the lamp socket in just free hanging, spent some time attempting to at least center it on the reflector... Output as expected crap and almost zero with the step lens.
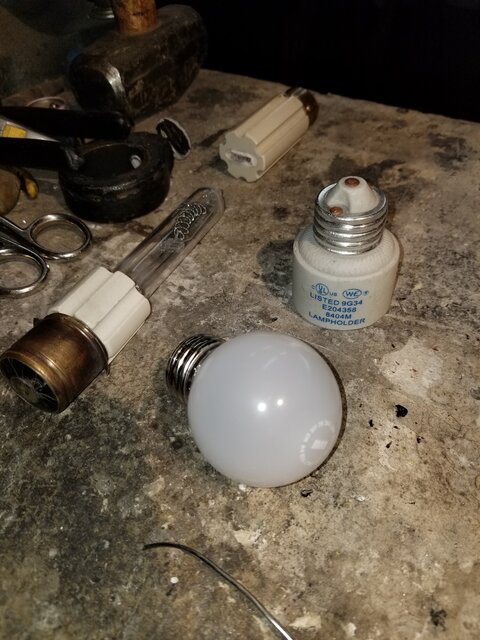
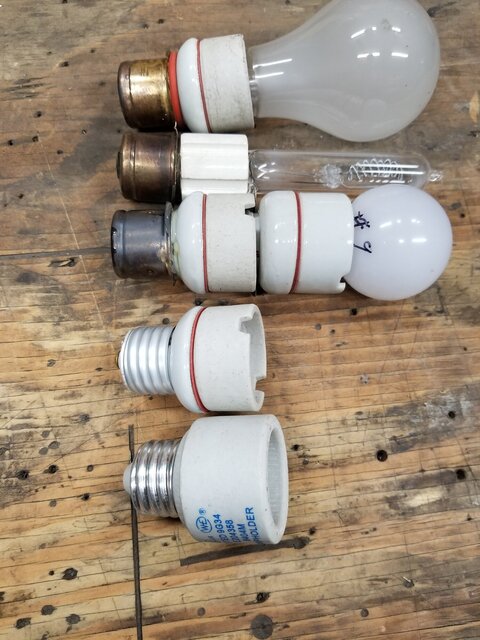
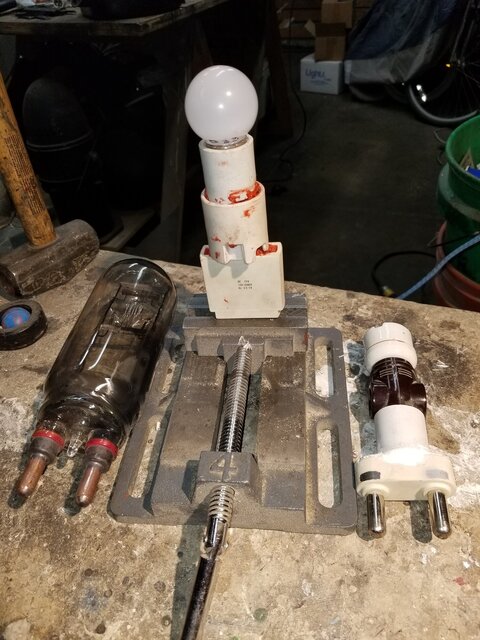
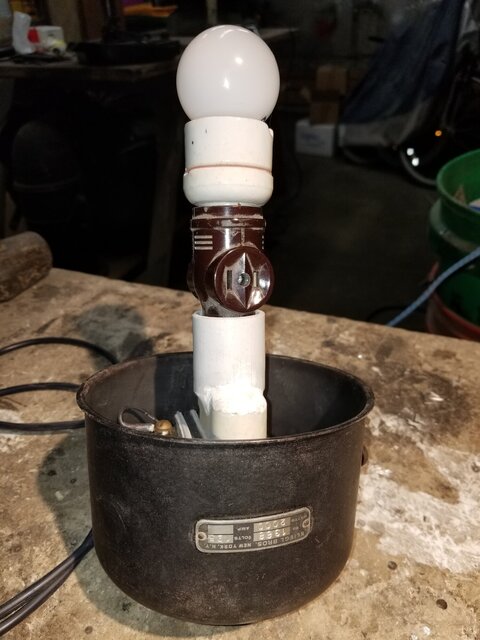
Fourth Prototype... If I’m removing the asbestos, I’m into the lamp socket anyway, why not re-store & re-wire the lamp base to work with the 24v marquee lights chosen? In the past I have made G-38 to E-26 lamp socket adaptors.... Even grabbed one, a Tri-tap 2x NEMA 1-15 to E-26 medium screw adaptor, and a lamp socket extender with the G-16 marquee lamp. Yep that bench focuses.
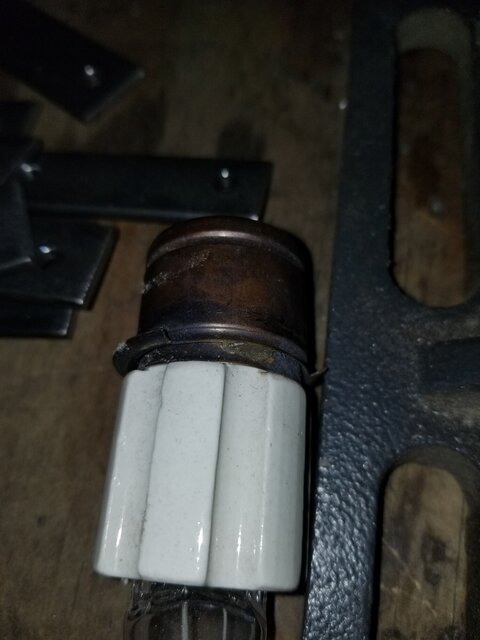
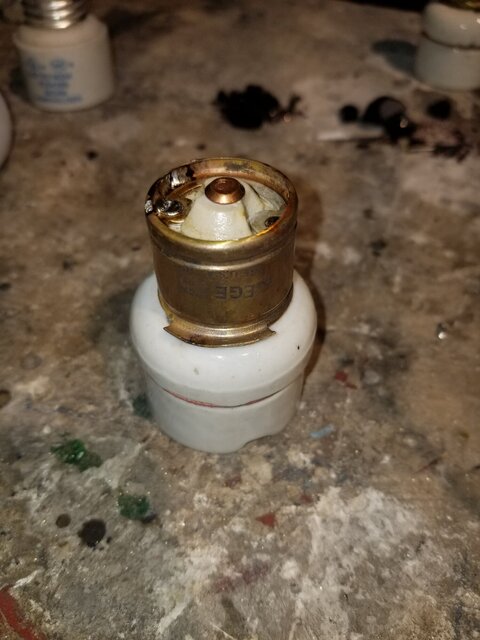
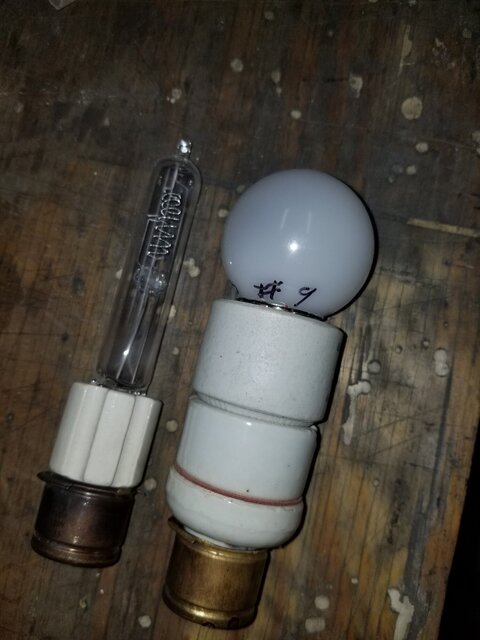
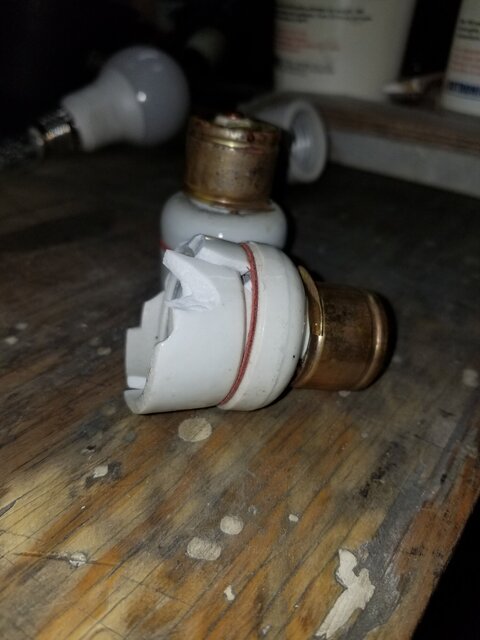
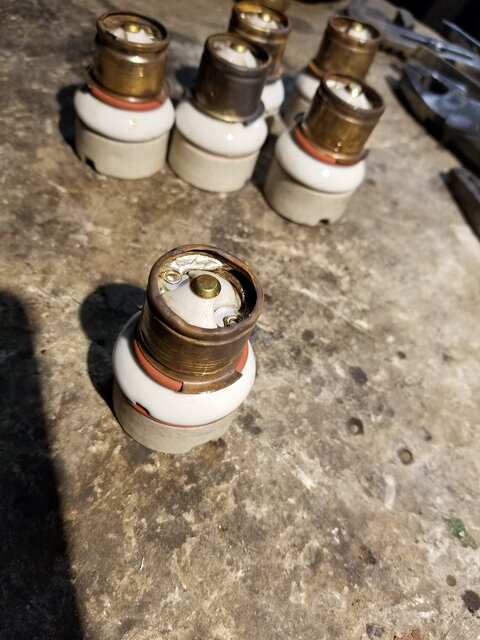
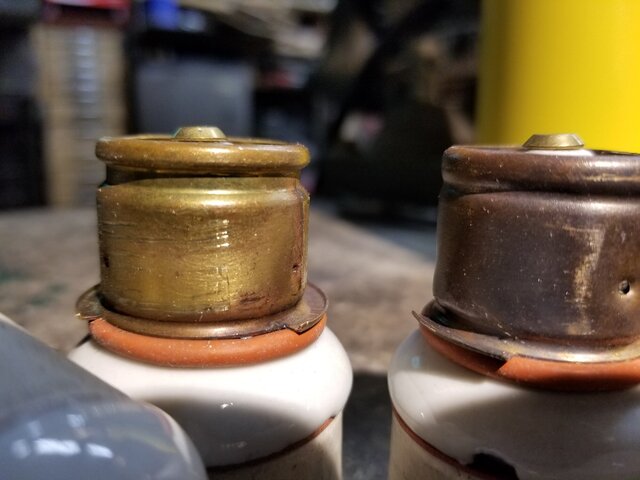
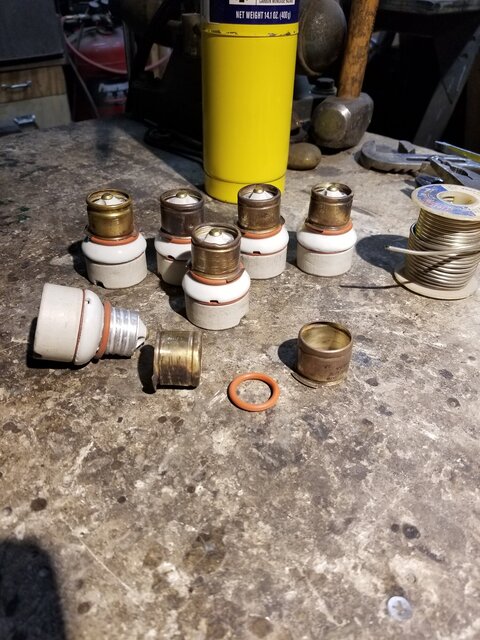
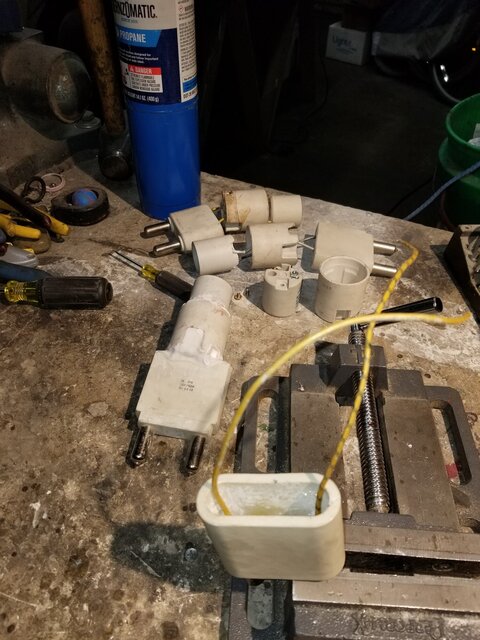
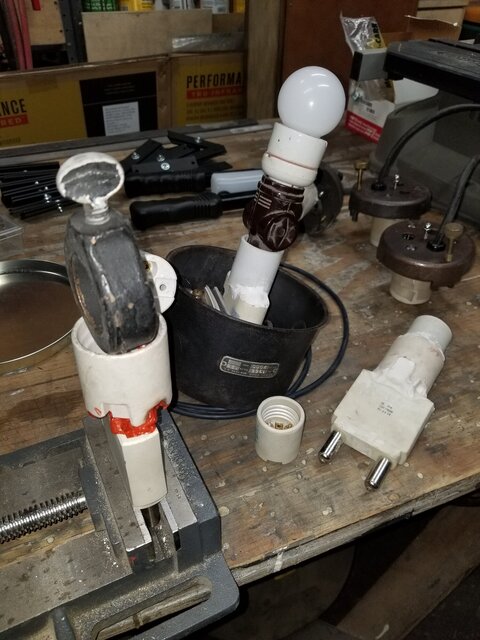
Made the CYX to A-19 lamp adaptor in the past.... why not make a 1500T24/6 to G-16 golf ball lamp adaptor? Out of lamp base parts, I had bad CYX lamp bases and bad shells to P-28s lamp sockets. Turns out a E-26 medium screw lamp socket will fit inside the porcelain shell of a P-28s lamp socket - so you can adjust the seat height up or down.
I made the lamp socket adaptors which will bench focus the G-16 lamp to a G-38 lamp base. I can now wire up the lamp socket properly & have a properly done fixture.
First prototype was doing it the proper way. A fairly inexpensive RGBW / LED node of medium power (didn’t even need the node lens accessory). Intent is to to glow the fixture lens brightly, not have real throw output on stage. Worked incredibly well!
Bent a steel bracket to mount to the lamp base assembly so the node would be mounted parallel to the lens and at filament center. Mounted the node, one resistor each and a second one in-line for the white (help from the electronics dpt.). Wired to a LED decoder and 12VDC power supply - both which fit inside the fixture body between reflector & shell. Amazing perfect output once bench focused, almost too much output in some light projecting on the wall. Had we mounted the more powerful node.... this fixture might have had some real punch in a servicable Leko type of way for under $200.00 in parts.
Four problems:
1) The step lens on the 8" Leko glowed with color, but was still projecting light. I’m also short on lenses at the moment & a lot of the fixtures I’m working on have broken or wrong lenses installed. No a 6" Fresnel lens is not a 6" step lens for instance... I replaced the lens with one side sand blasted polycarbonate.... Perfect but does not look as decorative. Later fixtures with lens trains won’t have step lenses, so its kind of a moot point.
2) The node got hot. It was properly mounted with thermal grease, but other than the bracket there was no real heat sink at the node. Sustained temperature at the node was 200F. This was close to the maximum temperature of the node & probably above the wiring maximum temperature. A 12v micro fan was added to the fixture, but the problem with a fan is it’s either going to be always on even if the LED is off (short of linking on the light board that 120v circuit), or tapped off the decoder which could be bad for the fan and cooling. Short of a thermal in-line switch also mounted to the fixture, if the fan were to stop working, the node could burn out. These fixtures will be installed in not very accessible areas & will probably never get serviced. A thermal switch would also allow the fixture to blink off and on which could get annoying.... not like anyone on-site would be available to repair the fixture should this start to happen & could be a long time before such a thing is reported.
3) Man/hours to do this was decent but too much for budget. LED node was cheap, but once you added in a power supply & decoder, resisters etc... Was probably in the range of $200.00 in parts.
4) My boss wants to keep the fixtures complete / historically accurate. Just wants to drop in a RGBW Marquee lamp on a pendant cord & leave the rest of the fixture alone. The theater is already getting their own museum of restored and accurate fixtures... why line use prop lights need to be accurate? (Remove the asbestos only). He is wavering on the polycarbonate lenses though.
Second prototype had me spend a few hours over a weekend grinding and sanding some ½" threaded rod so as to mount them into the G-38 fixture lamp socket, this to tape a pendant light lamp socket at the bench focus height of a incandescent 1500T24/6 lamp. I used the TMB RGBW G-16 medium based marquee light system in use all over the theater house already. Challenge is it’s only like 25 watts in luminous output. At least if bench focused, it might have a chance to compete with the above. With the step lens, the fixture had a slight glow of something, but unless directly looking down the fixture beam of light... almost no punch. Add the polycarbonate sand blasted lens, ok.. This could work, but was pre-production hack & not a solution for doing the 4.1/2" and 6" Leko’s... Boss also wanted to just stick in a pendant lamp socket with the lamp into the fixture.
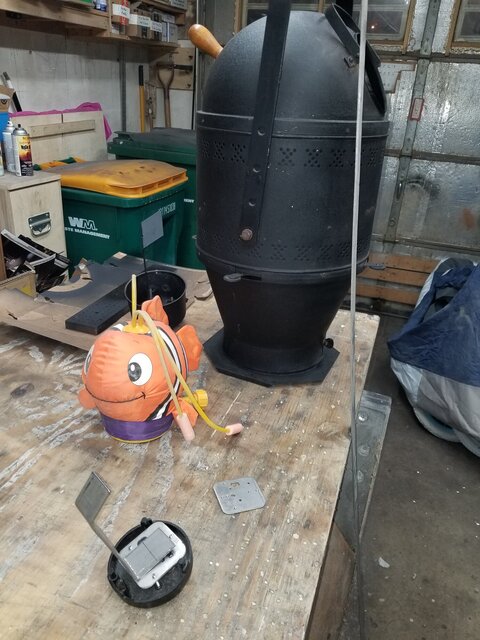
Third Prototype removed the tape from the lamp socket - Knew he would want to see his idea done thus just taping the last one on. Stuck the lamp socket in just free hanging, spent some time attempting to at least center it on the reflector... Output as expected crap and almost zero with the step lens.
Fourth Prototype... If I’m removing the asbestos, I’m into the lamp socket anyway, why not re-store & re-wire the lamp base to work with the 24v marquee lights chosen? In the past I have made G-38 to E-26 lamp socket adaptors.... Even grabbed one, a Tri-tap 2x NEMA 1-15 to E-26 medium screw adaptor, and a lamp socket extender with the G-16 marquee lamp. Yep that bench focuses.
Made the CYX to A-19 lamp adaptor in the past.... why not make a 1500T24/6 to G-16 golf ball lamp adaptor? Out of lamp base parts, I had bad CYX lamp bases and bad shells to P-28s lamp sockets. Turns out a E-26 medium screw lamp socket will fit inside the porcelain shell of a P-28s lamp socket - so you can adjust the seat height up or down.
I made the lamp socket adaptors which will bench focus the G-16 lamp to a G-38 lamp base. I can now wire up the lamp socket properly & have a properly done fixture.
Attachments
-
 20200731_174058 (3).jpg411.8 KB · Views: 167
 -
 20200617_212024.jpg503.6 KB · Views: 172
 -
 20200804_215550 (1).jpg558.4 KB · Views: 185
 -
 20200804_215956.jpg395.5 KB · Views: 168
 -
 20200804_220050.jpg360.7 KB · Views: 182
 -
 20200804_221315.jpg440.7 KB · Views: 183
 -
 20200806_195054 (1).jpg507.9 KB · Views: 179
 -
 20200806_210300.jpg453.5 KB · Views: 162
Last edited: