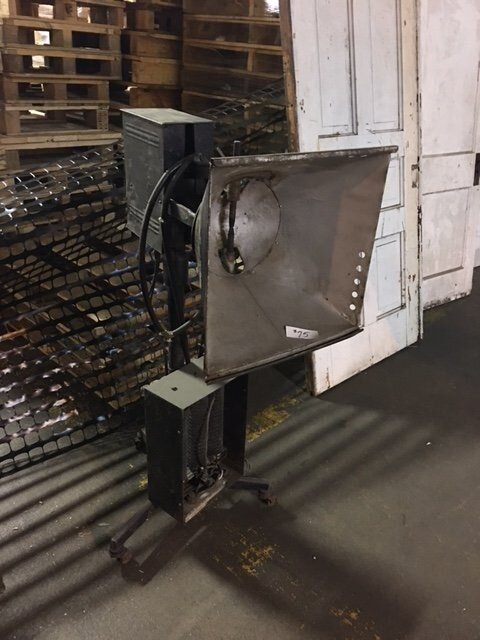
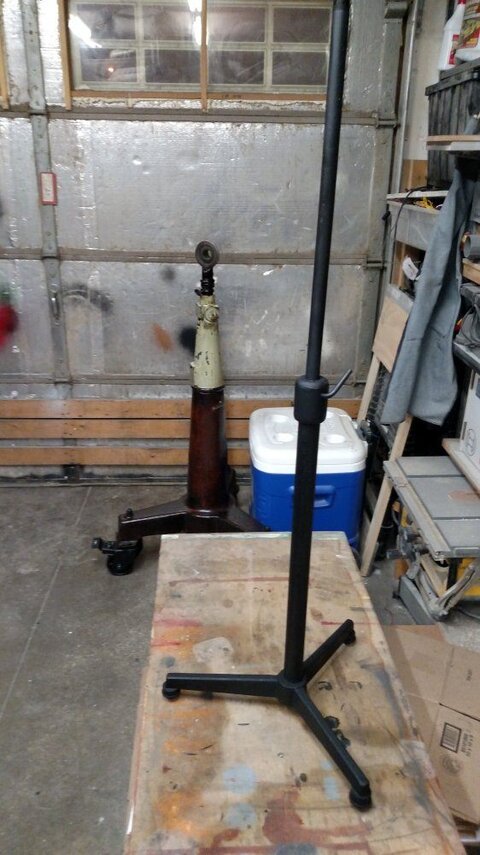
Finally working on the light in question Stand done in having to rust rest
restore, re-tap what I could and dry lube what can slide. Kraylon
dulling spray applied to take down the gloss of the otherwise paint. (Behind it, a 1909
followspot stand also working on that cleaning the brightwork for, re-tapping and a coat or
Shellac was good enough for after a deep cleaning. Was able to preserve its patina.)
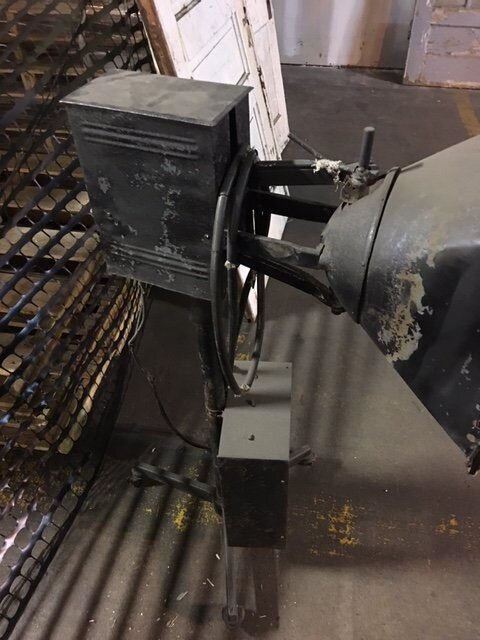
Working on the
ballast (as they called it back than
rheostat) resistance loading on the 1890-1910
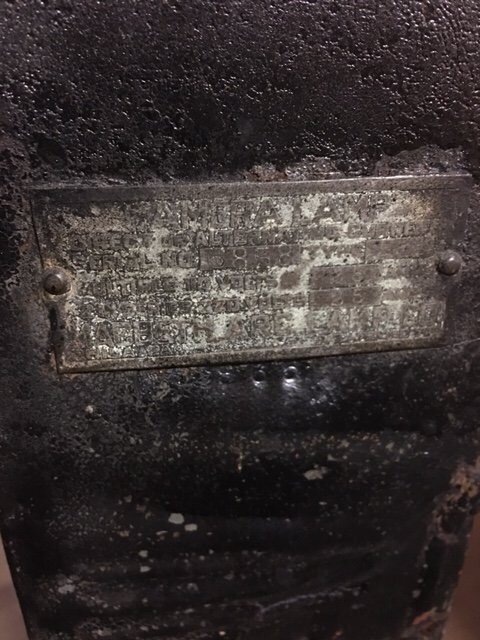
carbon arc Camera Lamp / Studio Lamp (1916 term). Early research in help on this website and
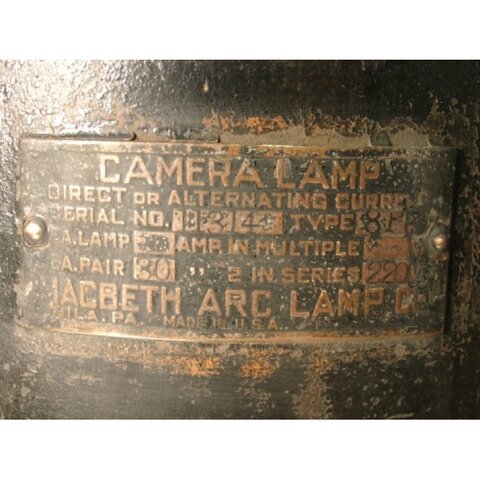
current research came up with similar but later models of the light. TBD Lime Away of the name plate which reads:
Camera Lamp
Direct or
Alternating Current
Serial NO 6858 Type FFG
Multiple 110 Volts 25 Amps
2 In Series 220 Volts 25 Amps
Macbeth Arc Lamp Co.
Philadelphia PA
Pat. Applied For
Main rationales for sticking to pre-1910 is in slight differences to the housings, and the name plate itself different especially on amperage and earlier serial number. Also as a problem run into - some very unique swivel casters not seen before.
This
fixture got dropped in a bad way.
Two of three casters had broken axils, and either I broke their cast
iron mounting castings while trying to remove the seized broken wheel axils, or they were also compromised. Welding shop is looking into if possible to braze them back together or re-fabricate them some how up to and including 3D printing replacements. Option B’ is given one in-tact and two replacements I remove parts to fit in potentially re-sizing
caster wheels. That or if the
caster’s cannot be other than glued back together... just make a sub
caster platform to carry the weight.
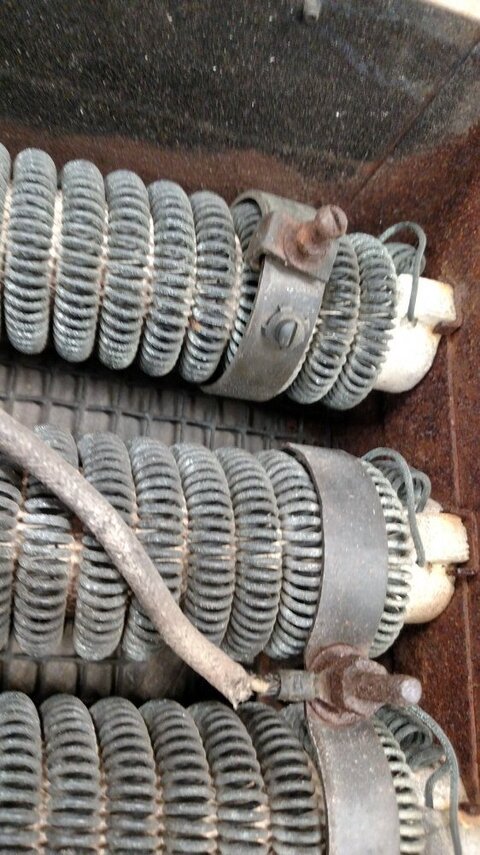
Interesting one coil of the
rheostat is not connected for output and/or bridged to the others.
There was a broken
wire on the
line side re-connected, but no evidence of a connection on the third
resistor for load side. (Attached at
line side) Interesting also on the load side connection - it’s a dimming slider ring which will
pick up the
voltage of that
resistor/
dimmer in dialing in the amount of
voltage / dimming needed dependant on actual location &
voltage there. ? Could this arc light be set for DC
voltage and the third resistance coil be necessary for AC
voltage in dialing down to local
voltage dependant on actual local AC available? Would probably be good to know before I attempt to
plug it in.
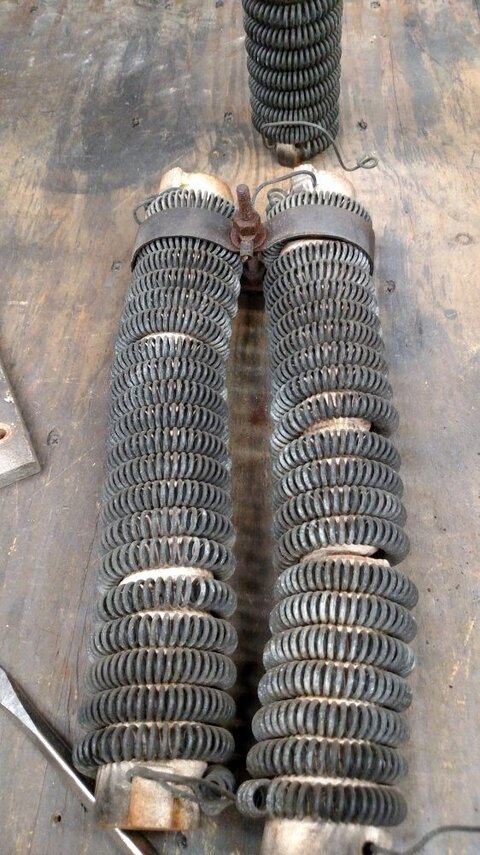
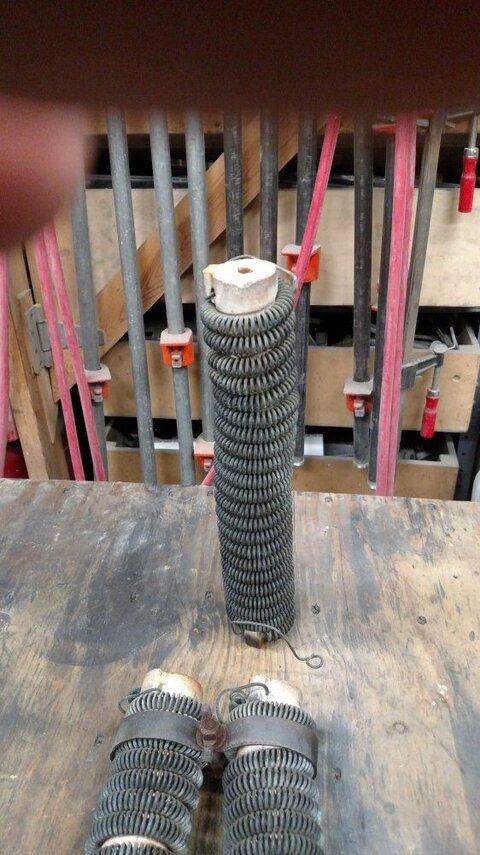
All three
ceramic cores to the rheostats were broken in many places. This is at least an easy fix... Just have to decide if I want like a 3M #DP605 Urethane
epoxy or go full blown
ceramic epoxy I use to repair lamps and sockets. The main question will be temperature
rating of the 3M product - It’s mixing straw will allow me to glue the
ceramic back together from between spring
resistor coils. Given the spring coils are not removable and seemingly in-tact... don’t want to stress them in removal of them for a proper job of
ceramic epoxy. This
ceramic epoxy is like plaster in texture but quicker in drying... no chance of inserting into a syringe. Assuming the
ballast only has to work once in testing & viewing what it does, I think the 3M product is the best solution as long as well cured. I have another
carbon arc in collection with a double
wire coil resister that has a lot of breaks in it. Impossible to fix or reproduce. This
ballast wiring I think in good shape other than it’s
ceramic support needs to be fixed or the coils of
wire will short.
14ga
Rheostat resistor wires though are about dark gray in serious oxidation - been well over a hundred years since installed. Certainly won’t leave the tested
fixture on long in establishing an arch and doing photos. Anything that can be done to help
restore the copper
wire coils for bling with out starting a fire as they heat up? Normally my McMaster #7437k15 works on lamp sockets up to 5Kw w/o a problem and plan to use it to clean and coat, but doubt it will shine up persay the coils. Soft Scotch Brite Pad?
TBD, beyond the name plate, how that self sustaining
carbon arc rod mechanism works. All ya old cabon arc follow
spot op’s... since the turn of the last century, such a self sustaining arc mechanism doing your job (or not in the case of the Iroquois fire) thing has been around. To learn how such a mechanism works, and perhaps why such a mechanism fell out of favor. This light has one to study.
Yes the bottom isolation connection blocks are also
asbestos. They with a heavy coat of paint are safe to be re-installed. The rest- total re-wiring in
asbestos abatement, but simulating it.
Interesting, this
fixture was grounded = note the third
wire leading into and wired somewhat to the frame tru the
asbestos block padding - bad practice. Grounding was an option for many years later, thinking this
fixture was re-wired and grounded somewhere bttween the 50's and 10's. It's currently using a no brand non-Nema open faced
twist lock plug 20A/250v x 10A600w ... The 12/3 ish SO cable feeding the
fixture is so thoroughly rotten, it's cracked up all over the place - meaning a date of somewhere between the 50's and turn of the last century. But it worked at one
point for AC or DC.. grounding says not DC? "Should work without the third coil if AC?"
Way to figure this out? Noting now, the
neutral was frame grouned/bonded, so which pole if DC?