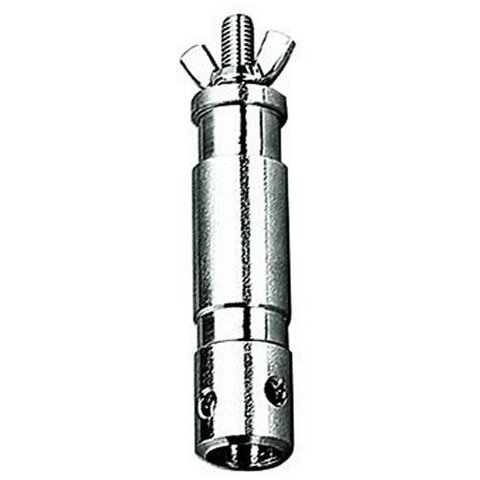
Did this project a few times. Invented a G-38 to E-26 lamp
socket adaptor for doing it. Challenge was re-wiring the
fixture for
Edison, cleaning/resurfacing the lamp
socket and it's terminals so it would conduct properly & given the
bi-pin lamp of the G-38 was non-polar (which side hot') establishing "Hot towards Hinge." Than on the
adaptor to ensure it's hot
wire pin was installed right, on the rear of the
adaptor was written "this side to rear". That was the easy part.
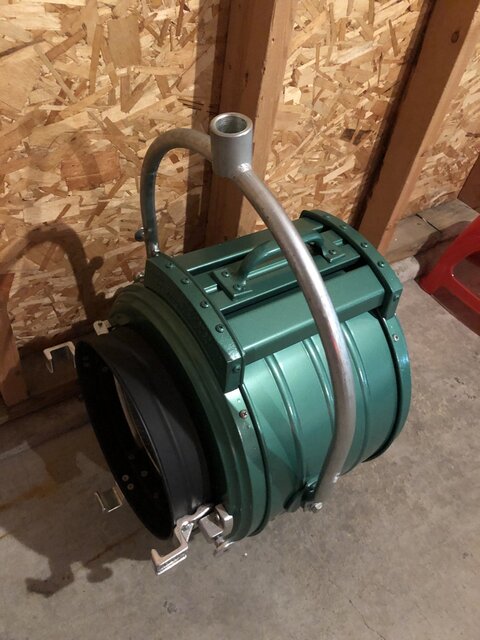
Getting the thing painted in a busy shop took years.
More technically difficult was building the
adaptor itself. Yes, you could remove the G-38
base and
build a
platform on the glide plate so as to mount a lamp
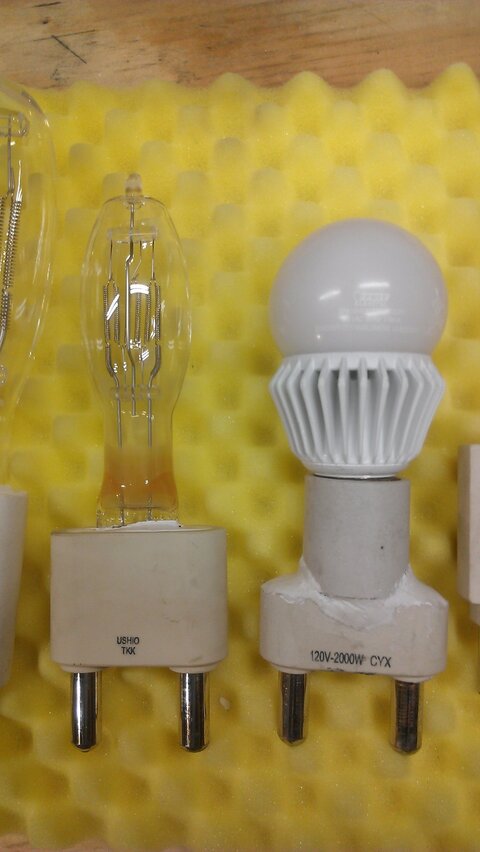
socket. Or study the
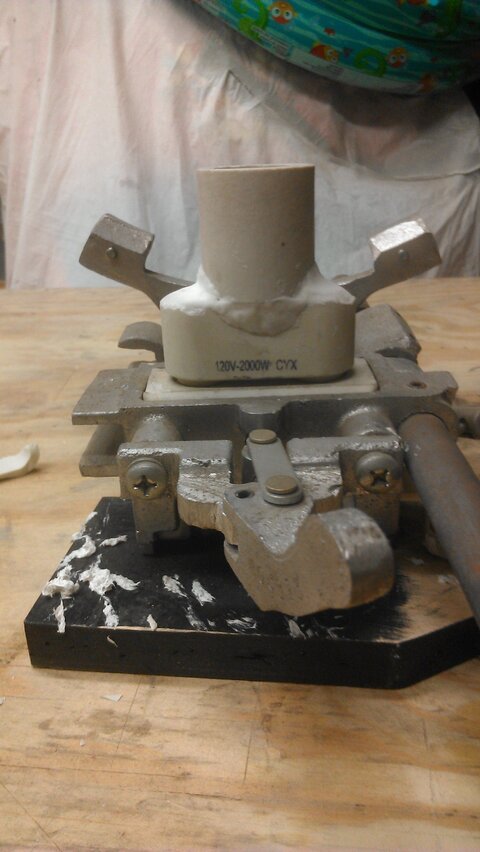
LCL of the two lamps, and it's possible that if you have a bad CYX lamp, you can remove the glass, chip away the lamp cement and invent.
It's possible the height of the
porcelain part of the CYX lamp will be too tall to properly
bench focus. I don't remember if for 2Kw or 5Kw
fixture which (CYX or DPY lamp) I had to cut the
porcelain down by like a 1/4", but one I did. You will know once you match up your parts to the
LCL of a working lamp. Fairly easy to do a cut down on the
ceramic part of a lamp's
base. Diamond grinder wheel to score = not cut all the way
thru. Cut
thru some, but more concentrate on forming cracks going where you want them to be. Kind of like cutting rock or tile, and indeed I have not tried a tile wet saw.
On wiring, a E-26 lamp
socket with SF-2
wire attached or lamp
base you attach wires to either directly tinned in soldering the secrew
terminal, or screw part of it bypassed and you solder +850 degree
iron directly to the
terminal. Ensure all screws on that E-26 lamp
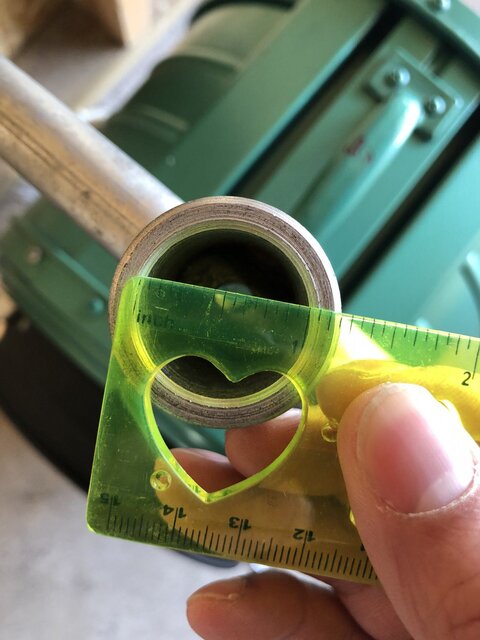
socket are tight as last step. Need about 2" of SF-2
wire hanging below the lamp
socket.
Strip the
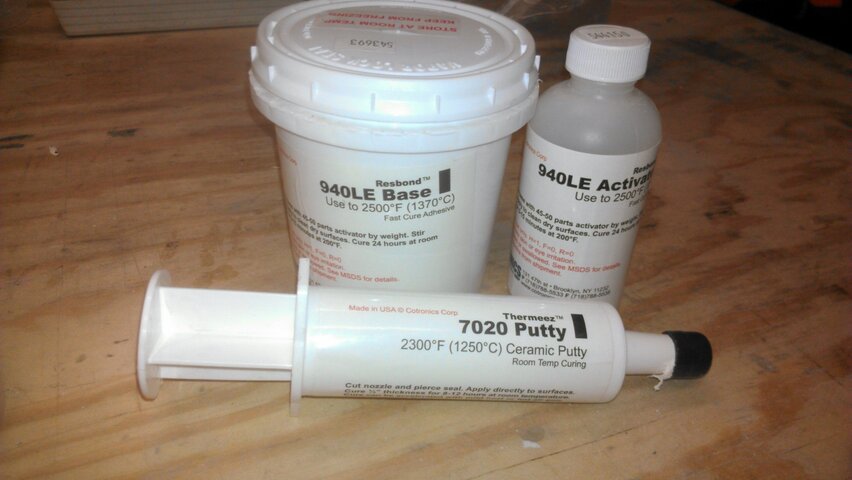
wire & solderto the cut lead in wires factory attached lead in wires to the G-38 pins. Add silica sand or puttiy in photo as
insulator and start mixing up your plaster like cement. This is faster drying than
porcelain so work quick and don't mix up too much. Layers is better than wasted product attempting to apply.
In cleaning up tools (putty knives or wood/plastic) and the
adaptor itself. Within the first hour you can use a utility kiife blade - might get a cut or three before dull each blade surface. Have not tried Dremmel type diamond tile or grout wheels... might or might not work well or gum up. This cement drys fast and becomes really really hard - but slightly different from either stone or
ceramic. Still though it will do an excellent job of gluing one
ceramic housing for a lamp
socket to another.
By the
manual, you should be curing this adhesie in an oven after application so as to fully cure it. I have never done so. If you want you can heat gun it otherwise probably . For the most part you are using it for
ceramic to
ceramic epoxy and not for a high temperature application where it needs to become as hard. Also, if using the adhesive on say a 2Kw or 5Kw applicaton as per repair use, they as lamps might get hot enough to do the oven cure.
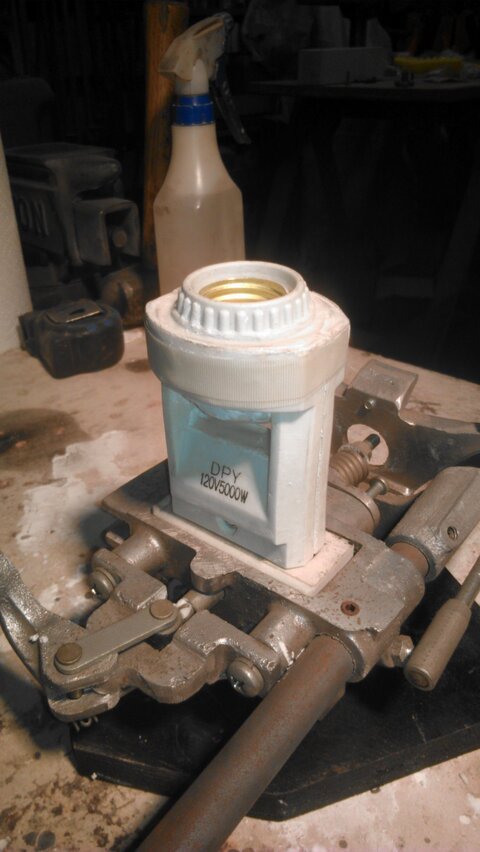
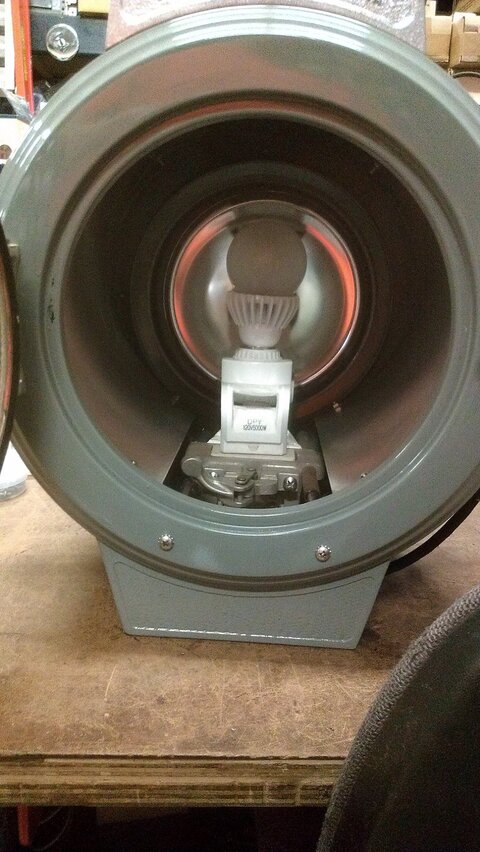
Anyway that's the way I went about Downgrading a 2K
Fresnel to a A-19
incandescent,
LED, Color Changing, or it you want to do 400G30sp lamp... say, just add a lamp
socket extender to it and it should
bench focus the same.
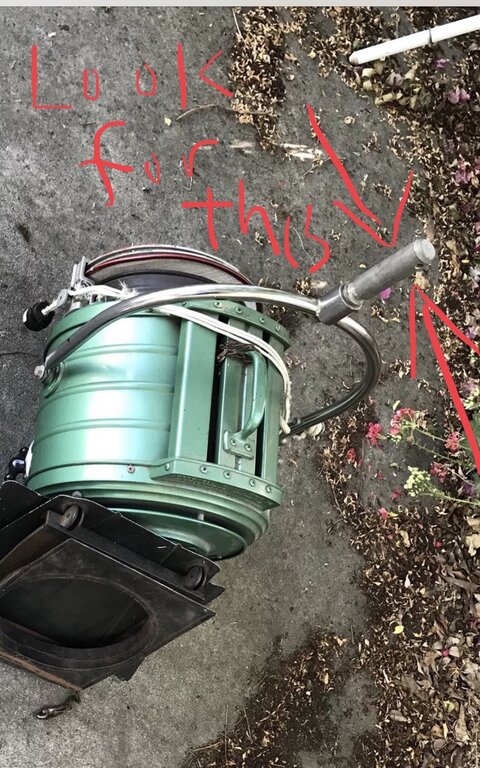
Note final photo is not correct - it shows the DPY 5Kw
adaptor inside a 2Kw
fixture. Seat height is different. Get your seat height correct, and as with the
Leko to A-19 conversions done in the past.. they work really well.


")